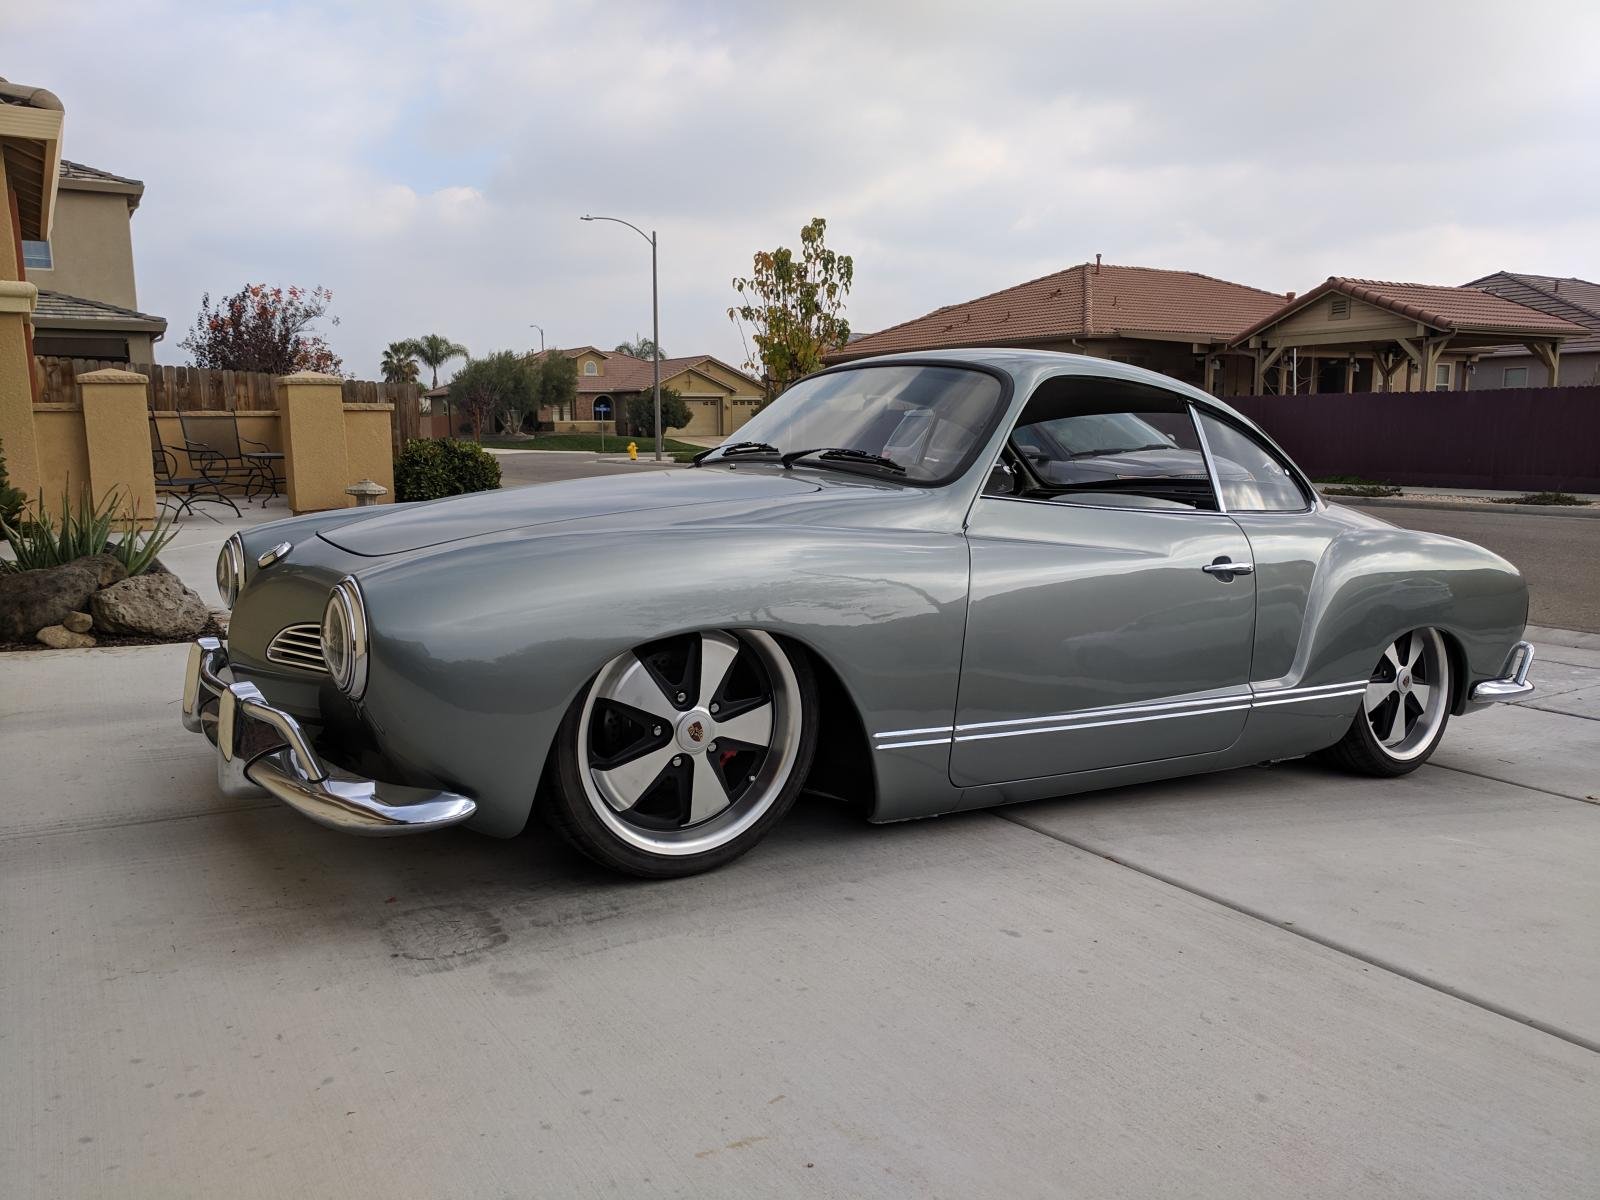
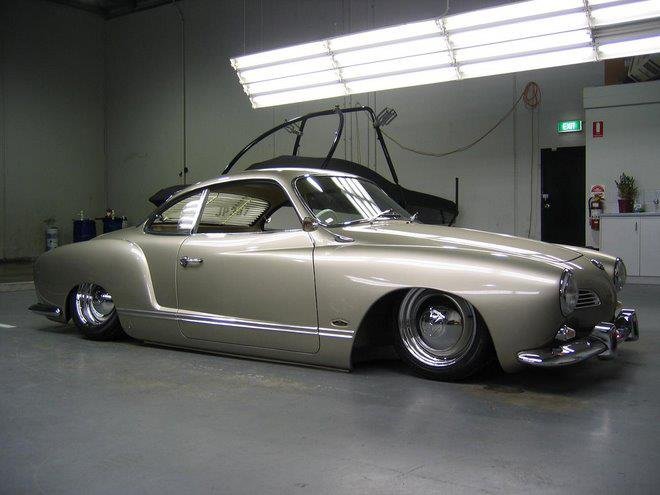
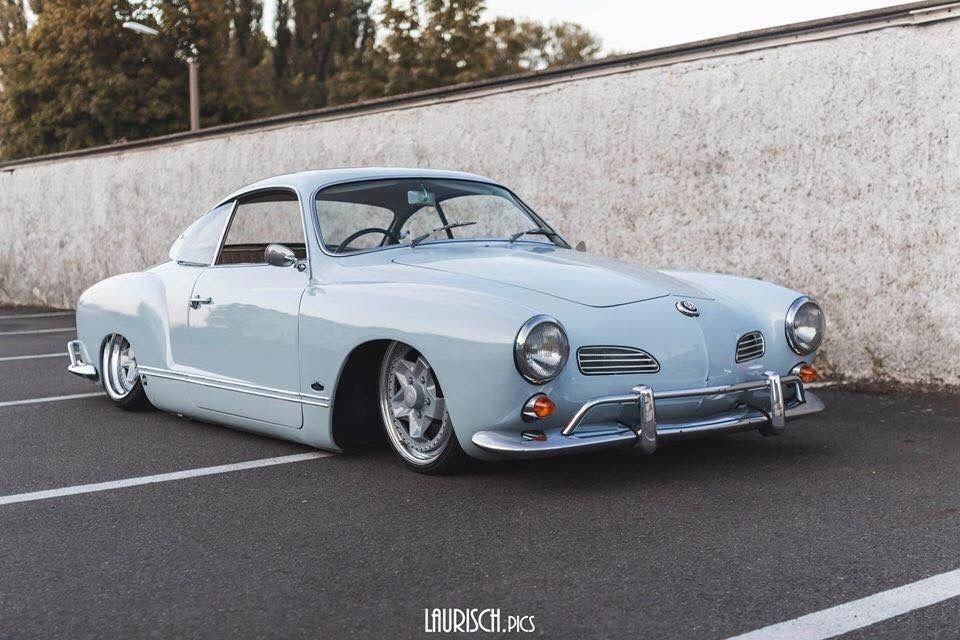
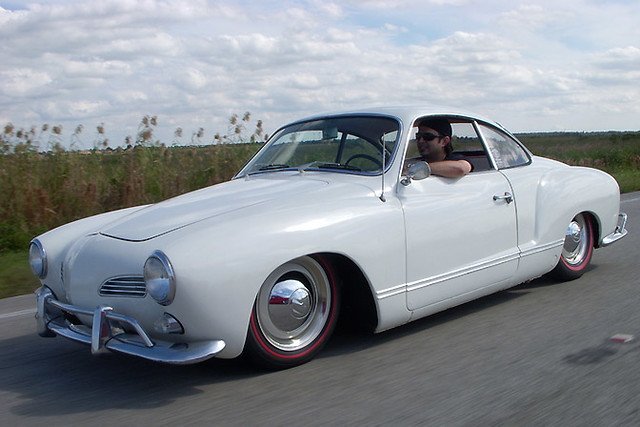
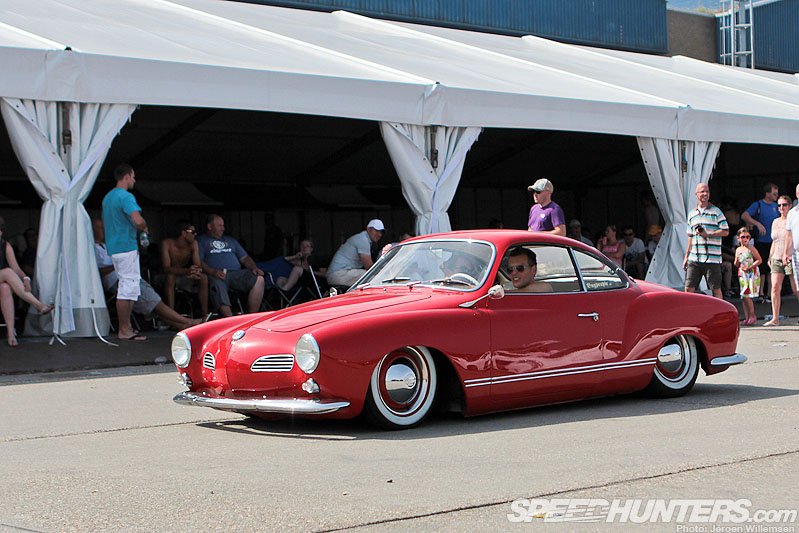
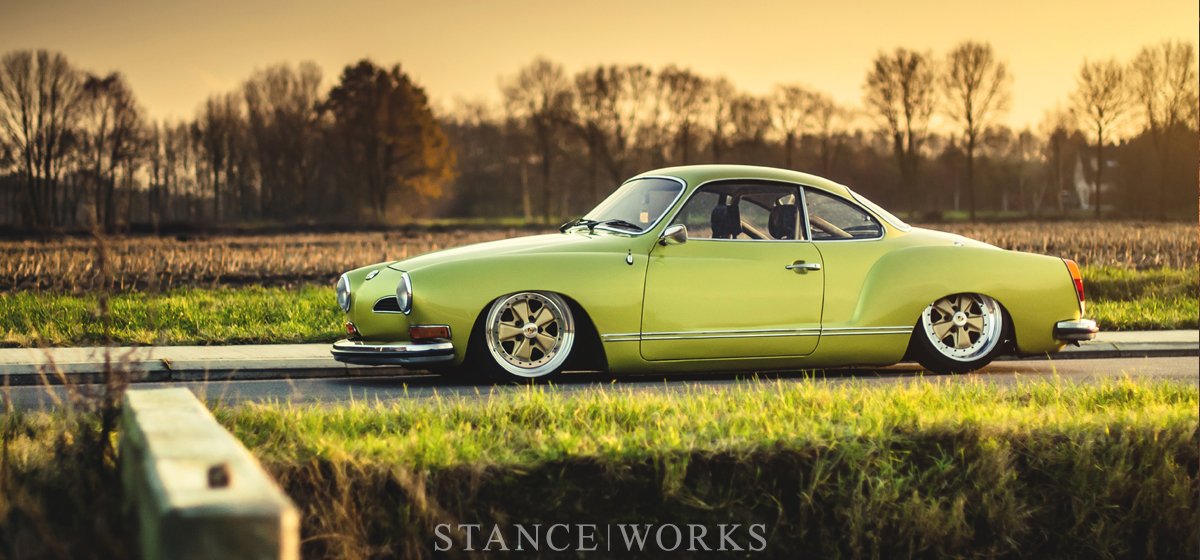
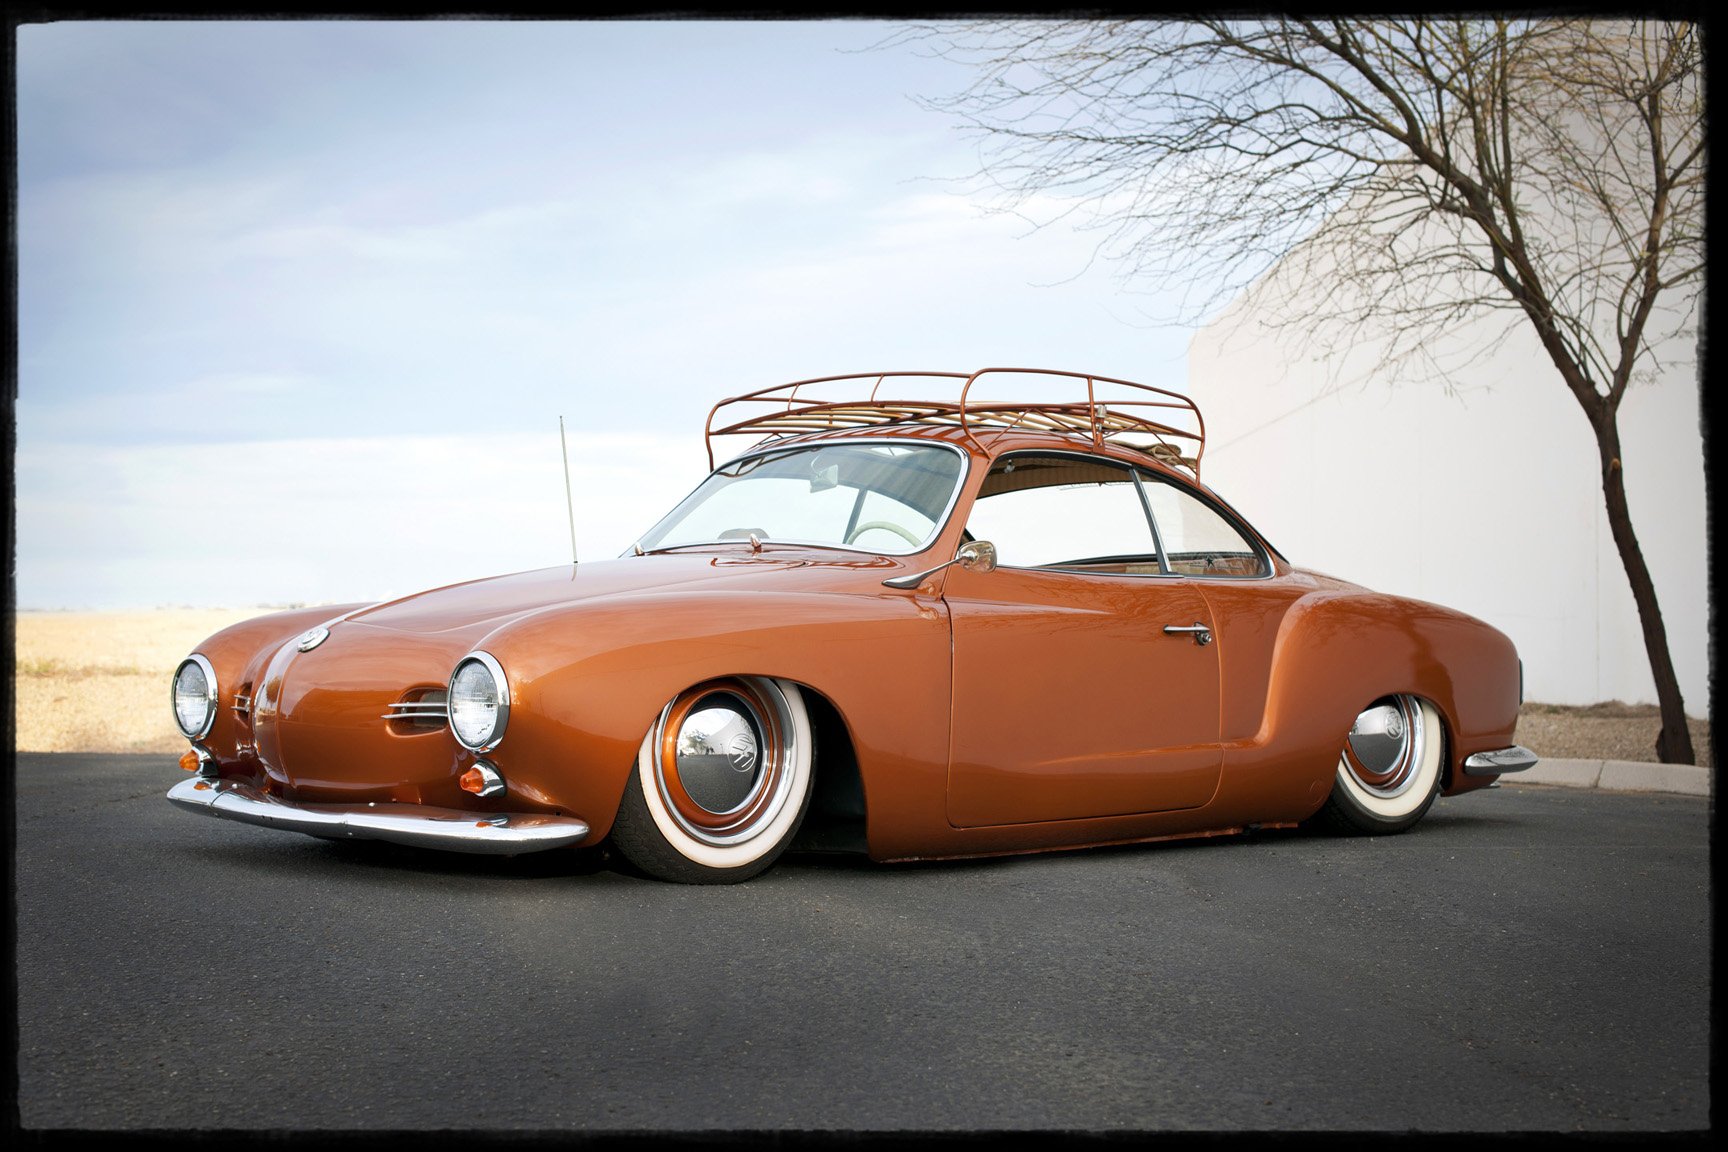

More Pics of the Coolest Ghia
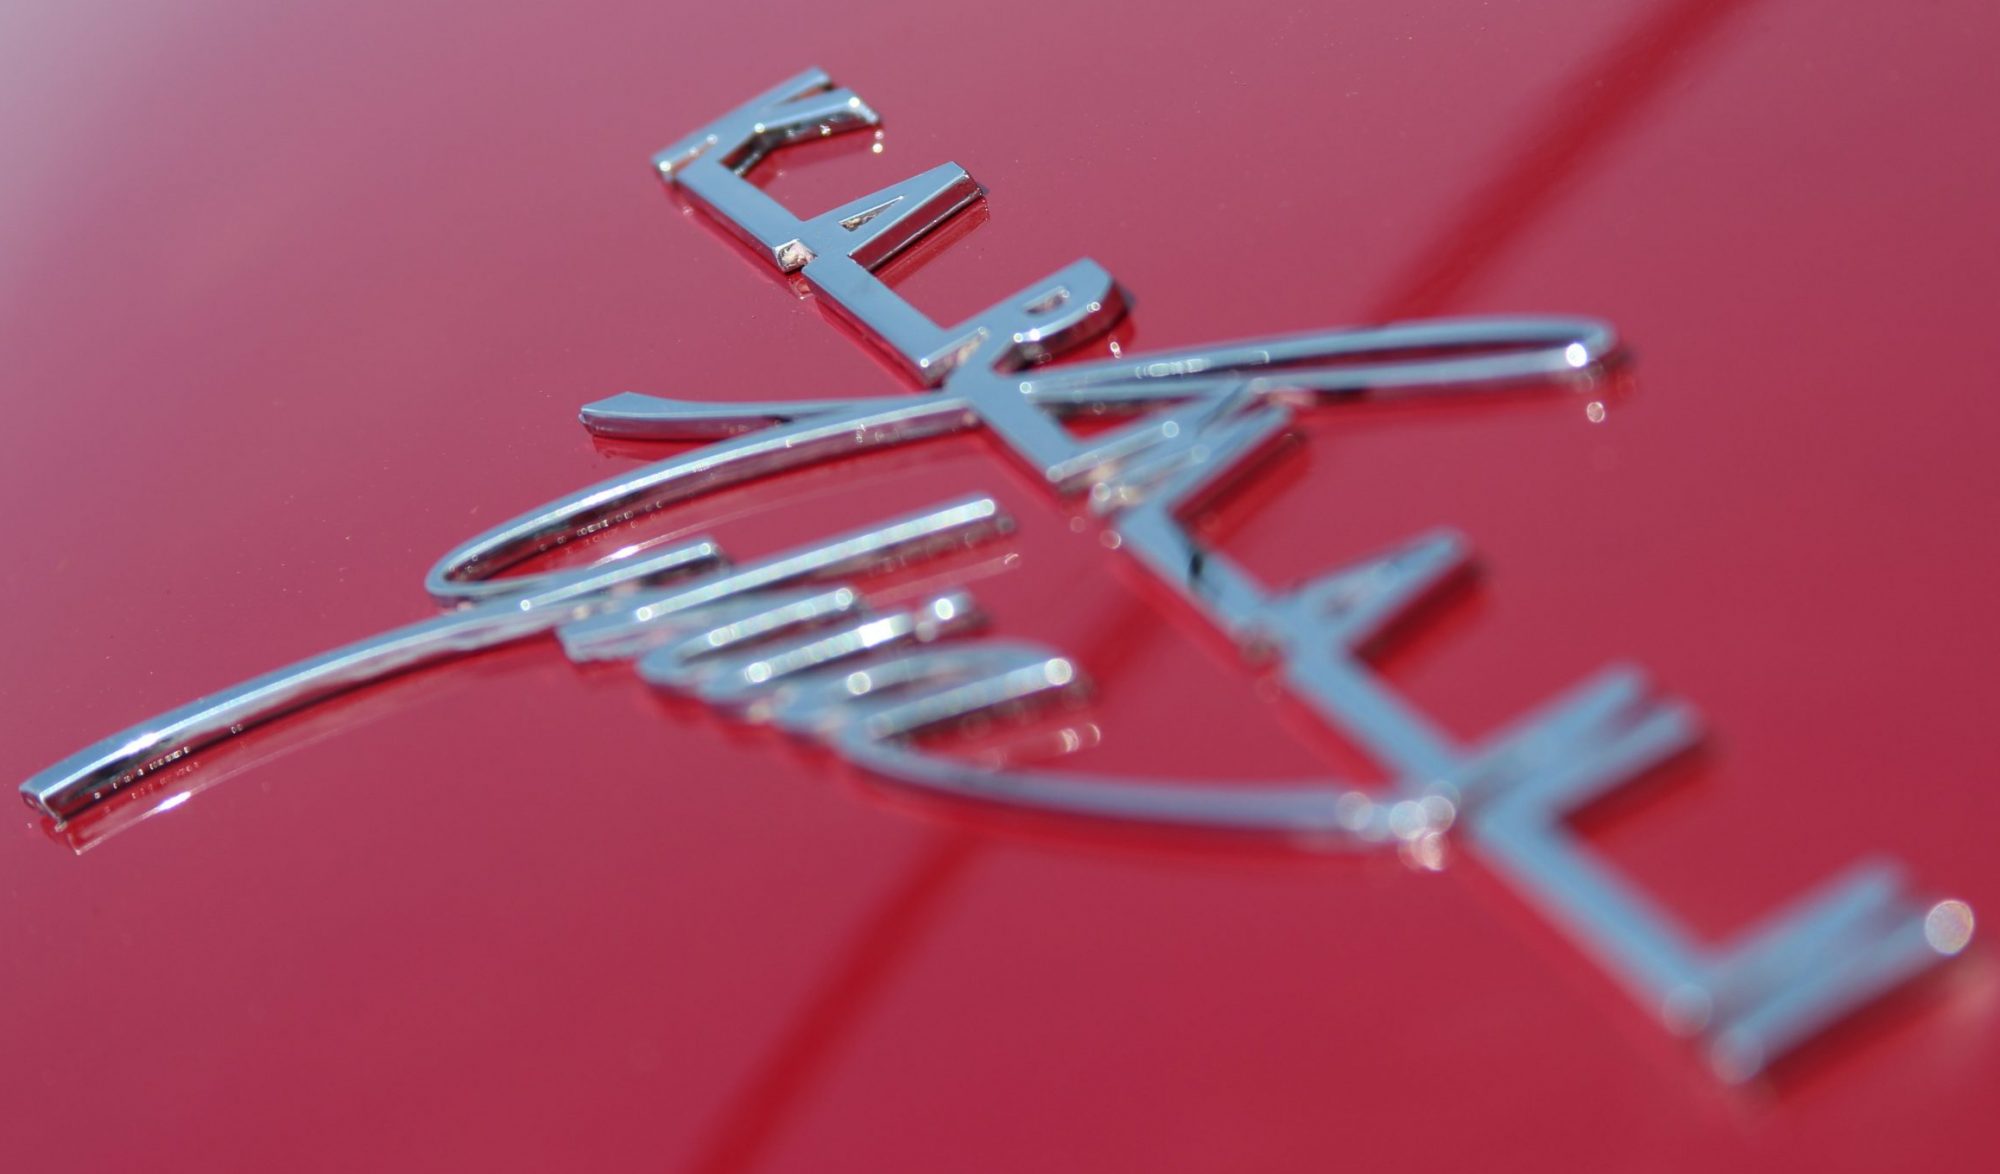
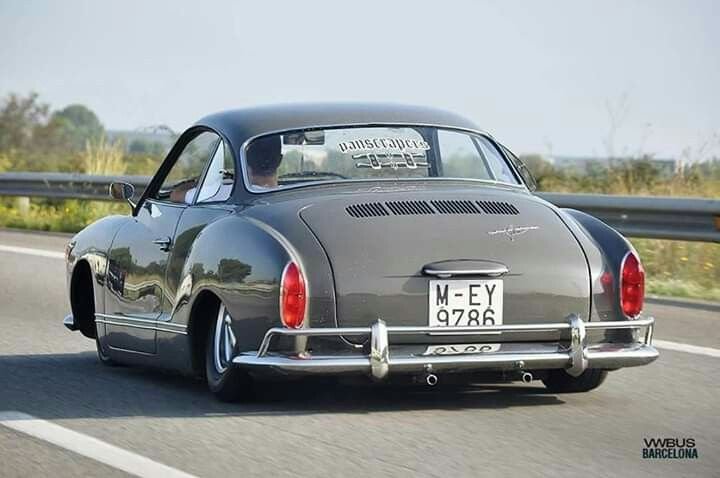
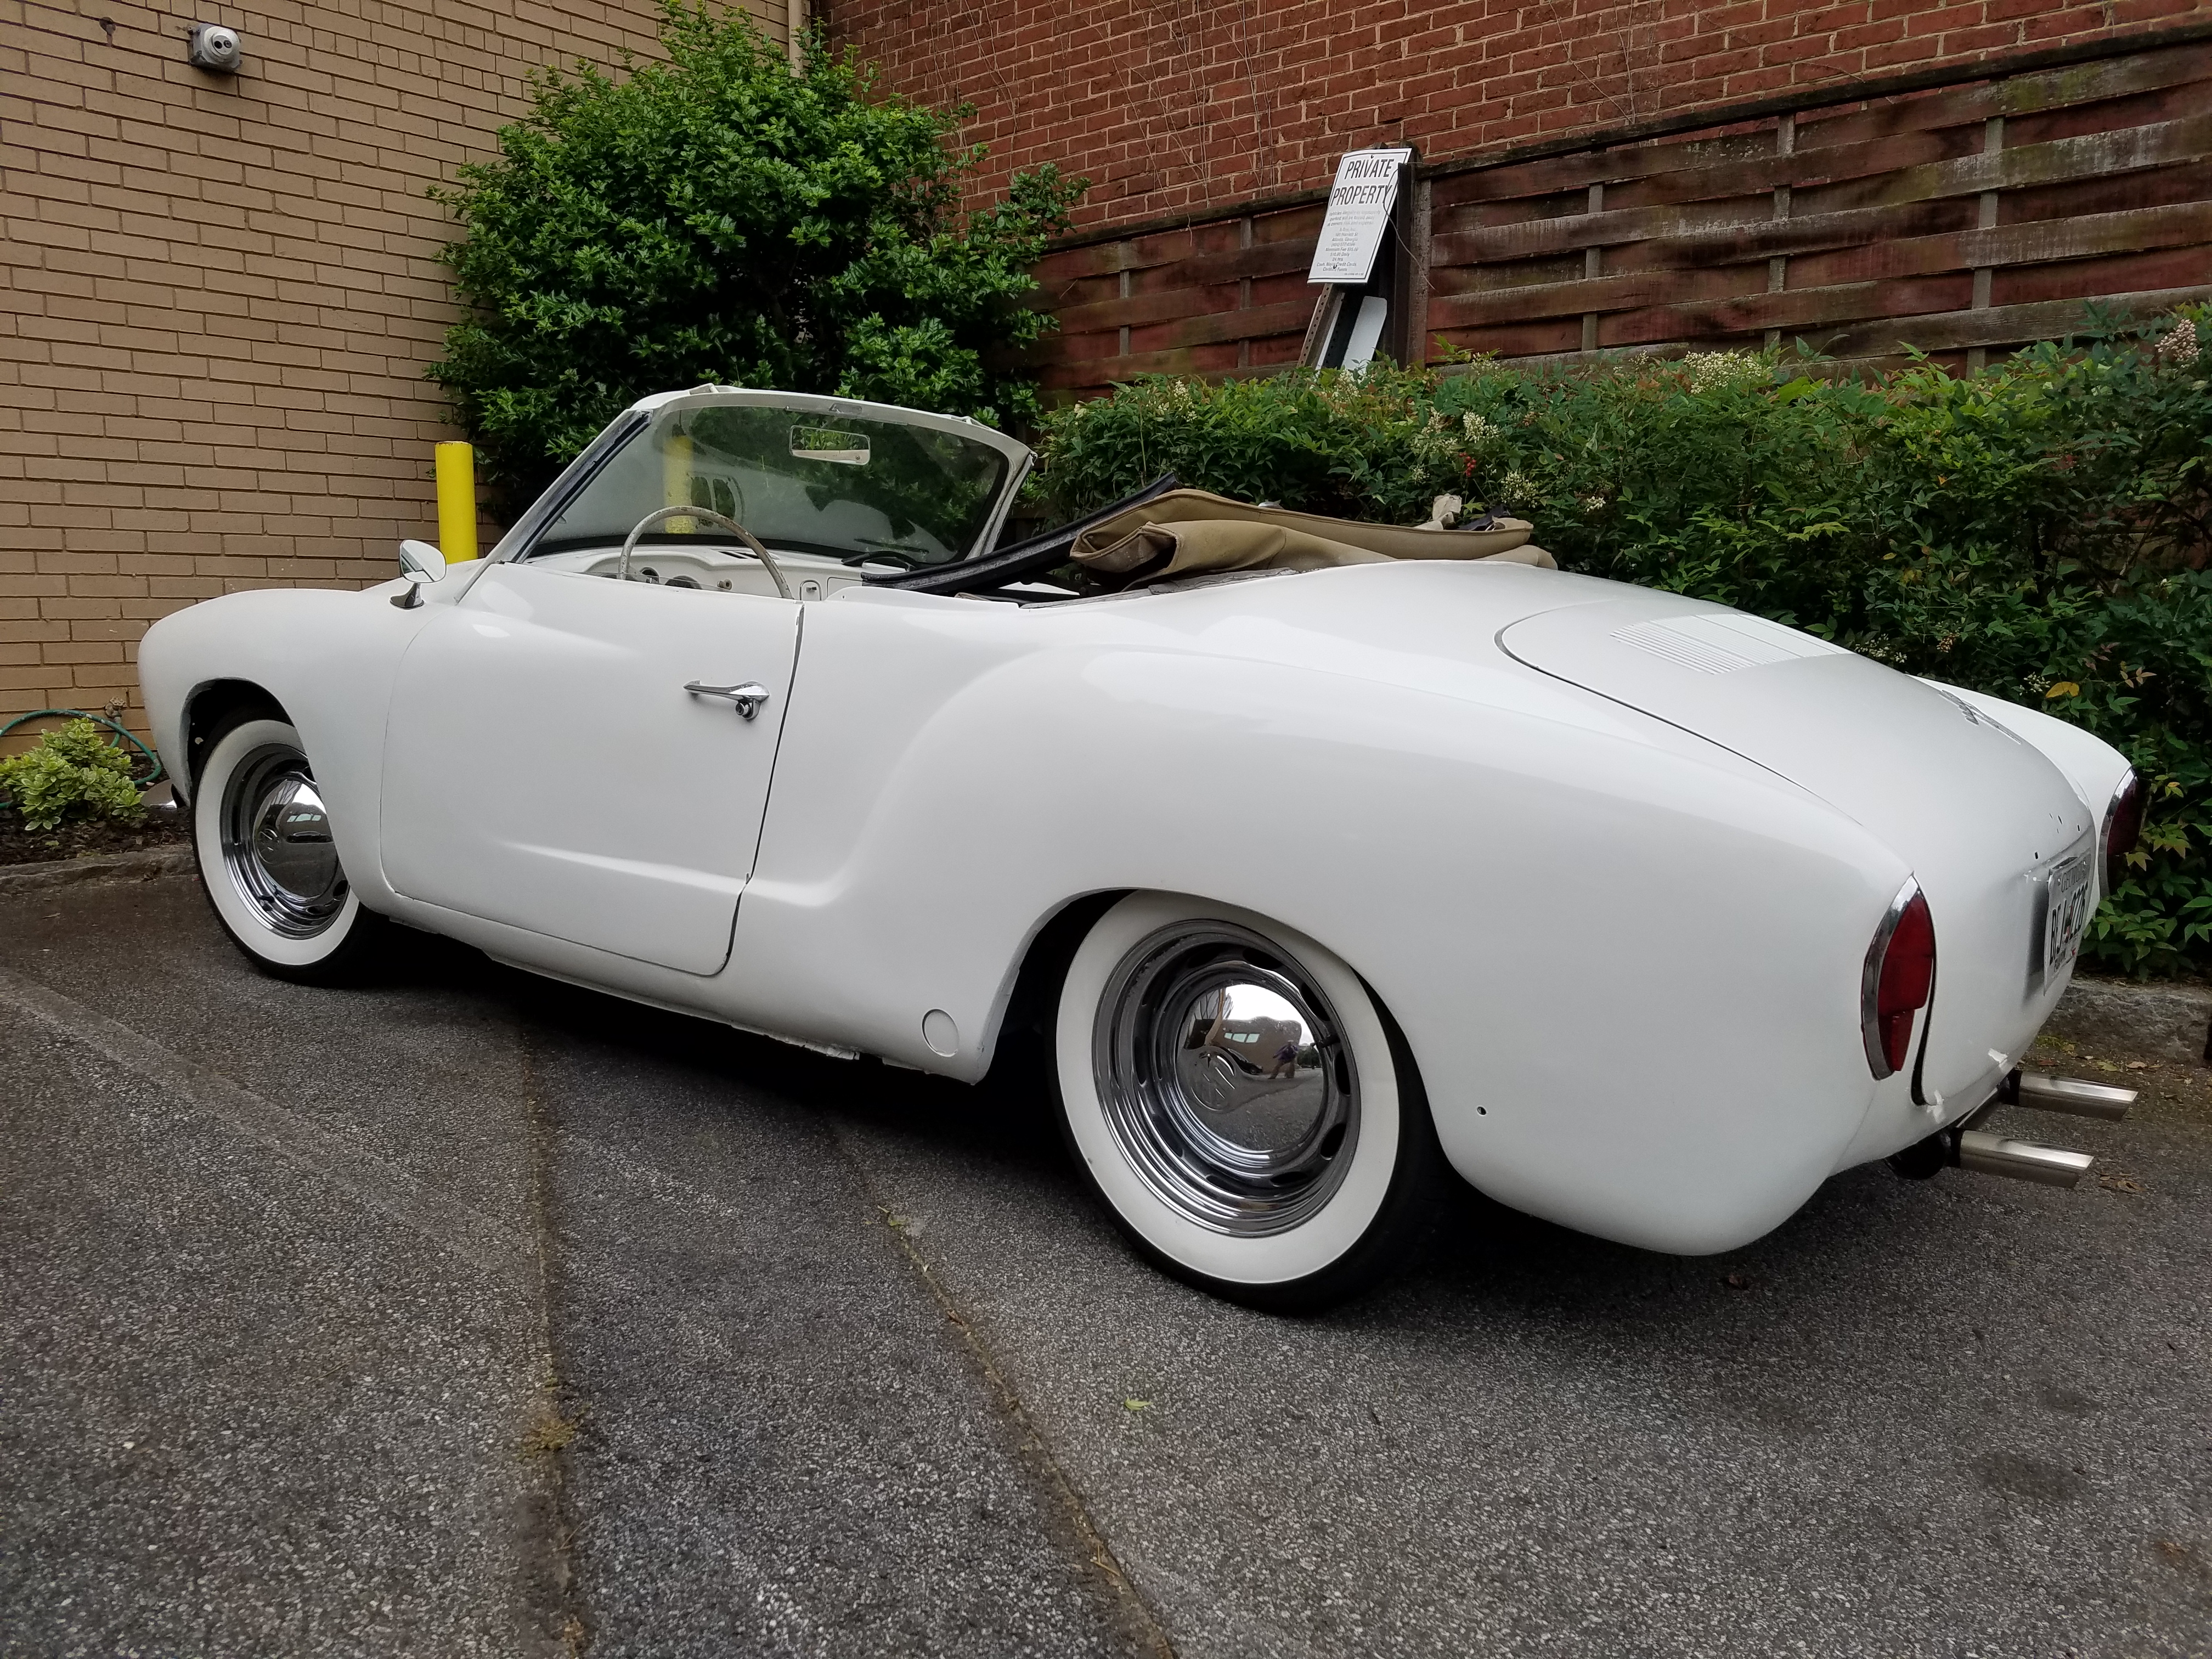
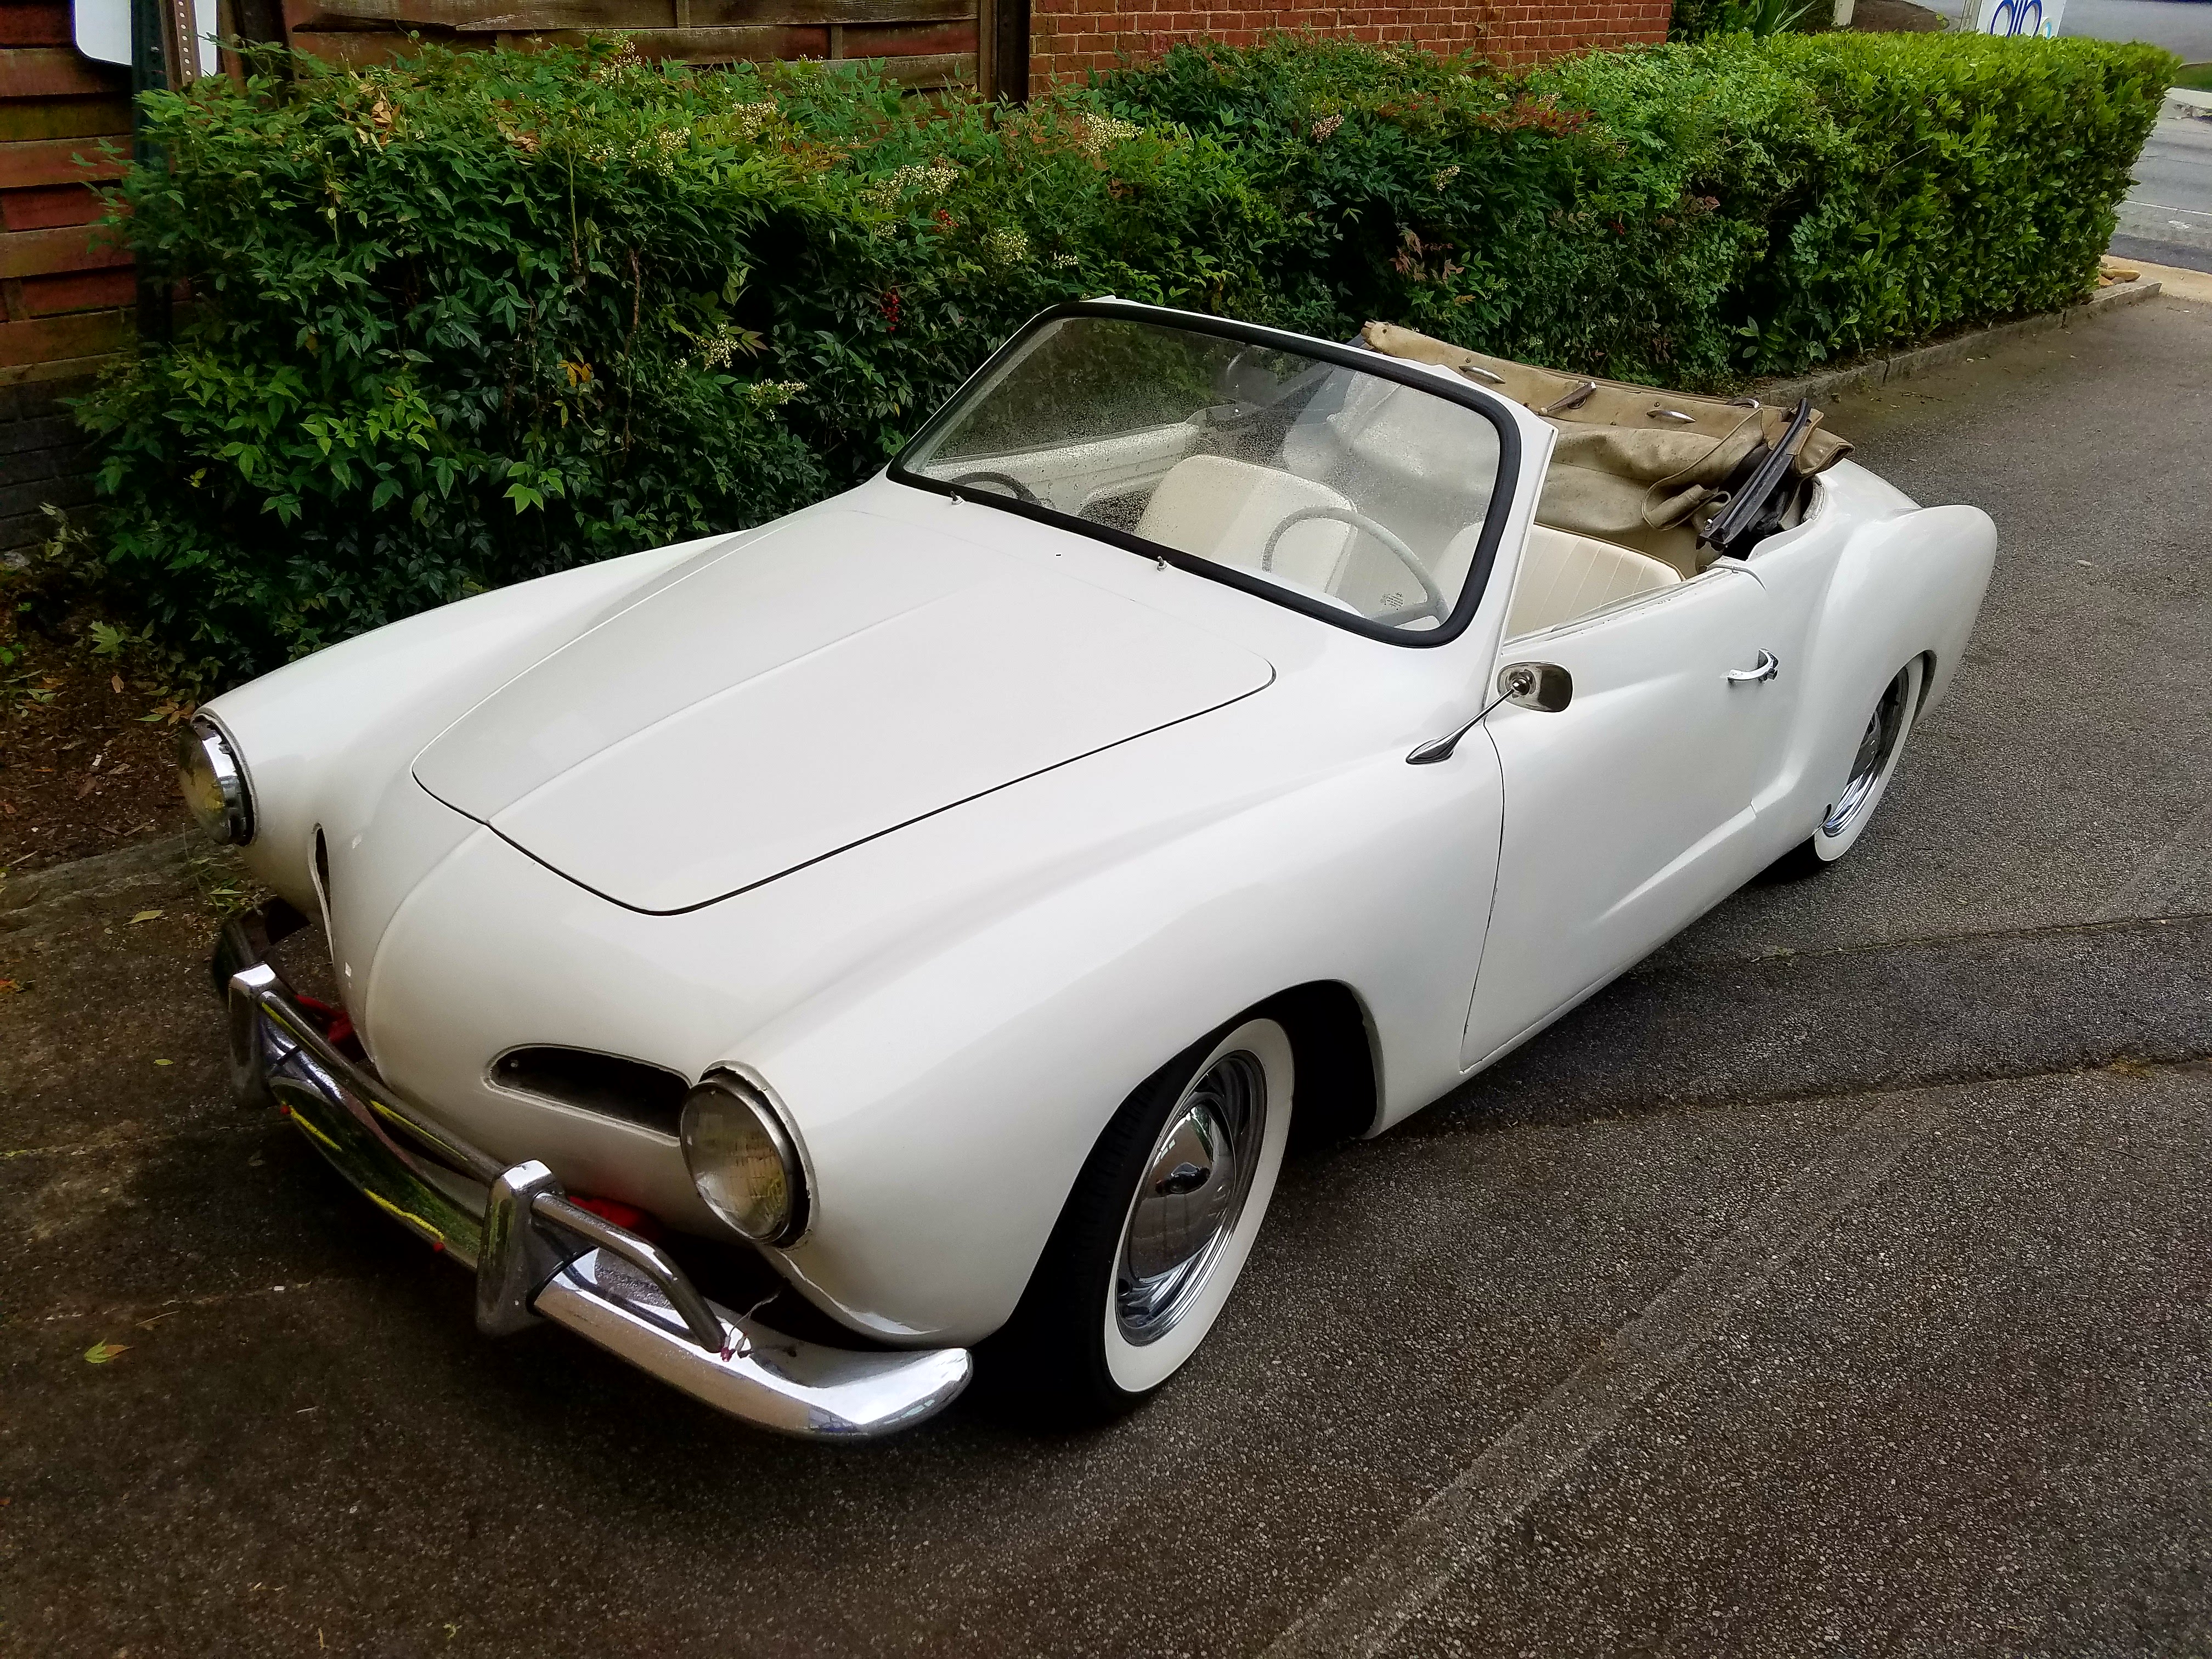
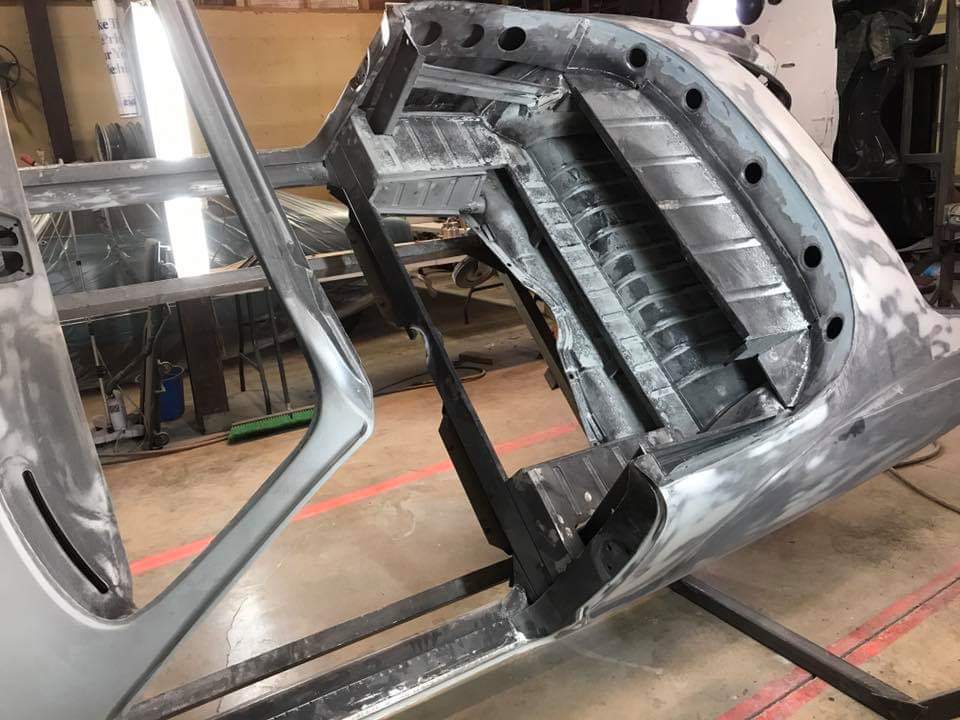
Back in January 2011, I made a post calling this car the coolest Ghia I’ve ever seen. I came across a few more pictures of it and my opinion hasn’t changed.
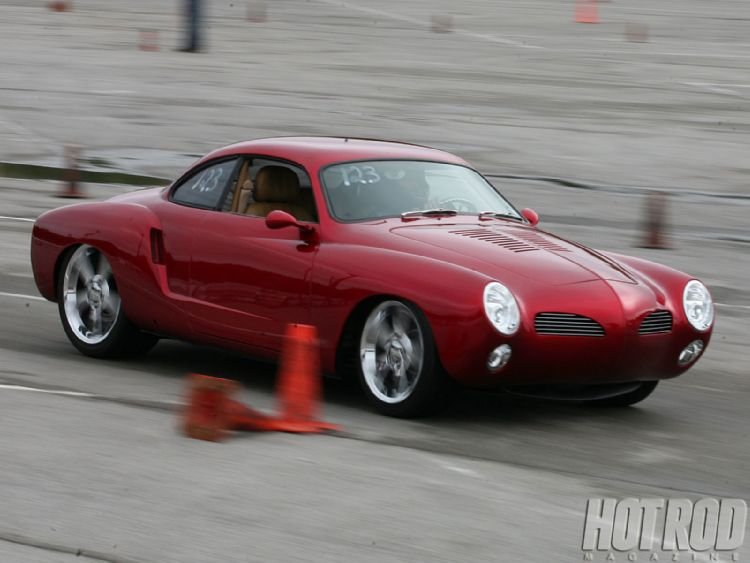
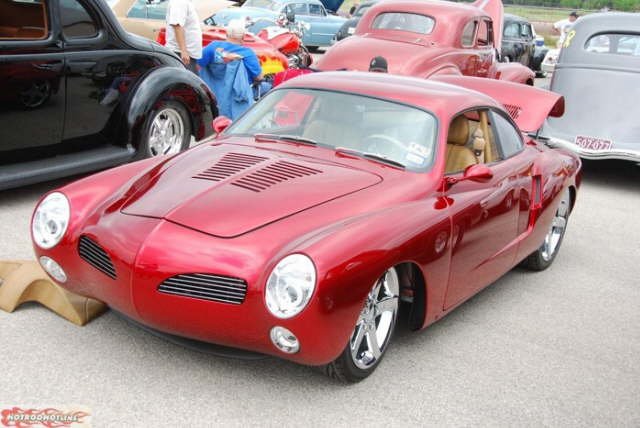
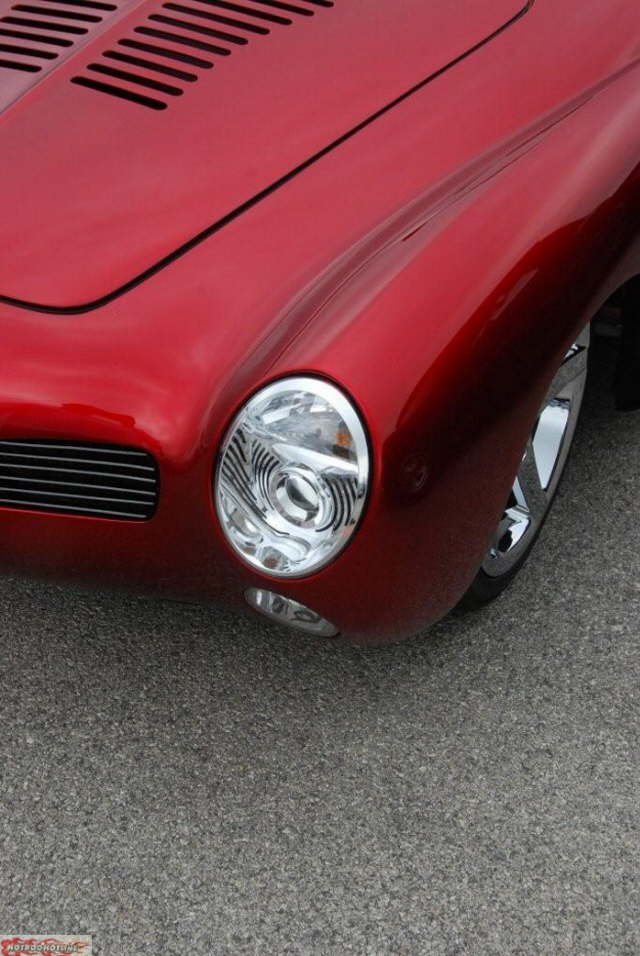
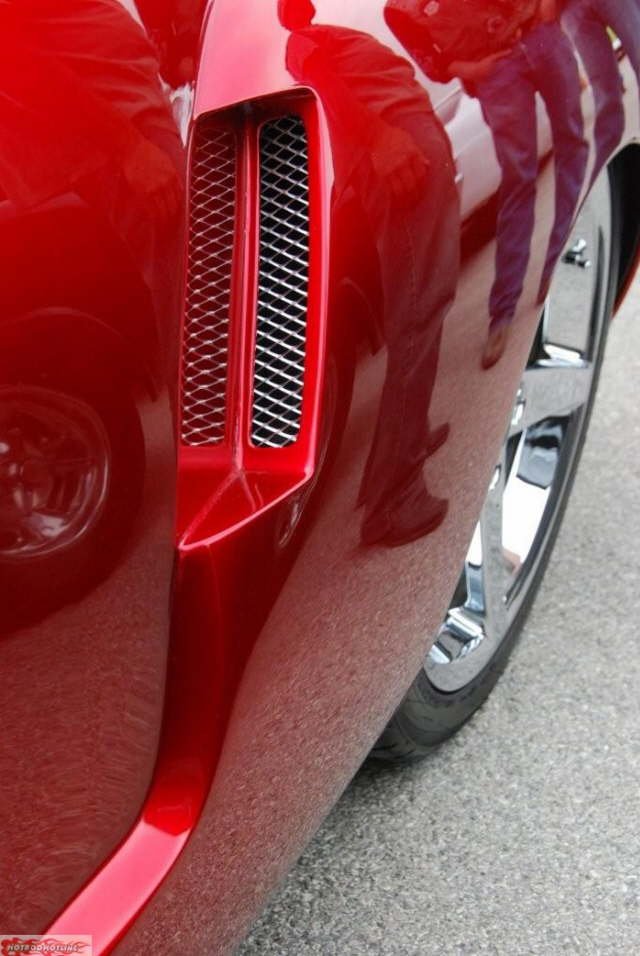
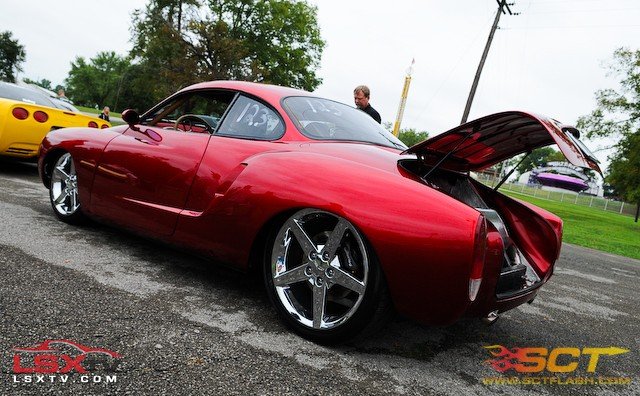
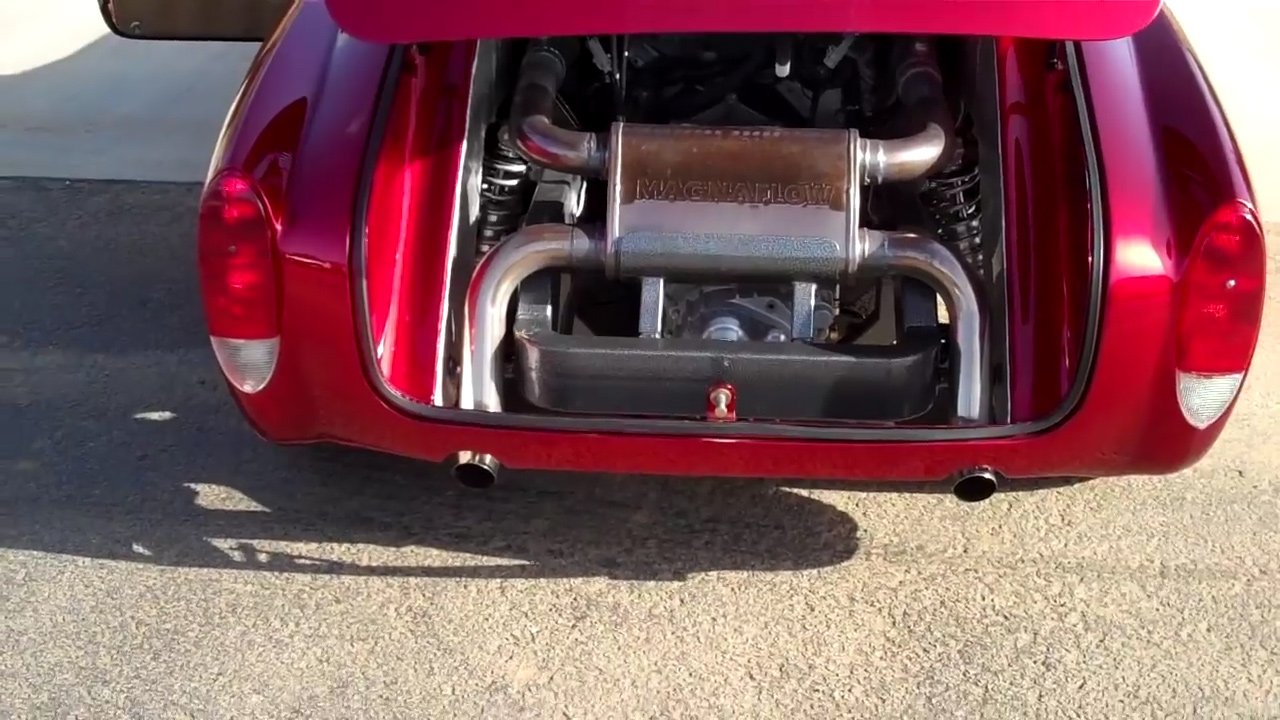
This is not the same Ghia, but I dig it as well.
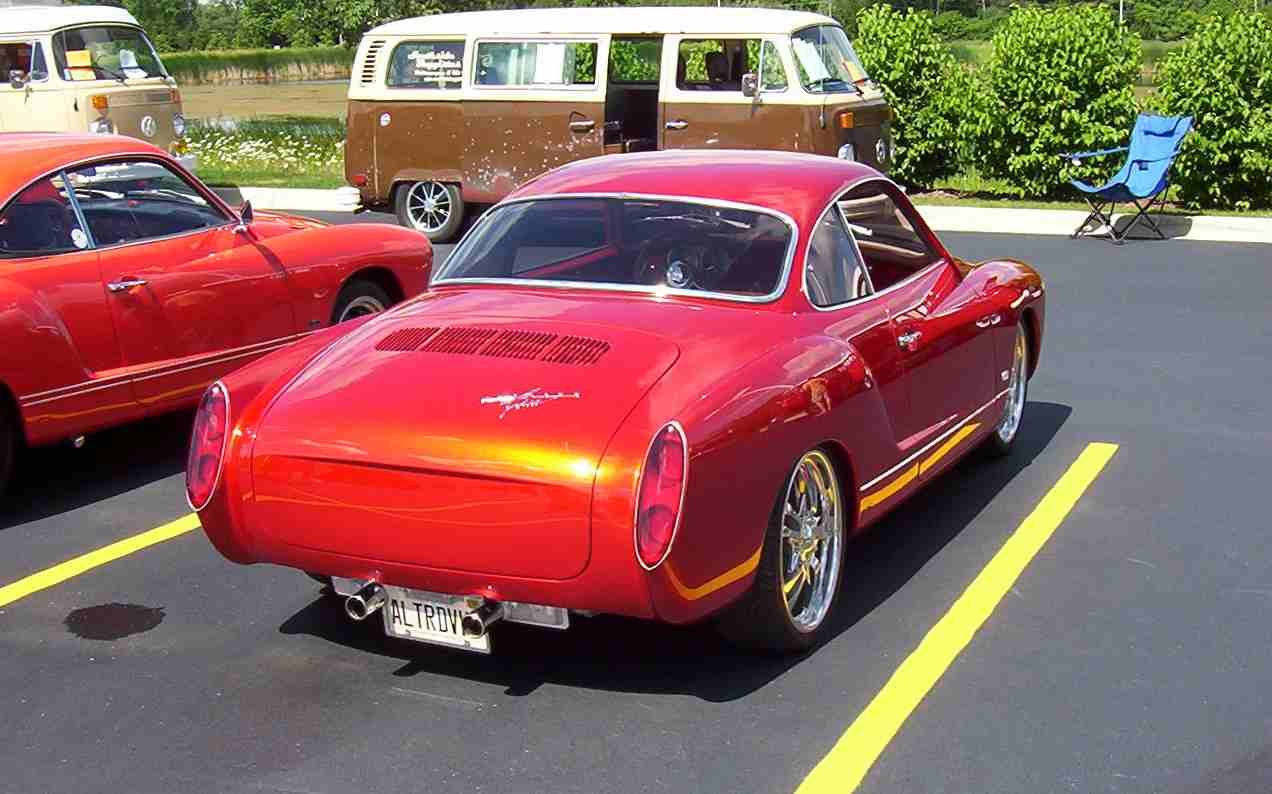
Classic Beauty

1961 Ghia Cabriolet Spotted
Today at the AIB Network during a taping of Talk It Out with Ralph Basui Watkins…
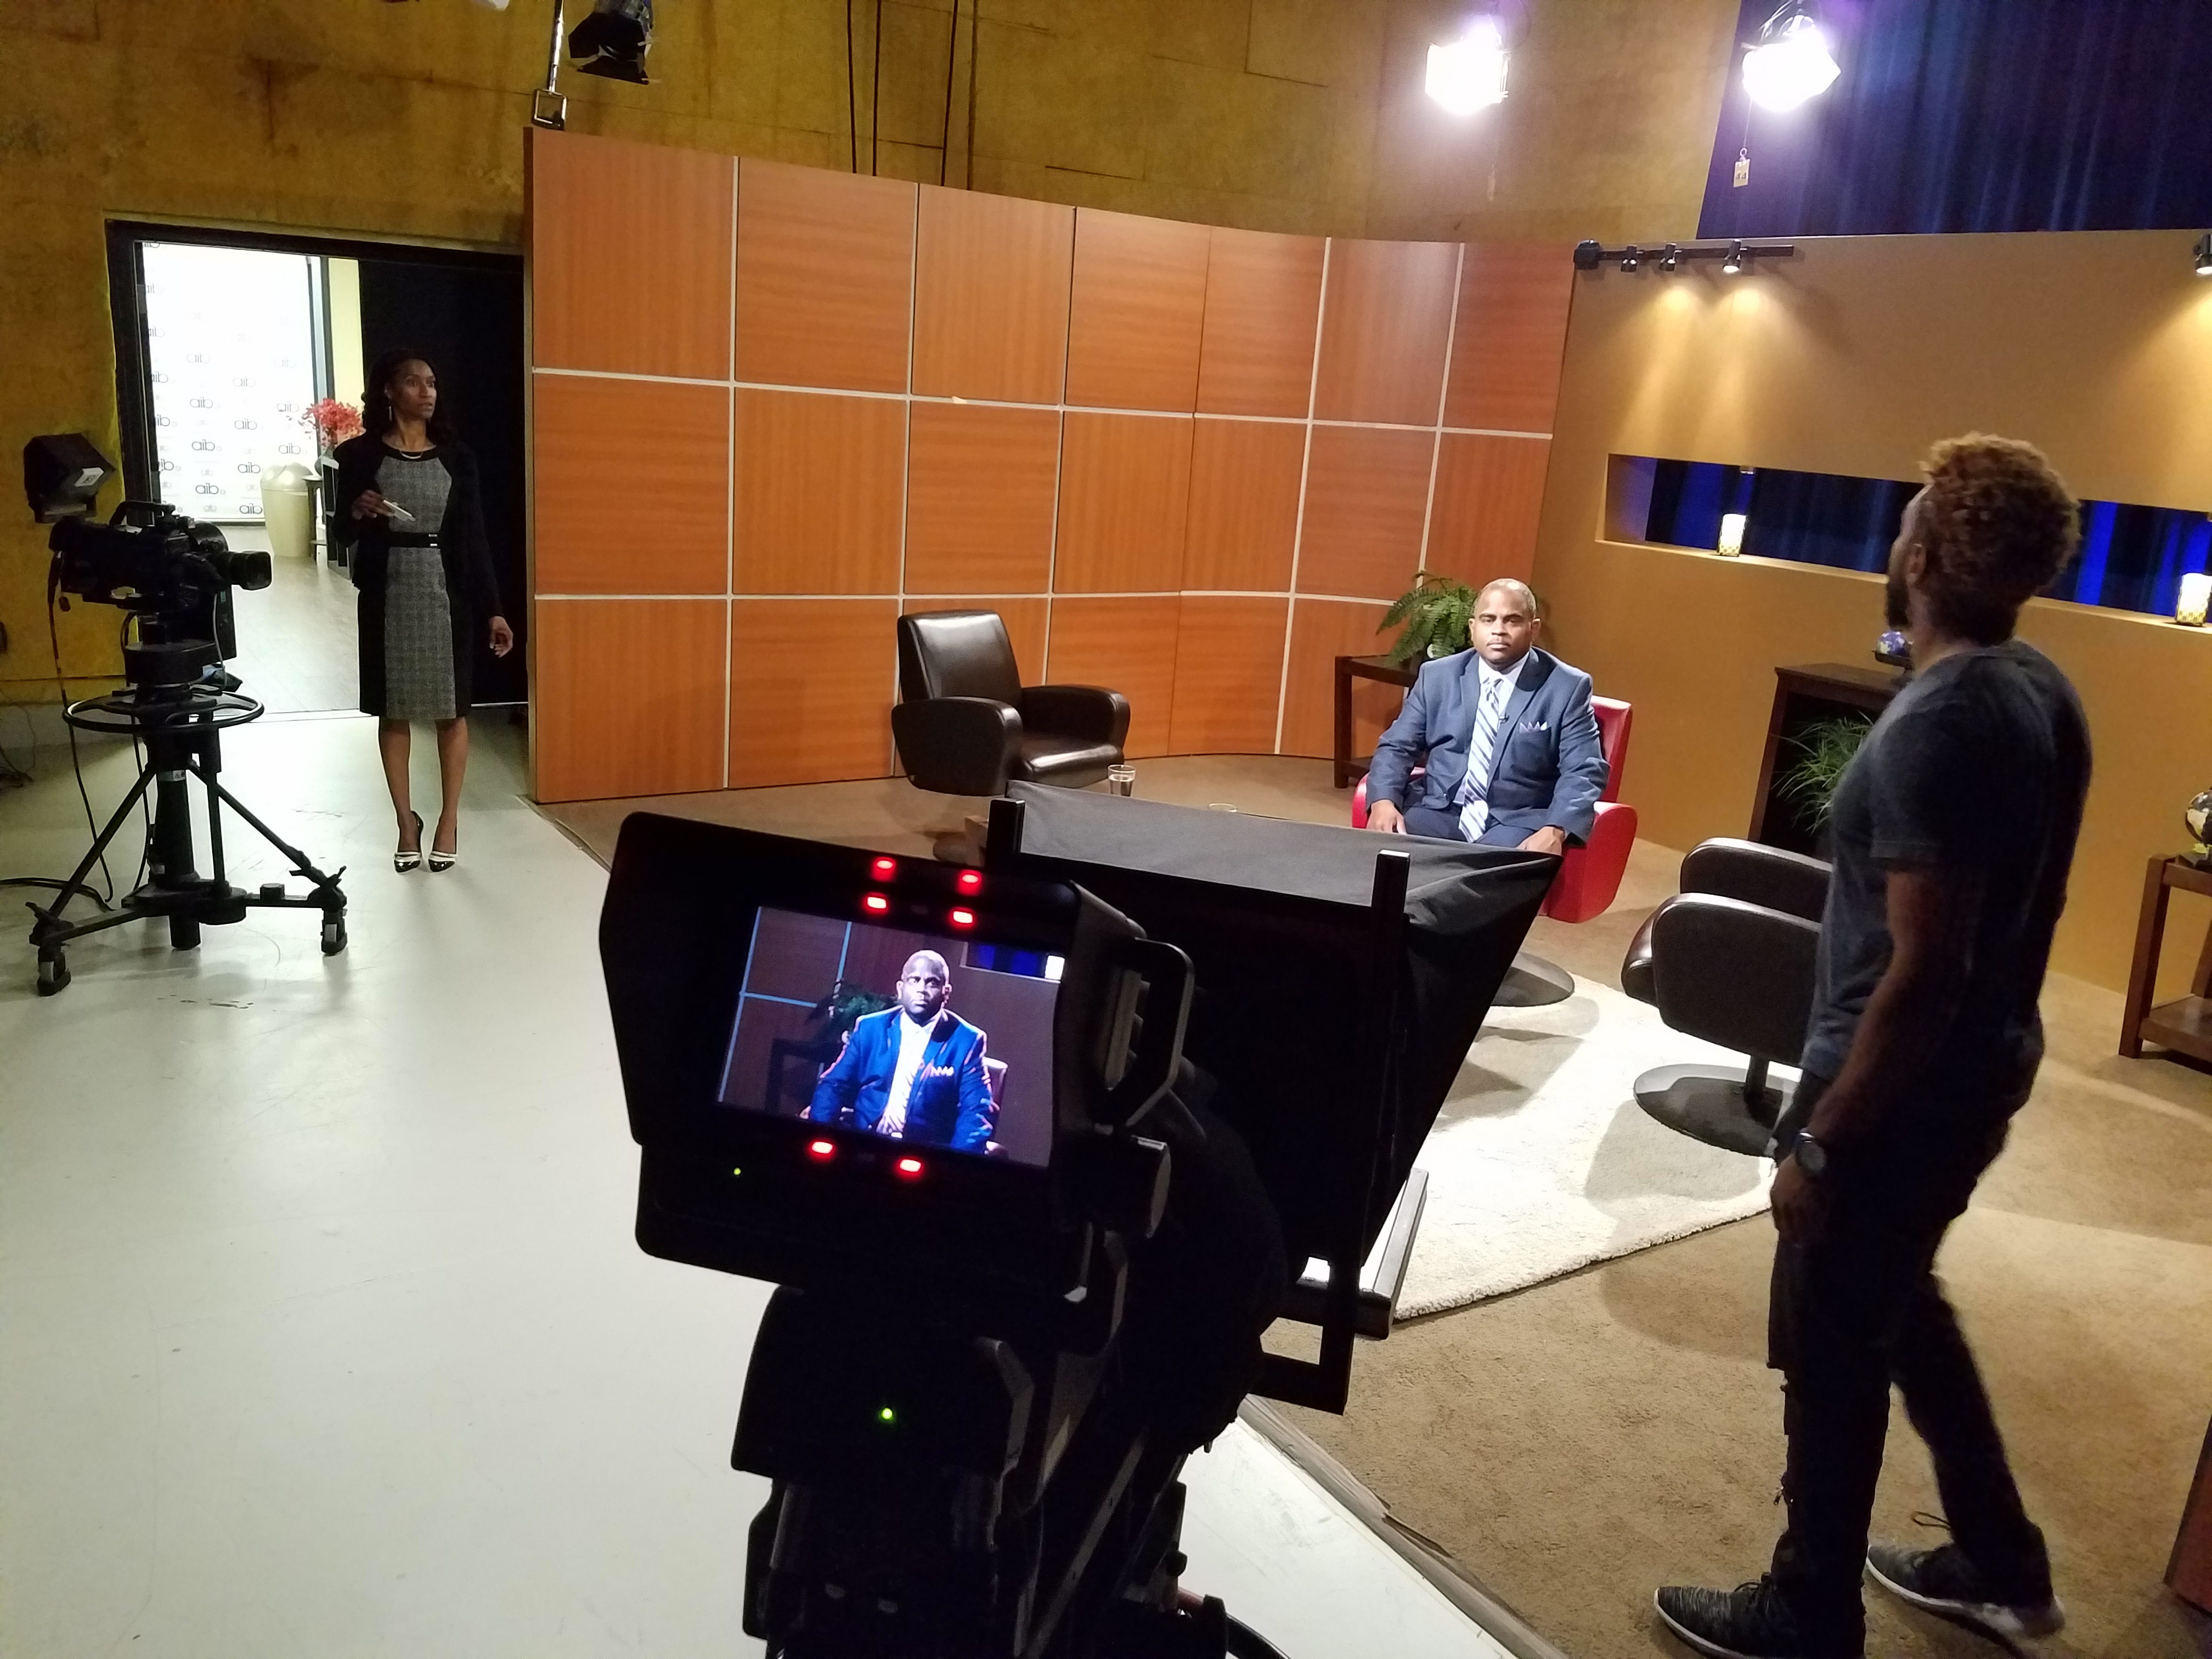
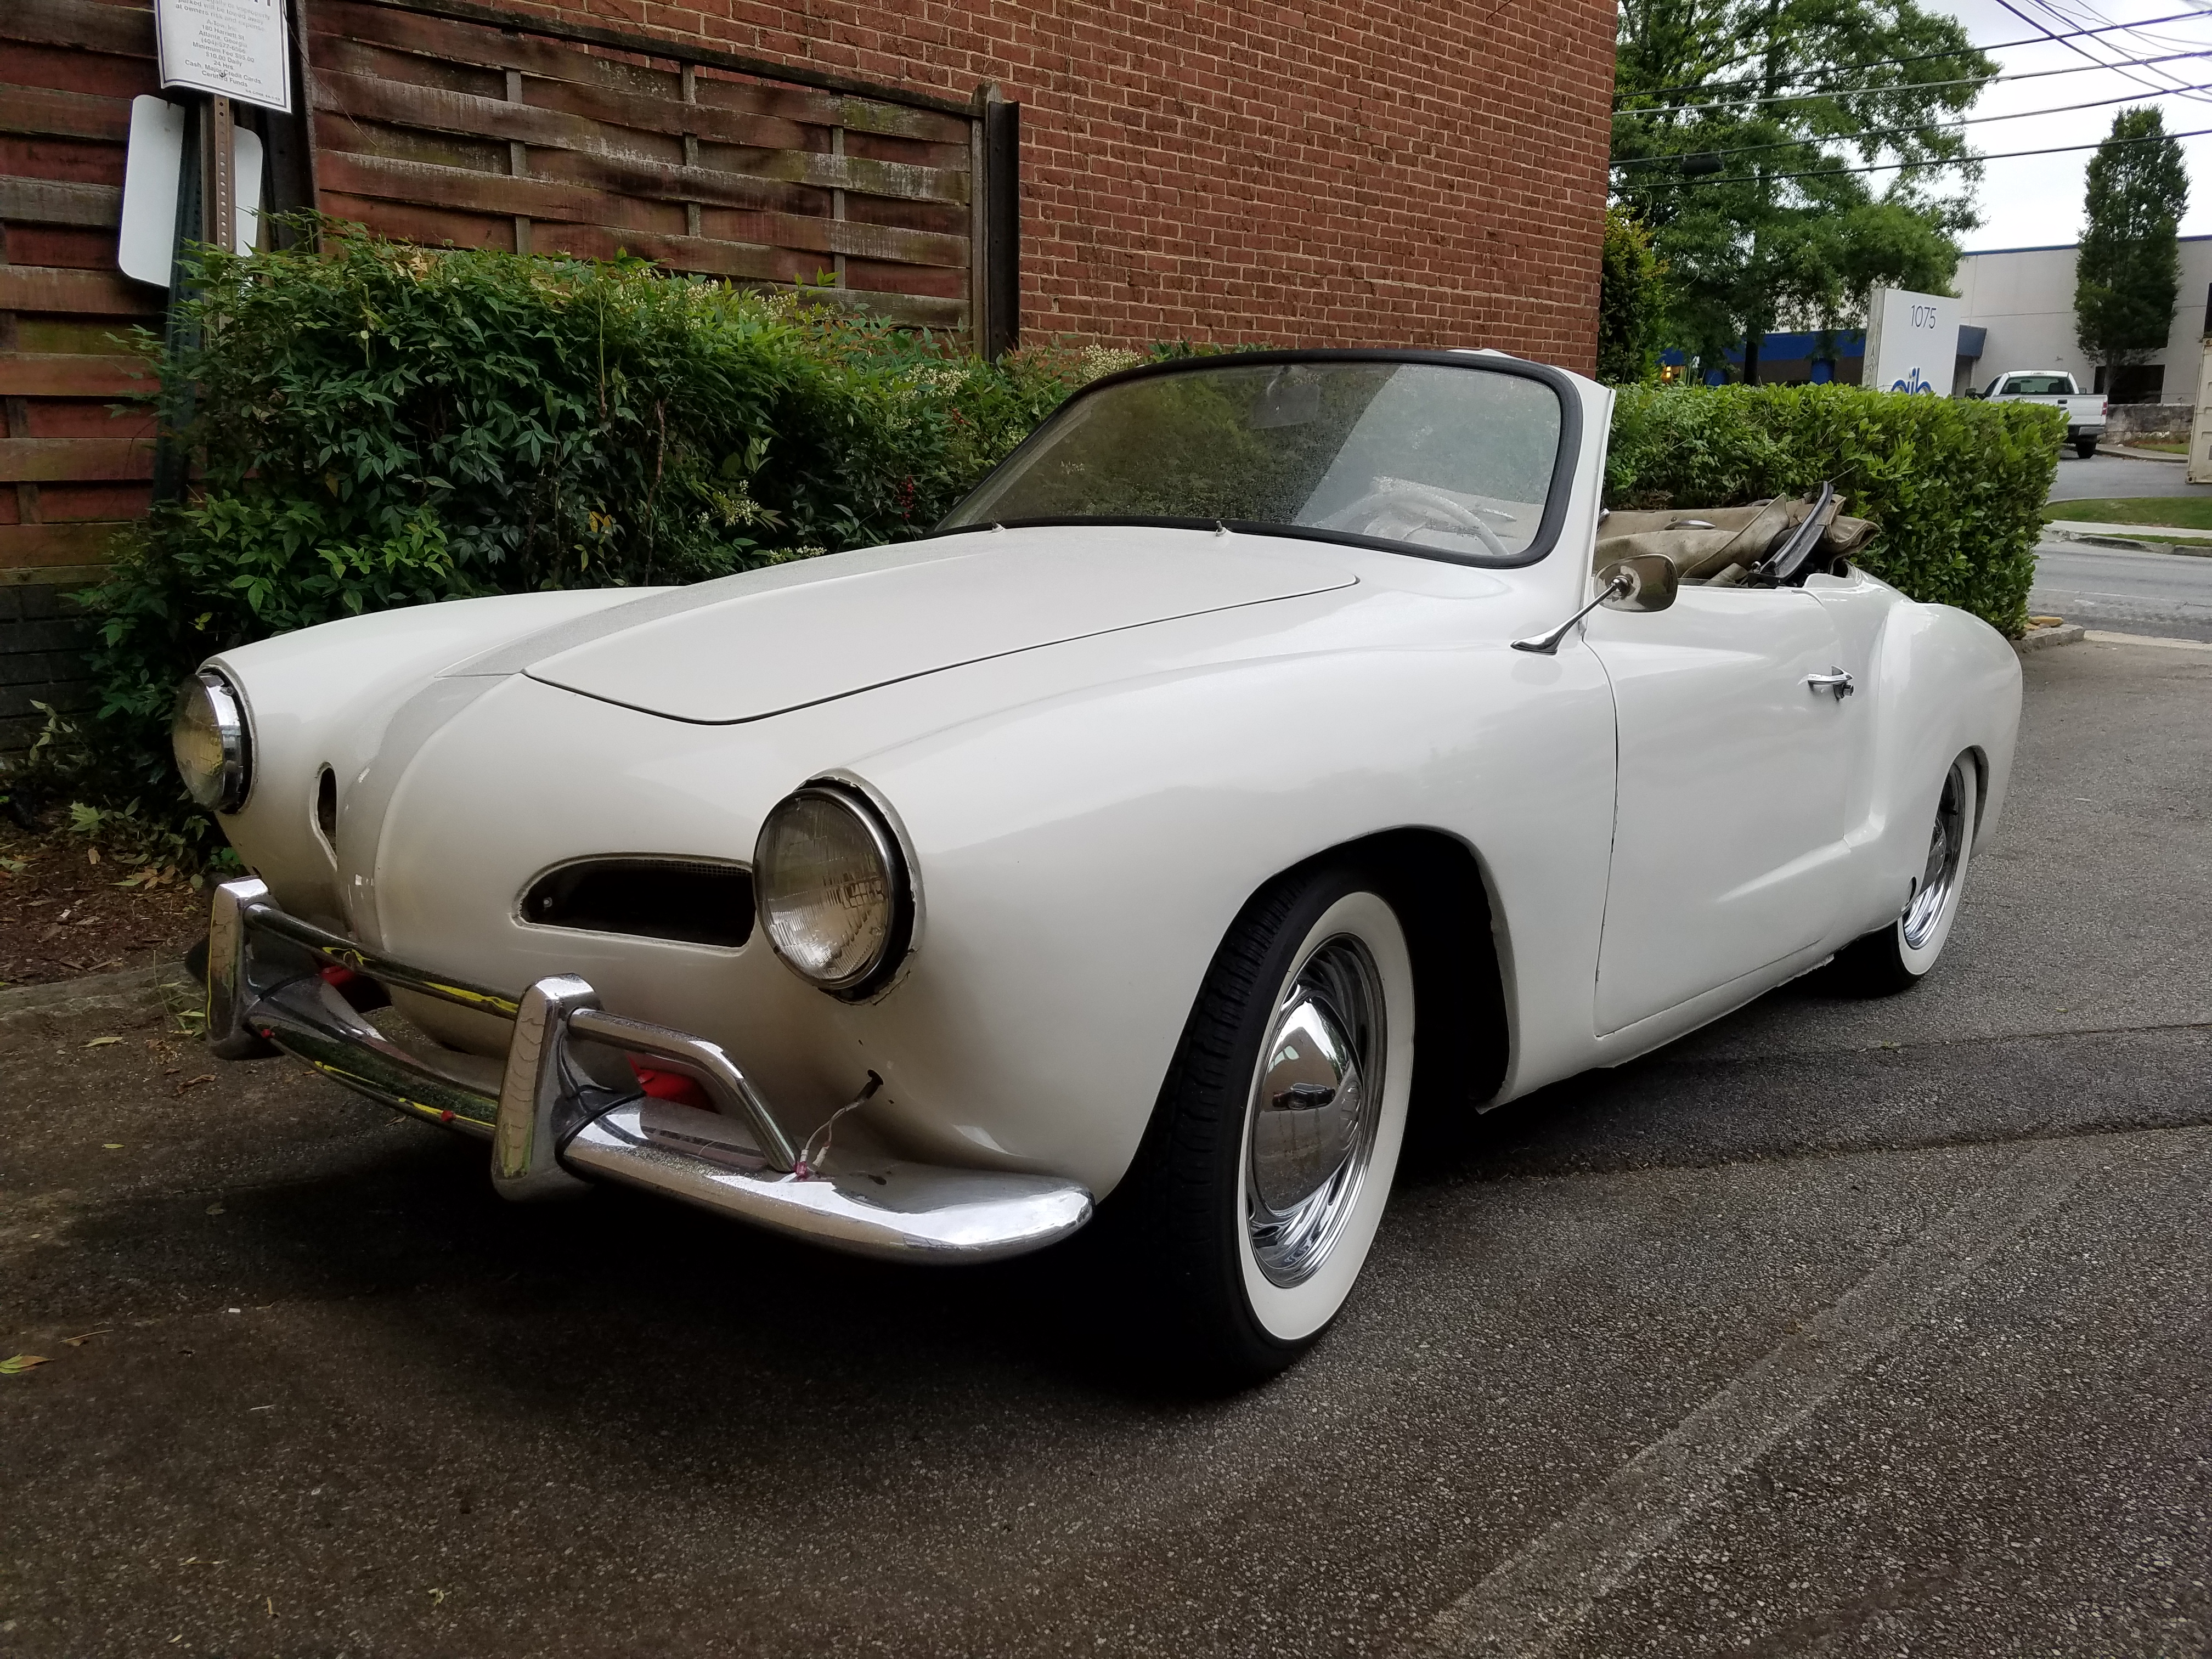
… one of our guests drove up in a 1961 Cabriolet. He and I talked shop for a bit before show time.
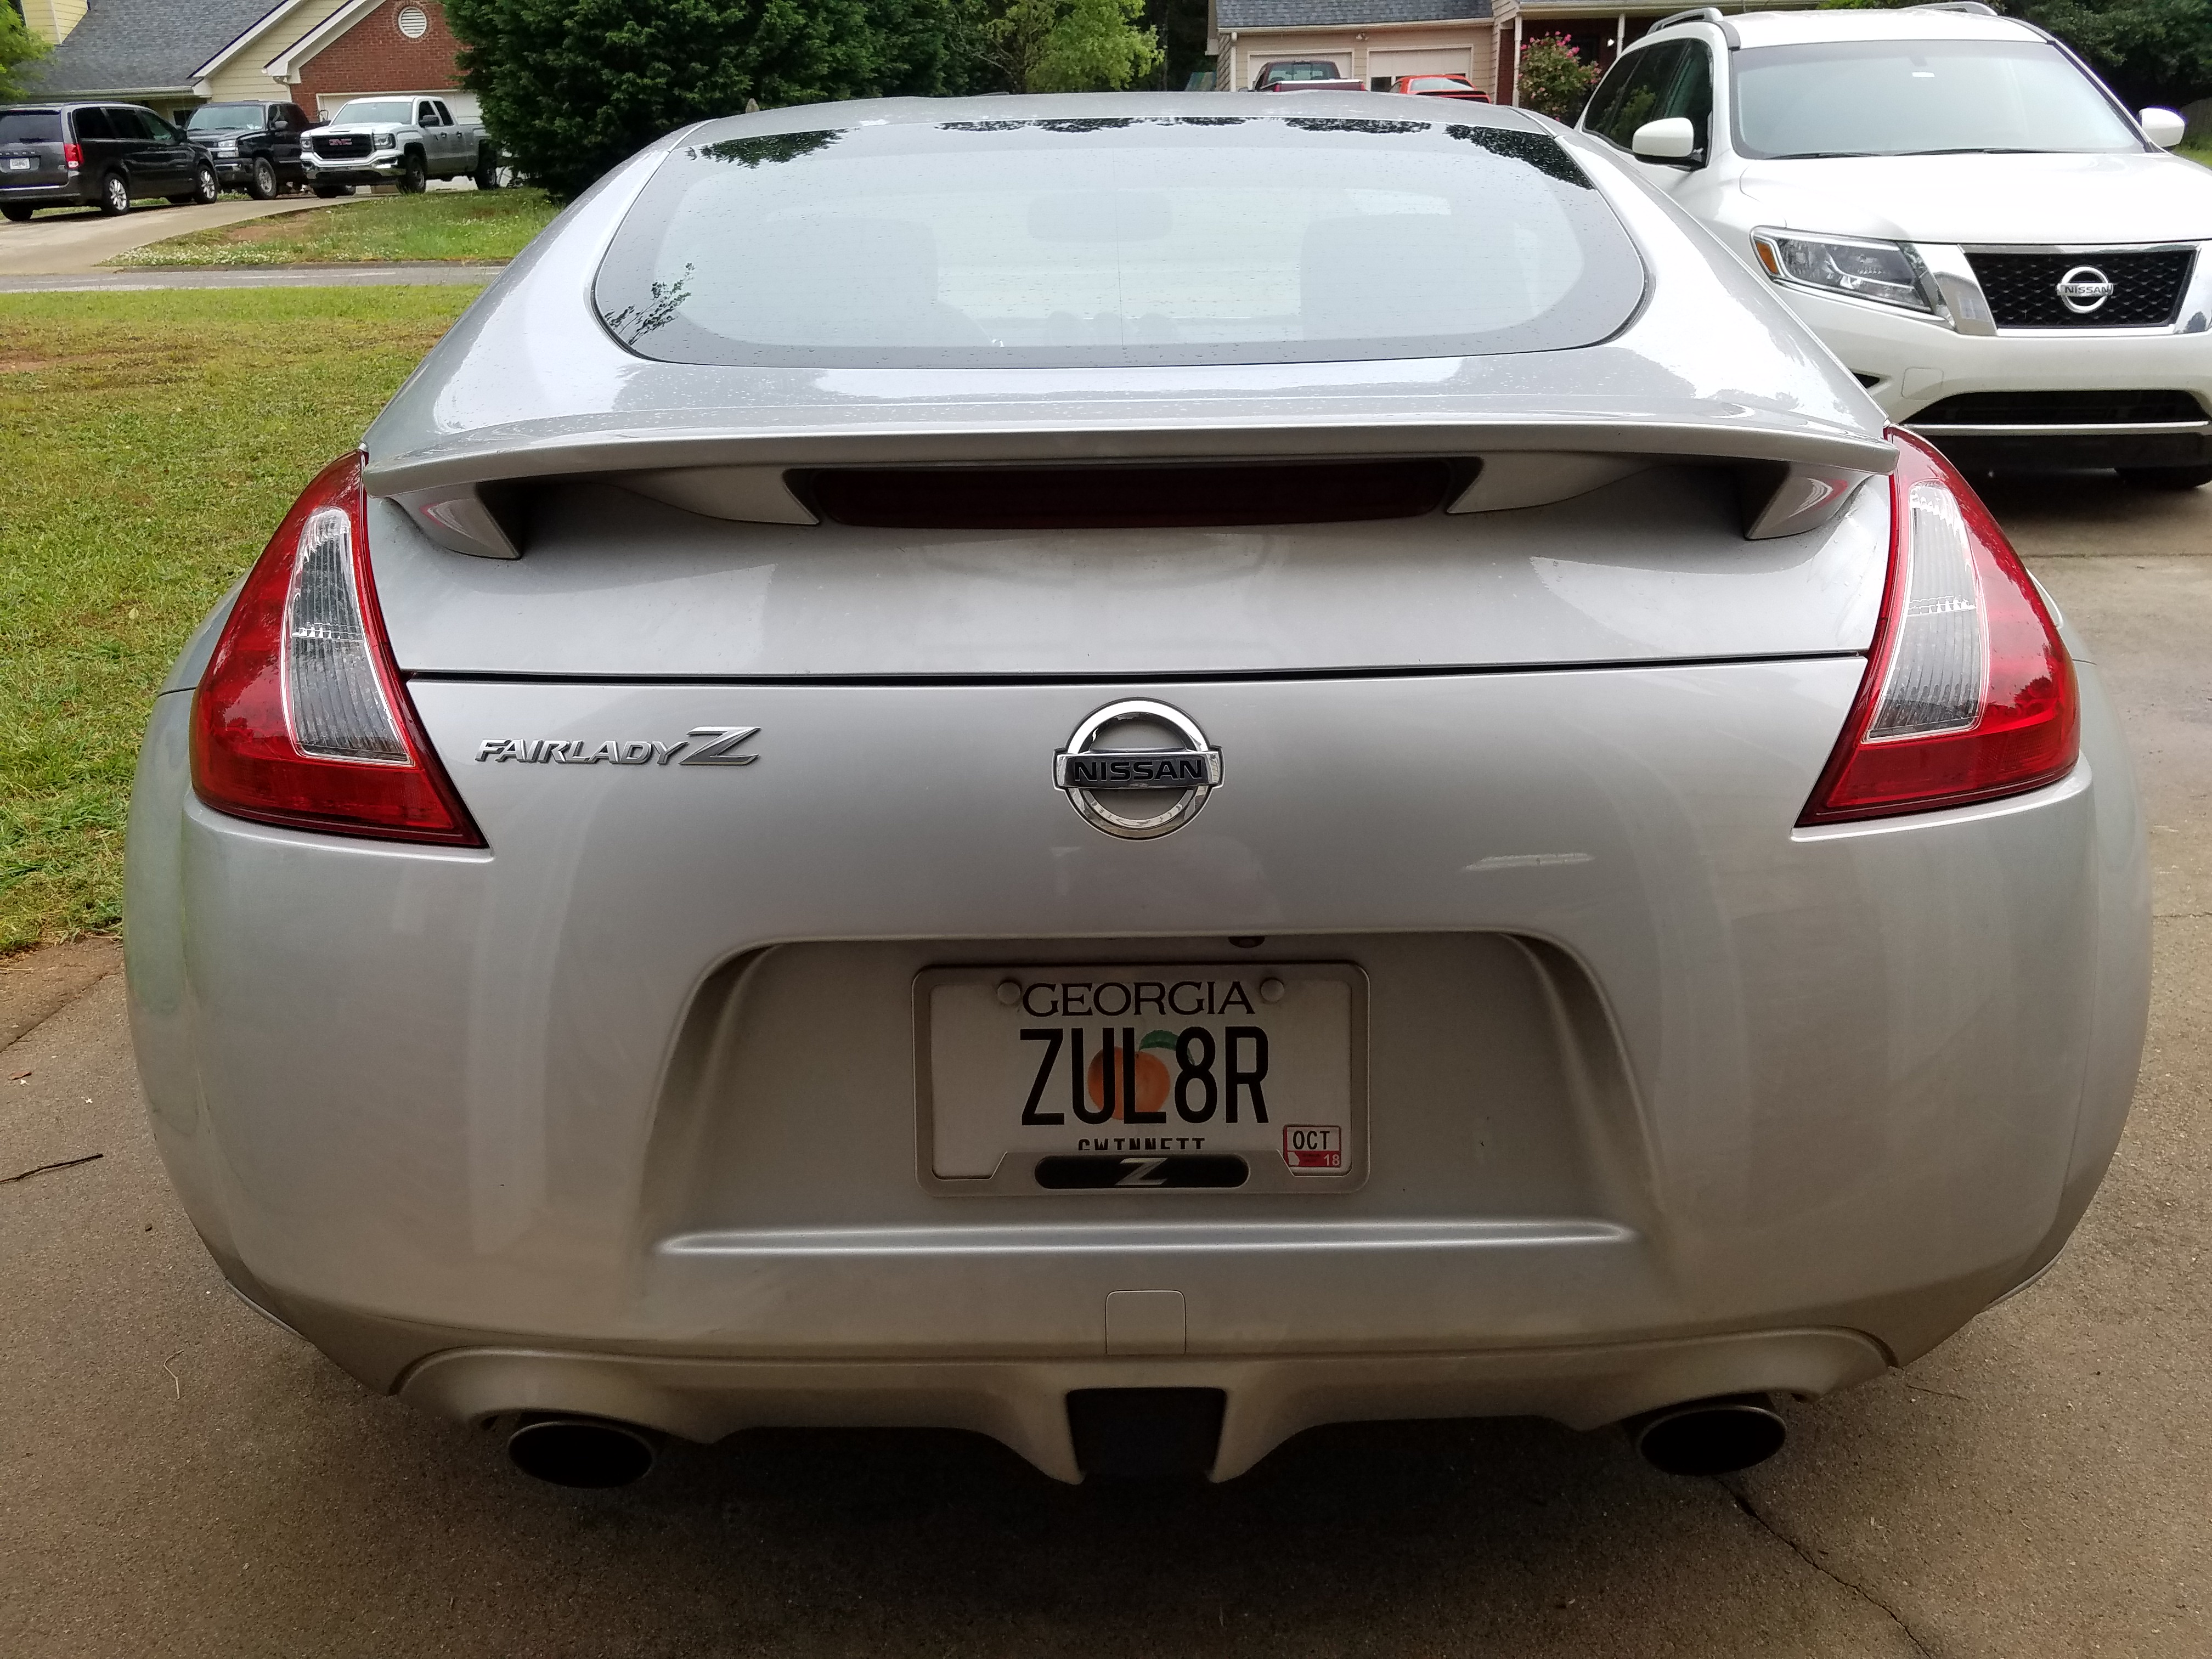
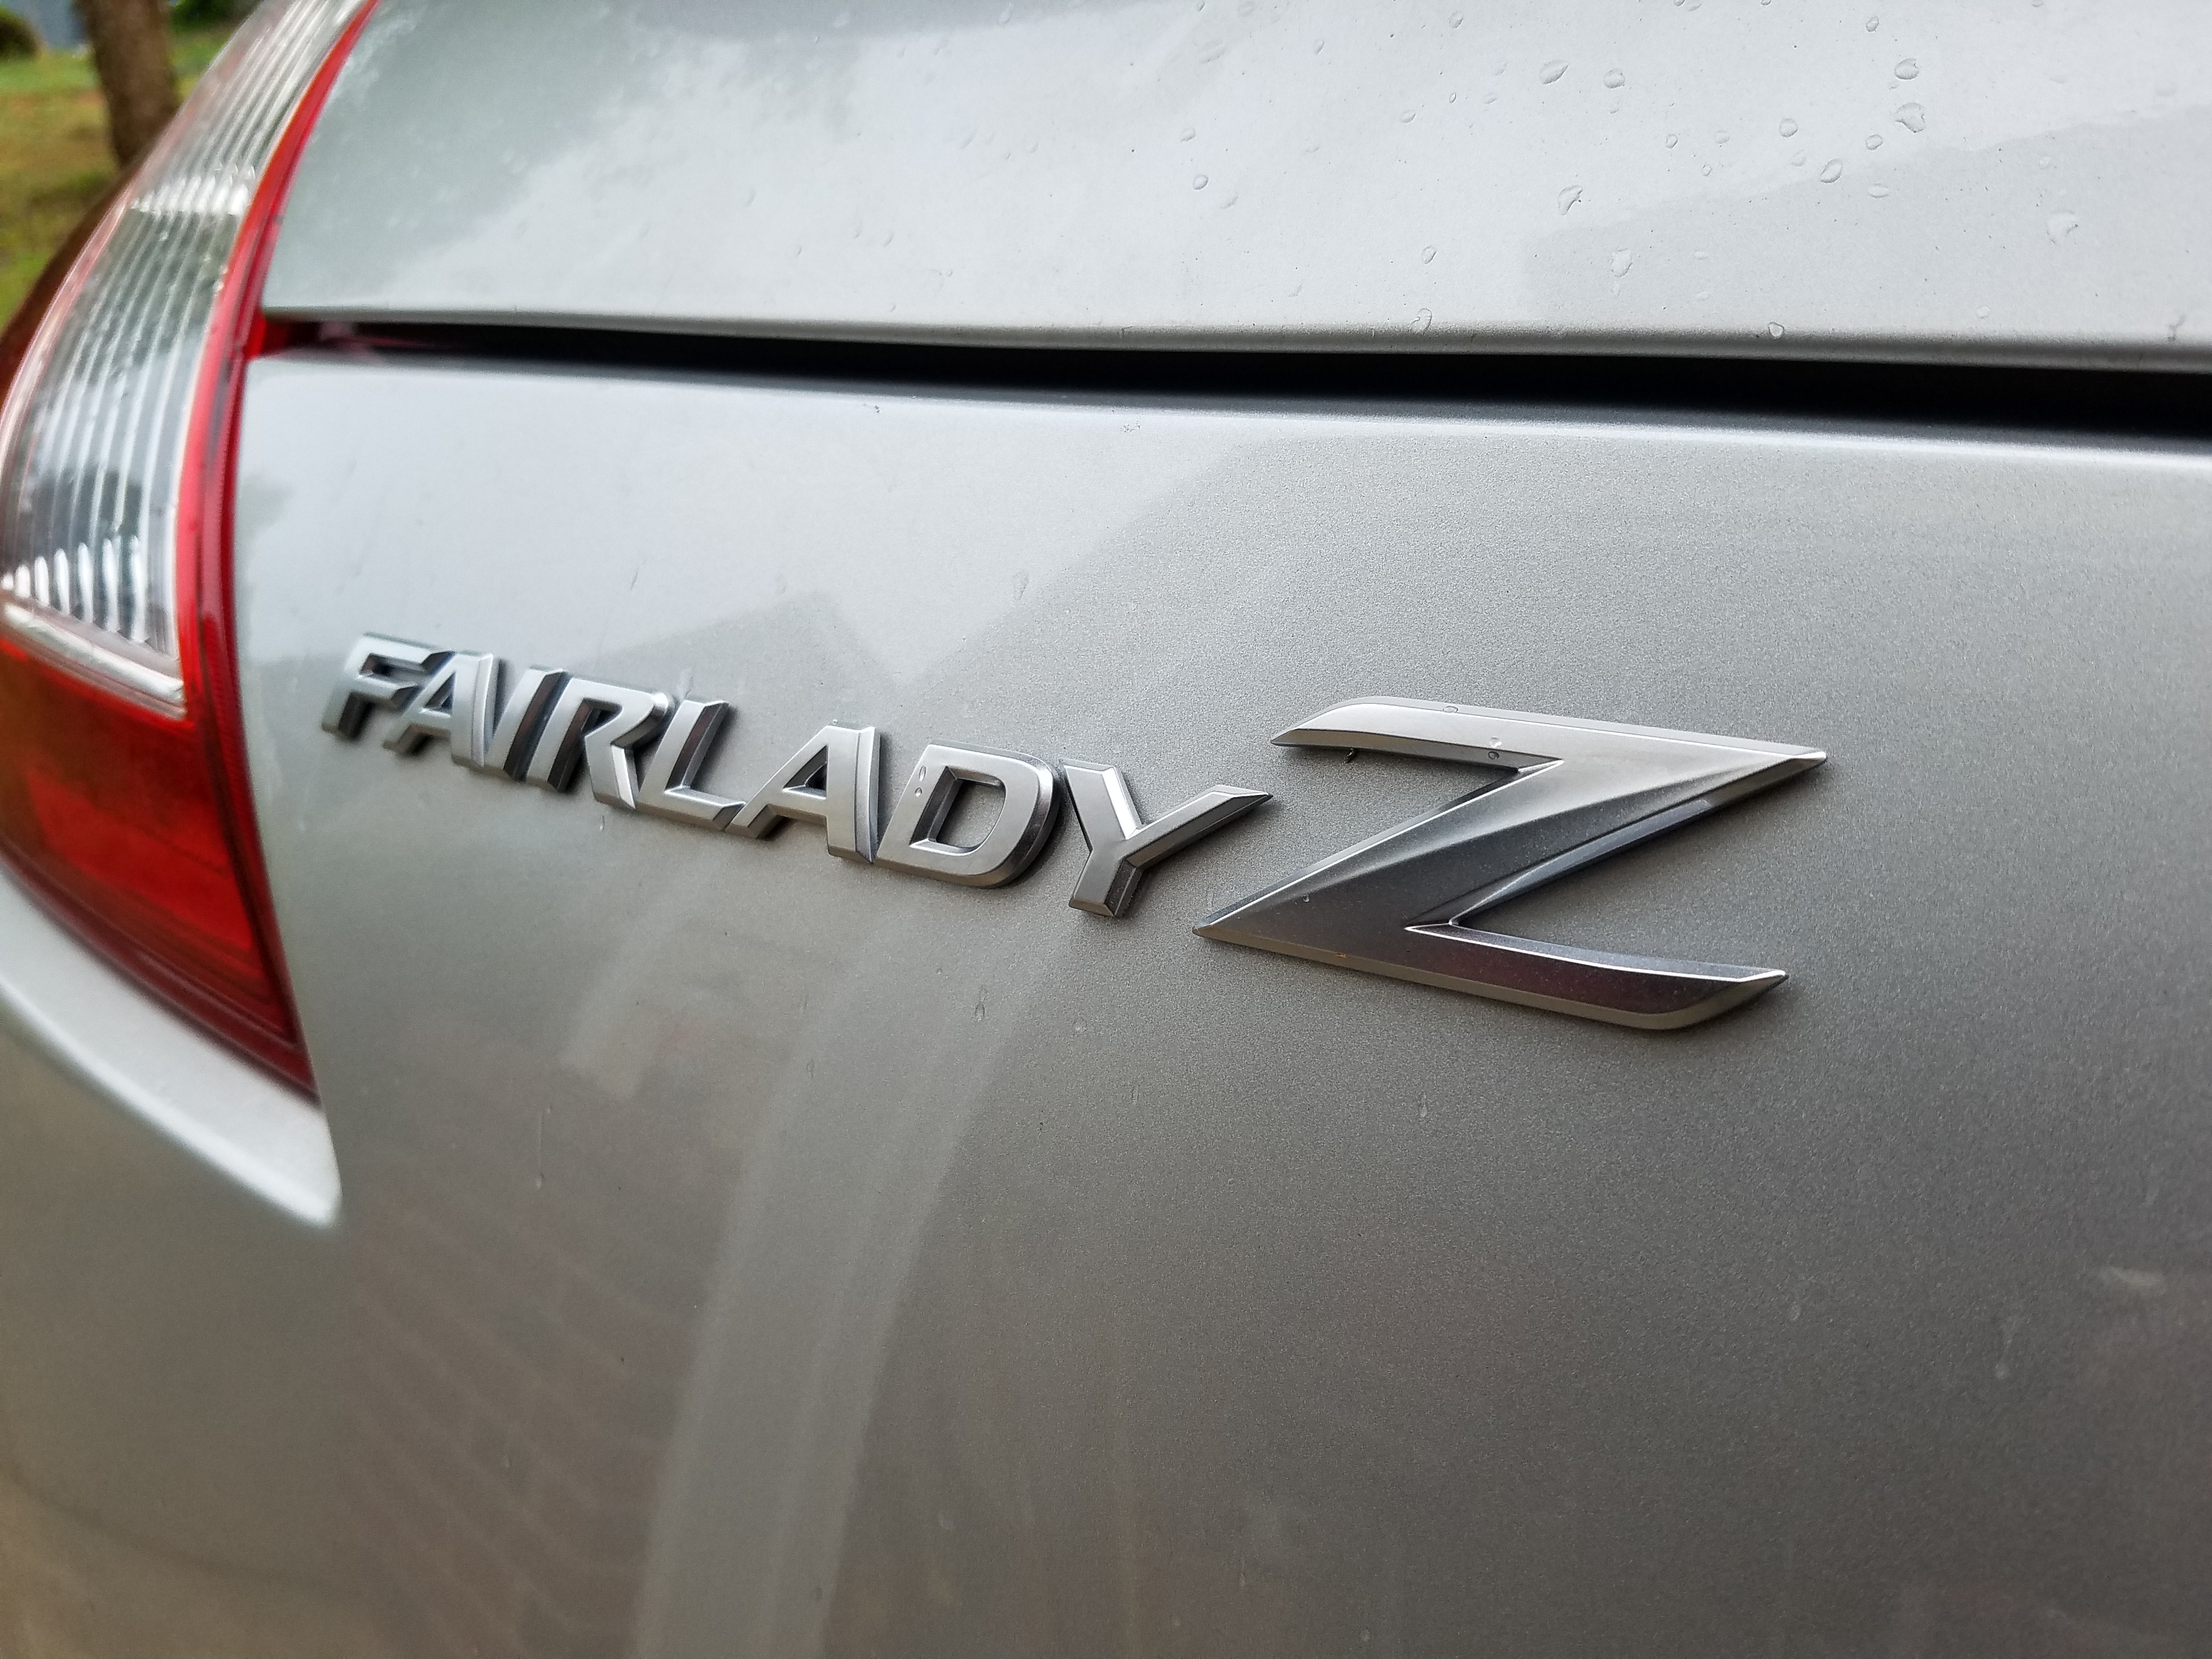
Fairlady Z Badges
I got bored and decided to pull the 370Z badge from the Nissan.
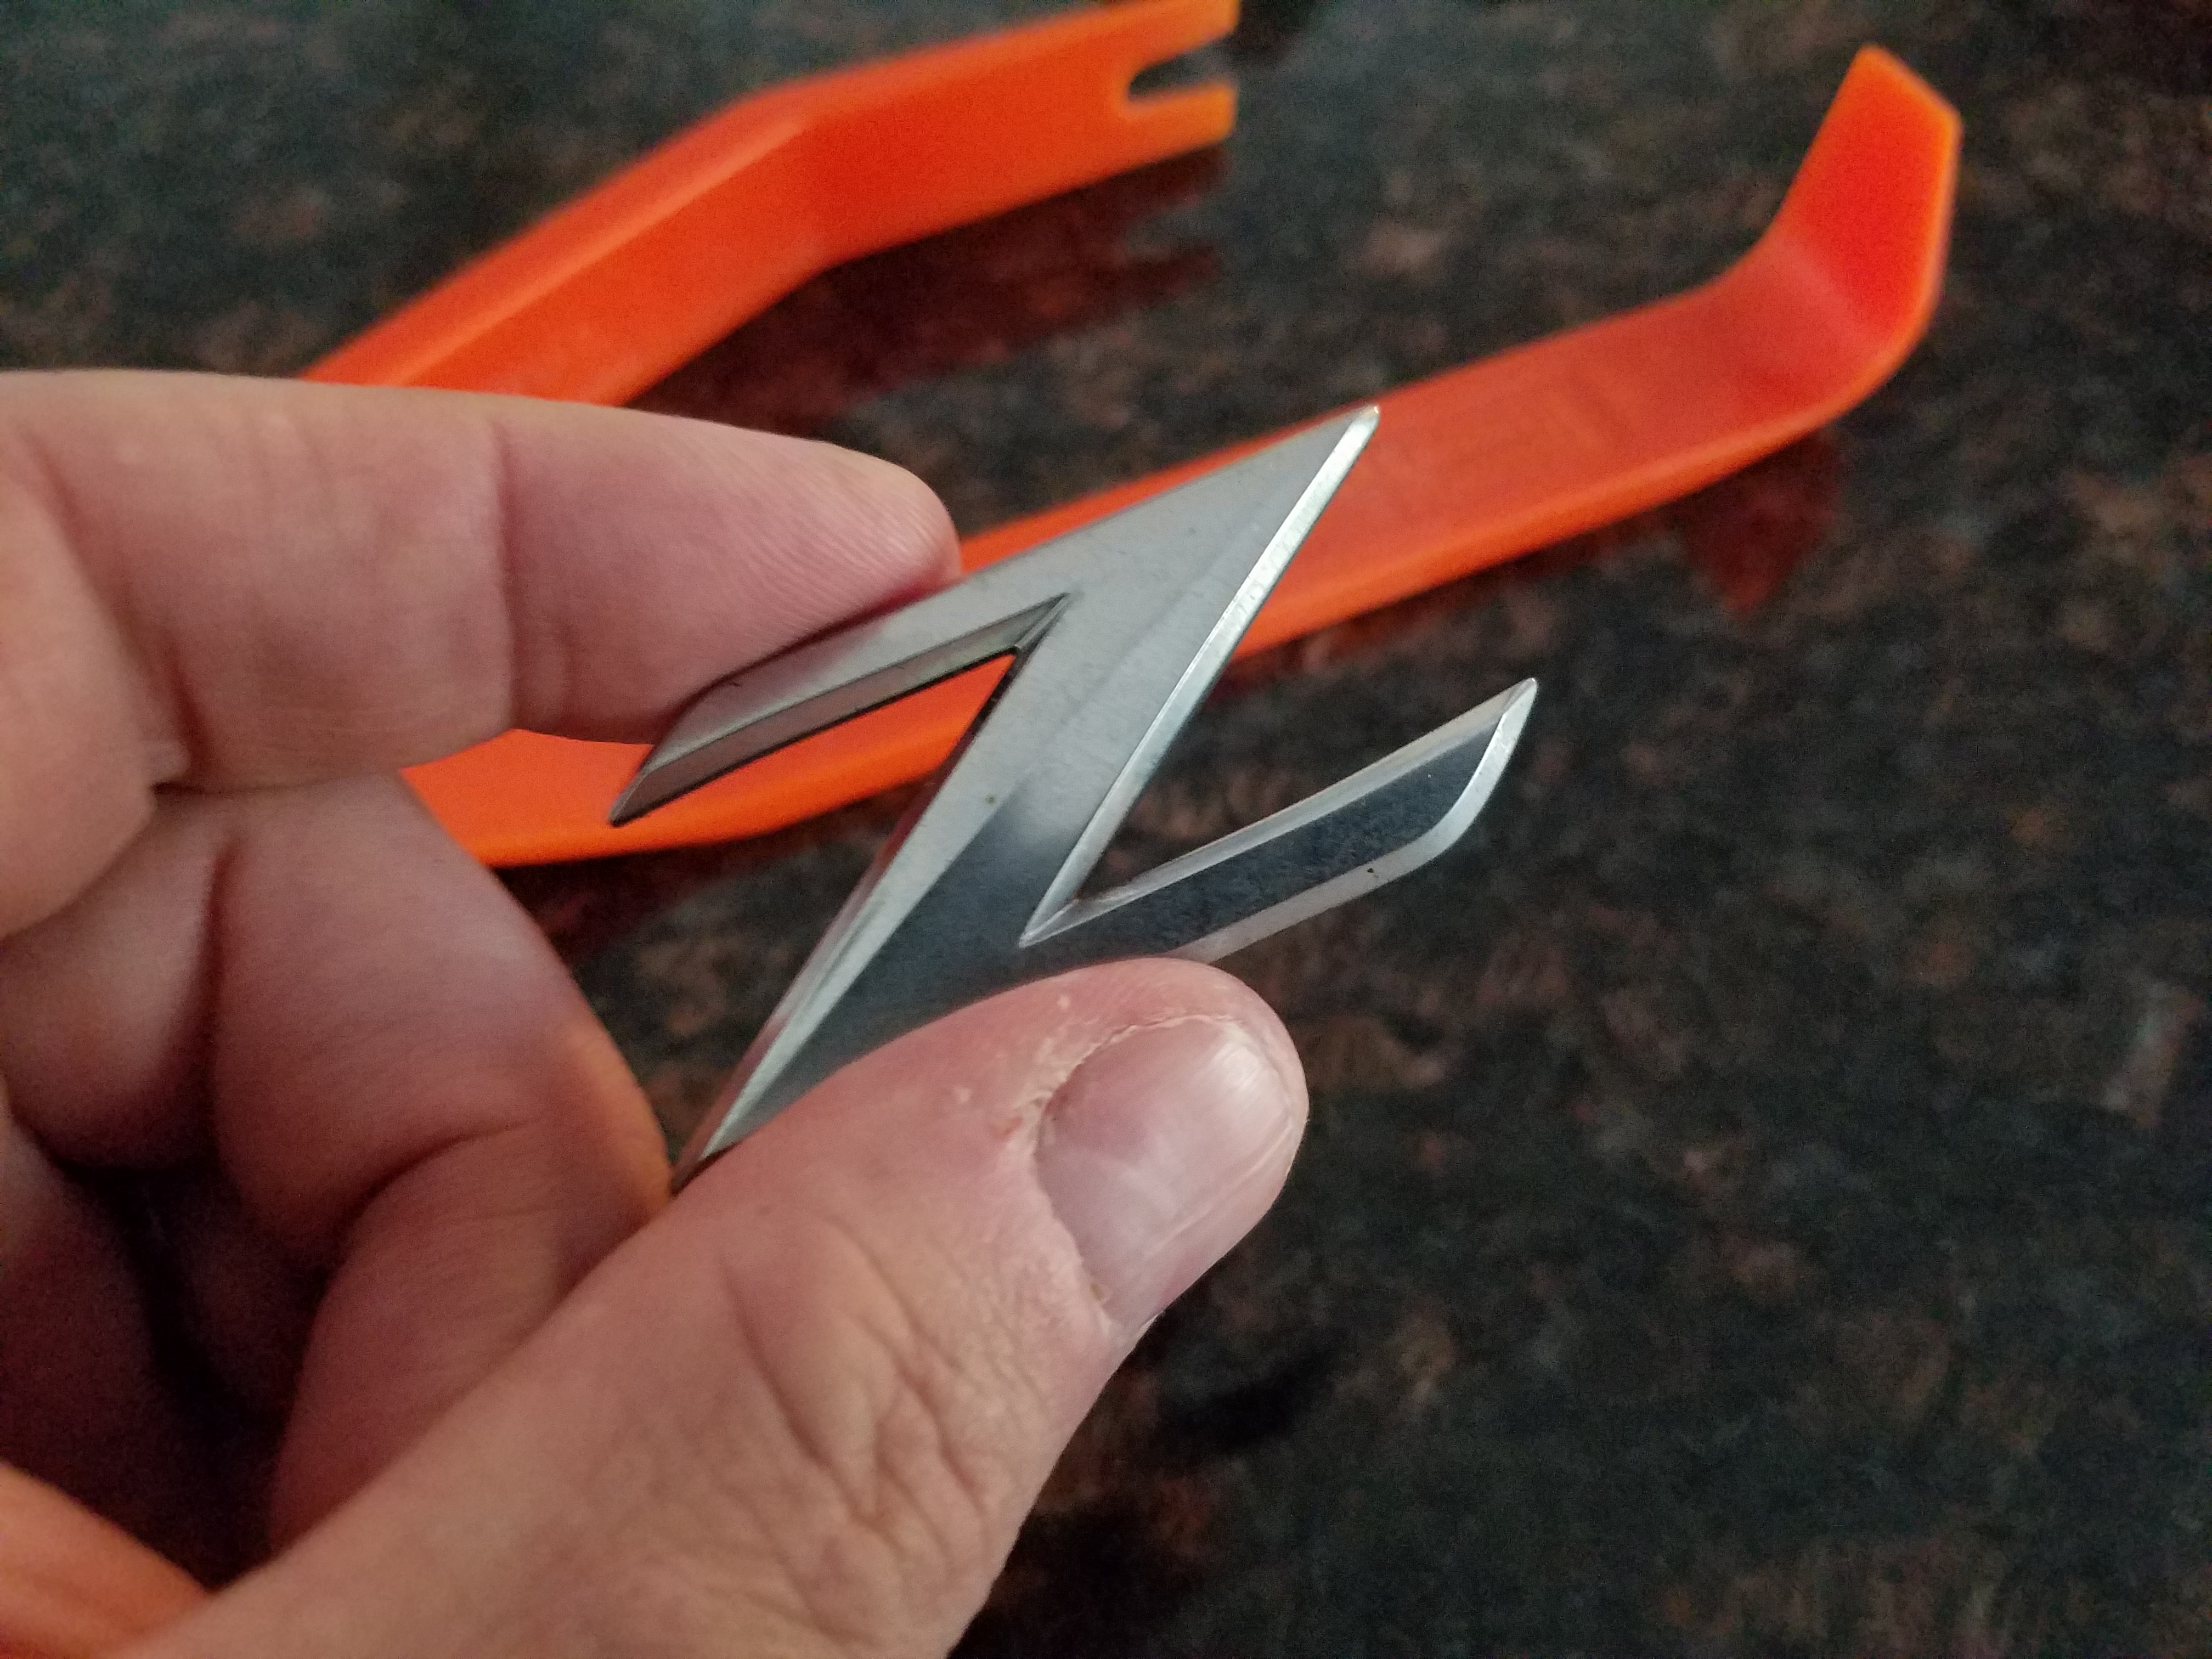
Badges? We don’t need to stinking badges.
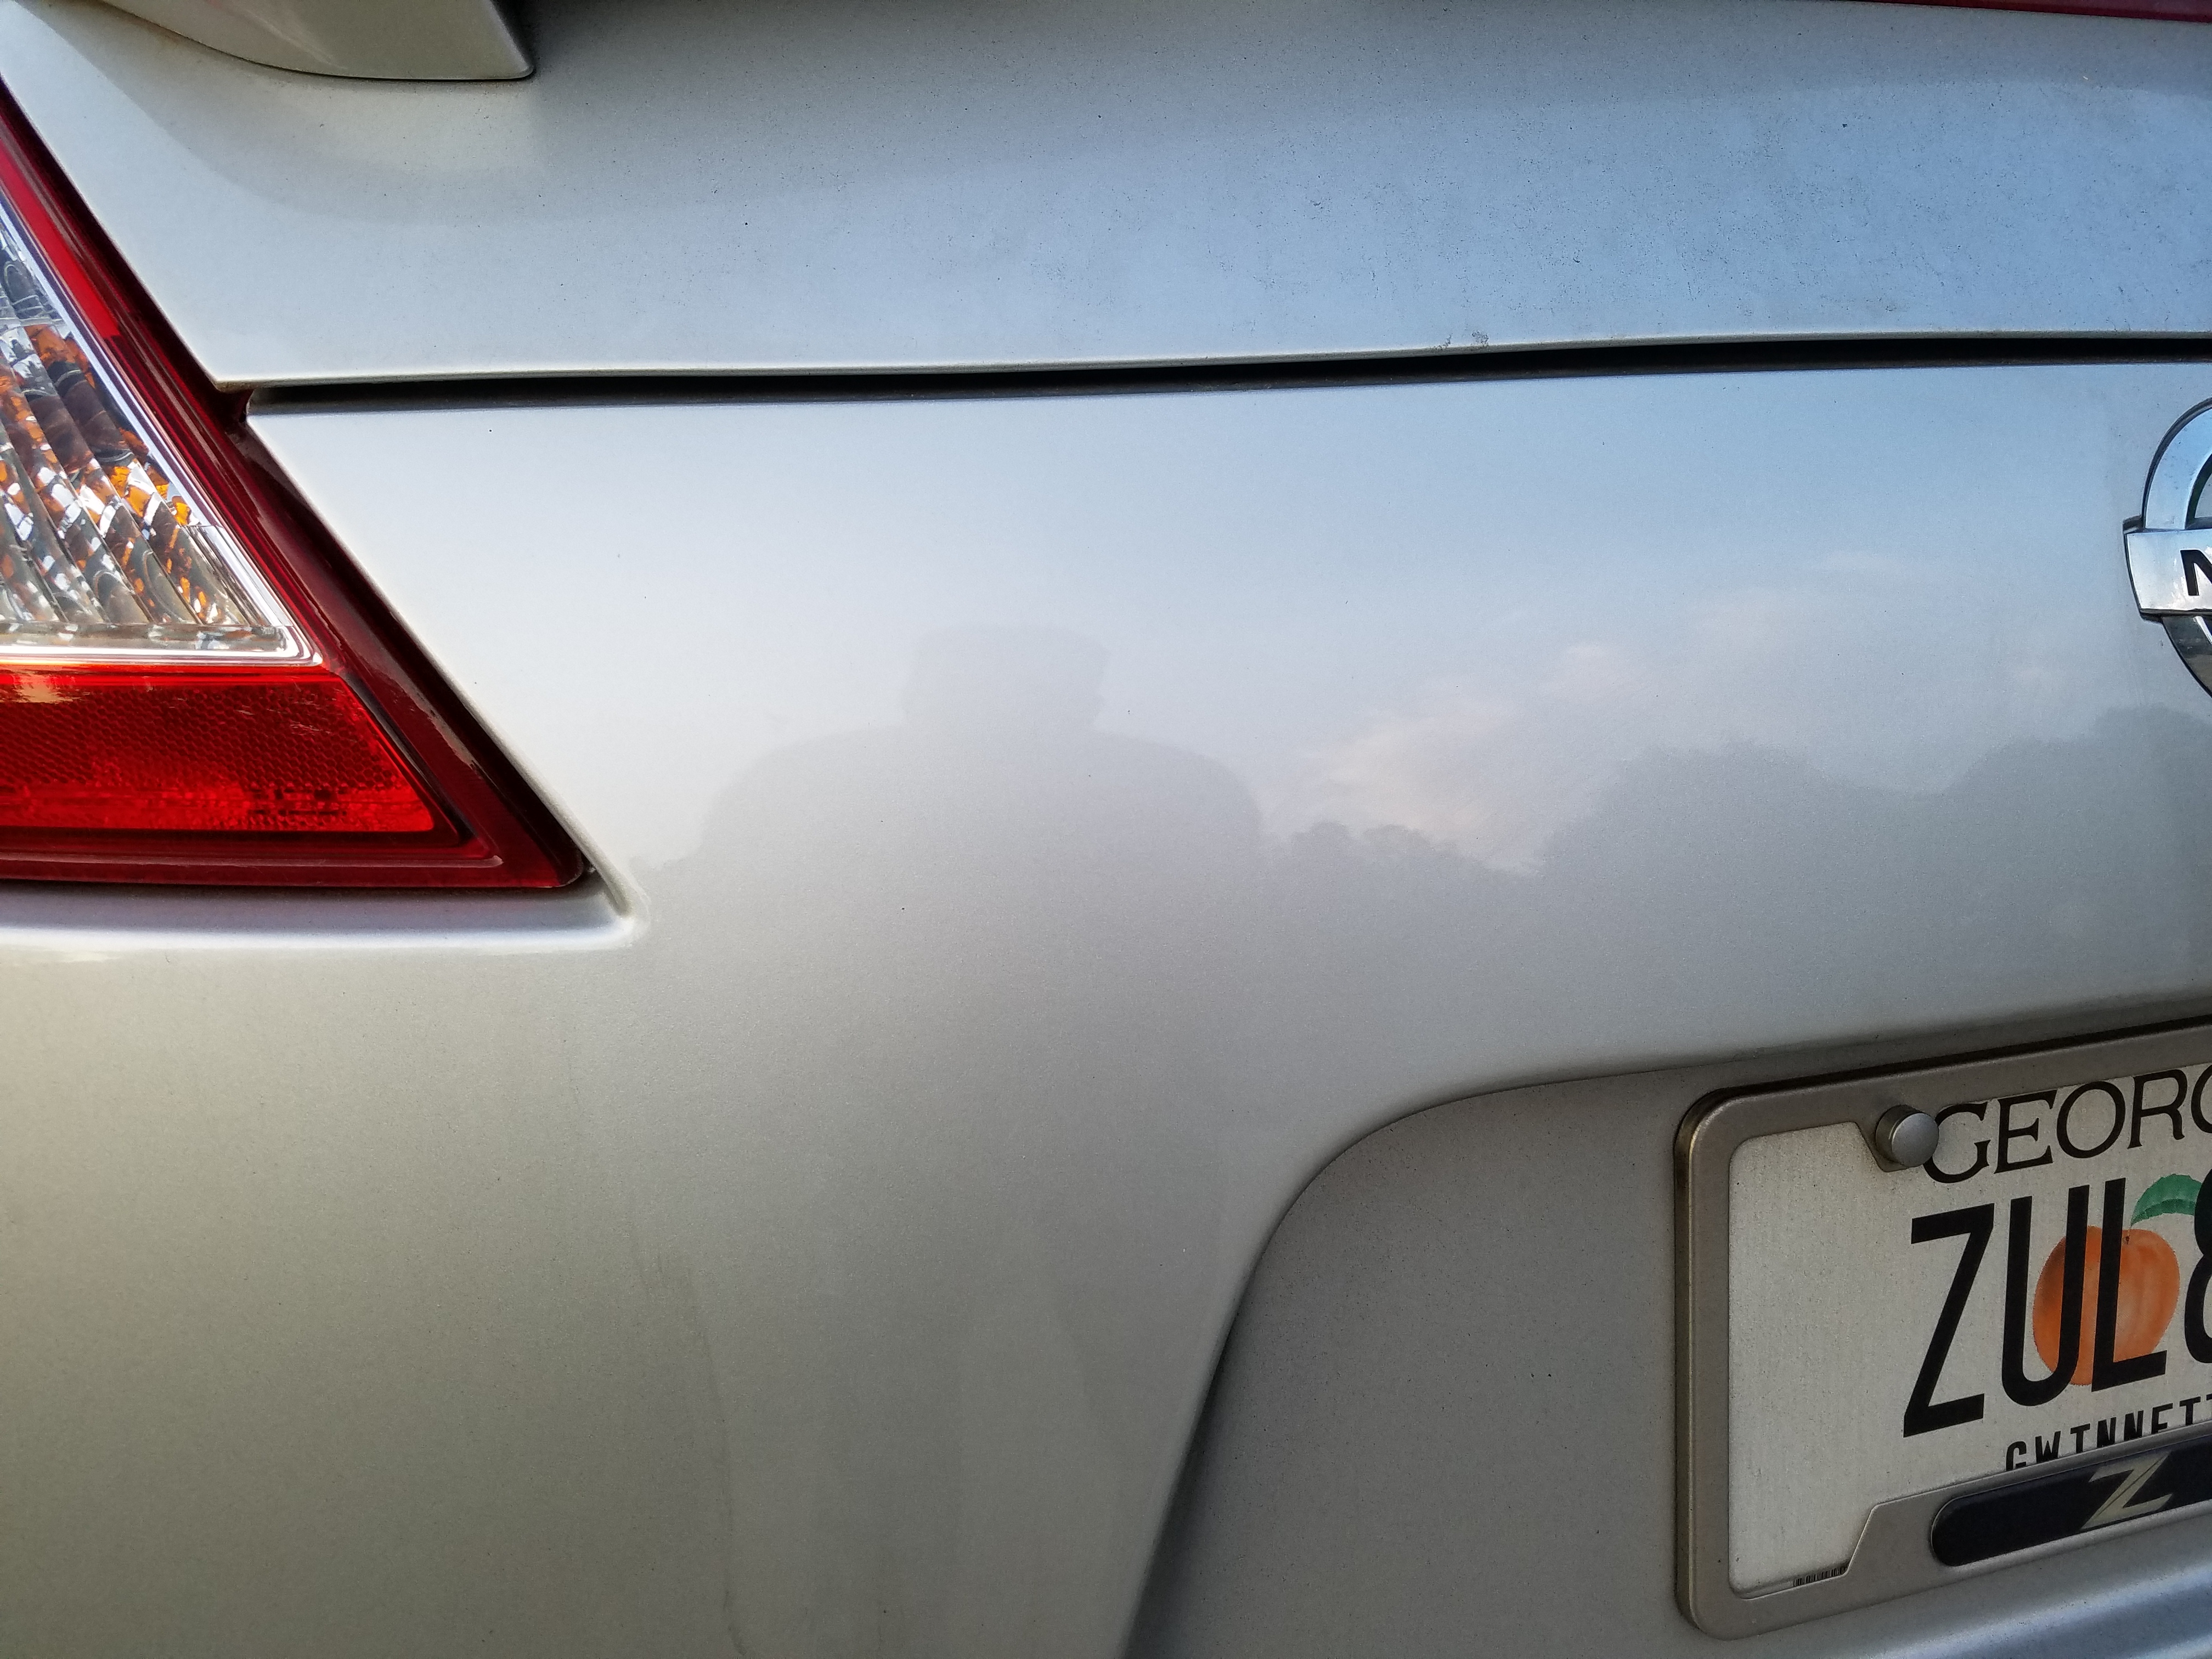
To pay homage to the Z’s lineage, I decided to install the JDM Fairlady badges.
My 370Z Stereo System
Again, this is from my 370Z and not the Ghia, but I thought it might be interesting to some. Become is an portion of a thread I created at The370Z.com chronicling my stereo install. Enjoy! Got me some fiberglass, 400 grit and stainless steel rod today. 😉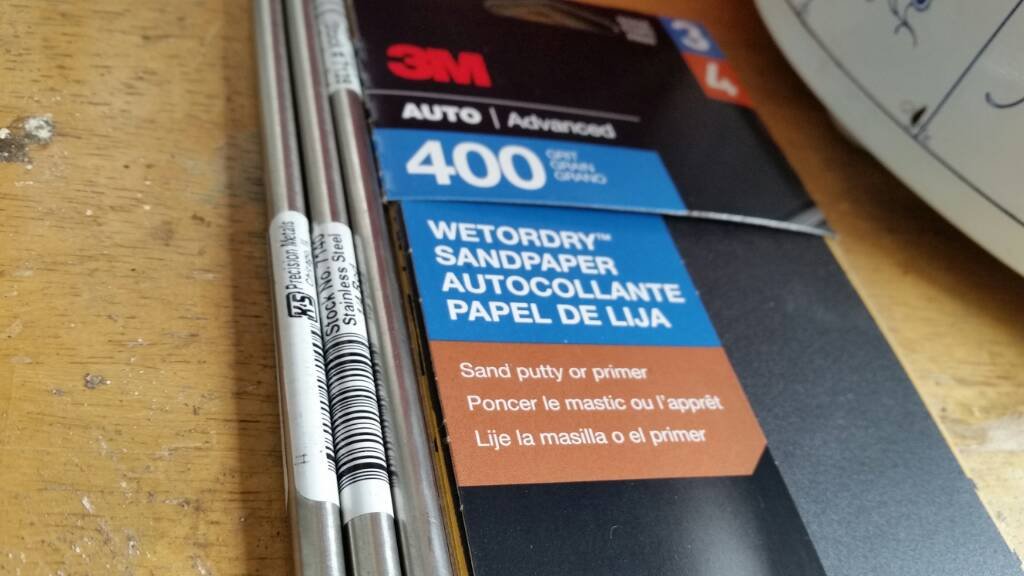
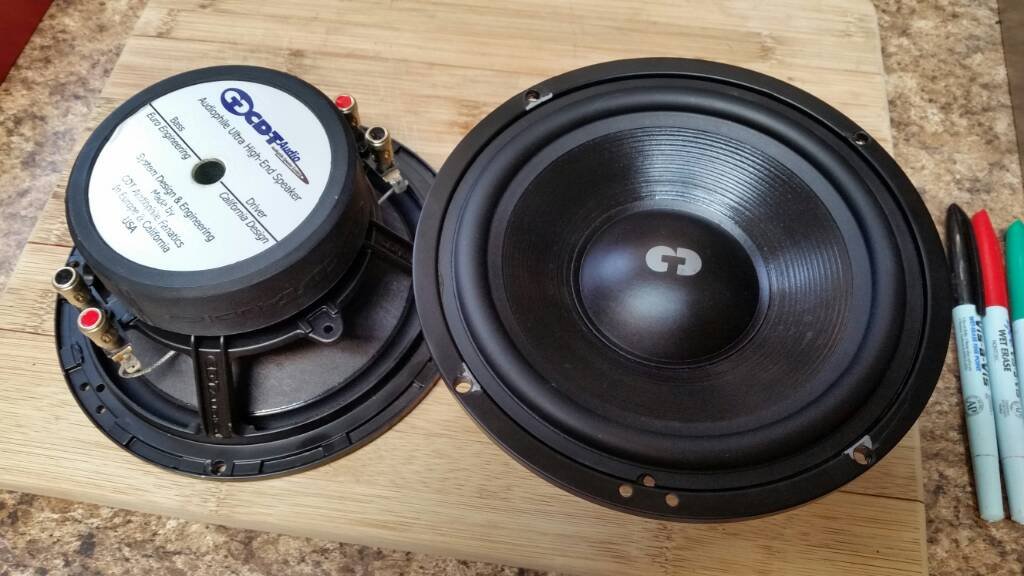 Woot!
Woot!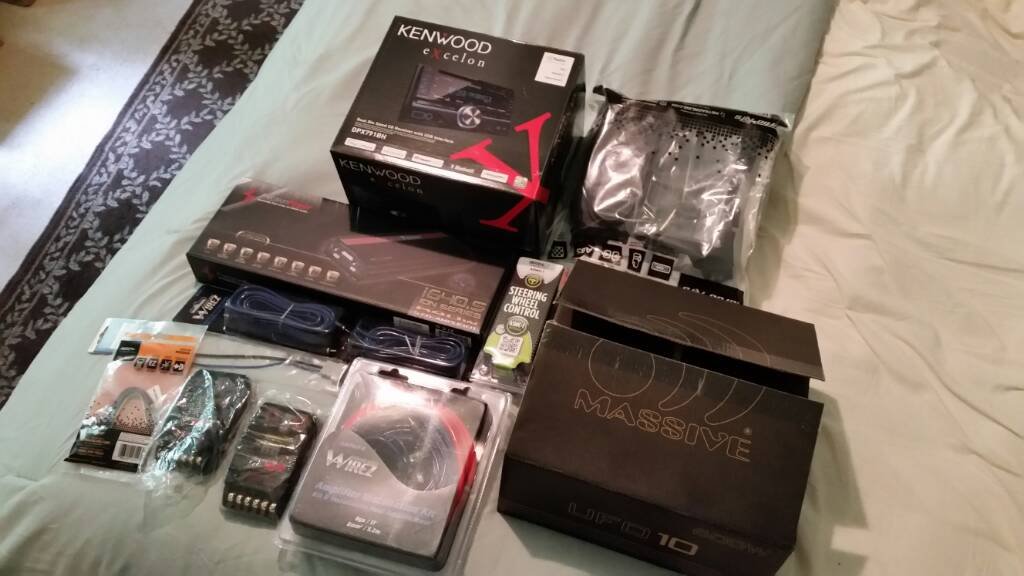
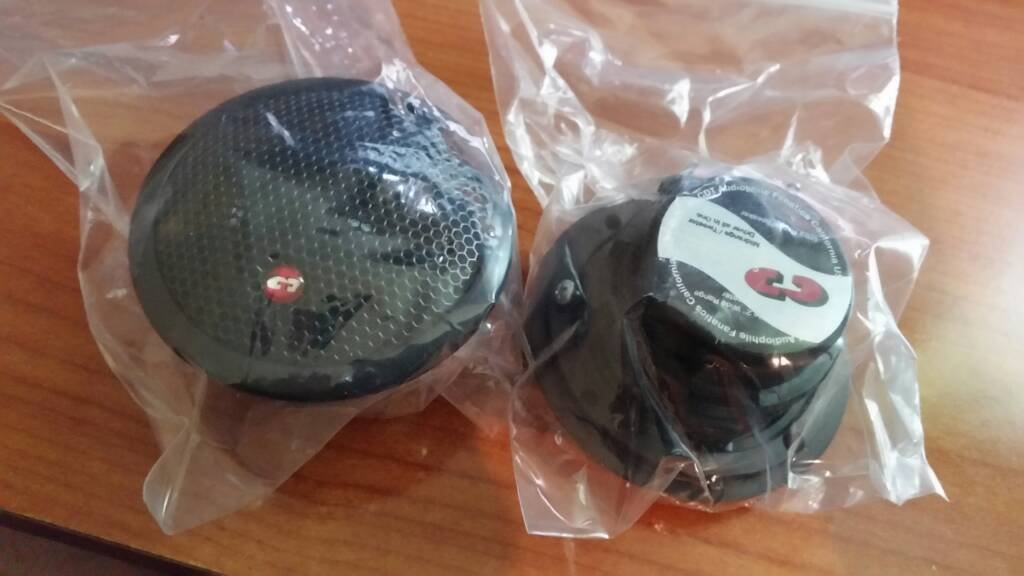
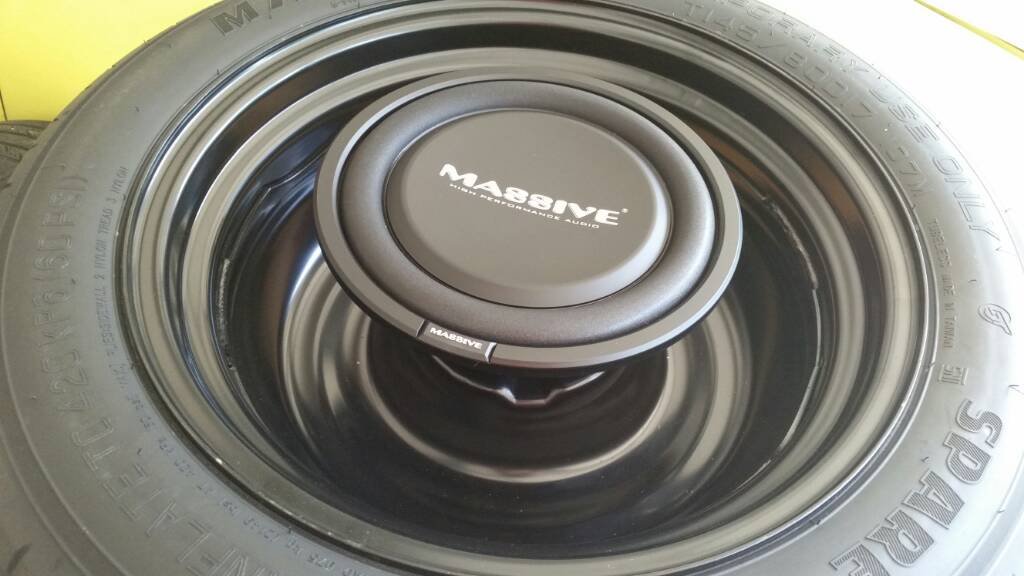 Welding up a new spare tire hold down bracket.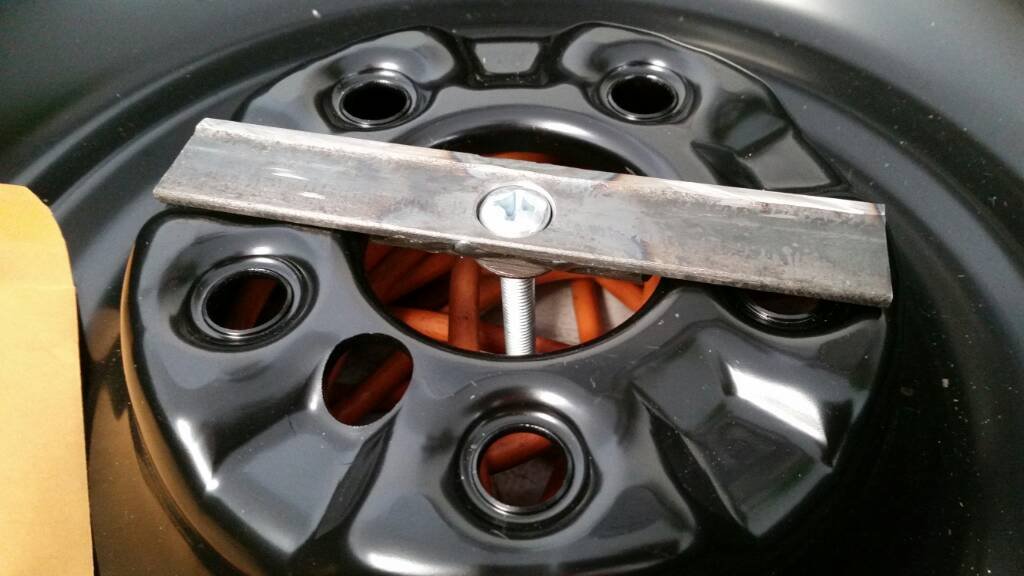
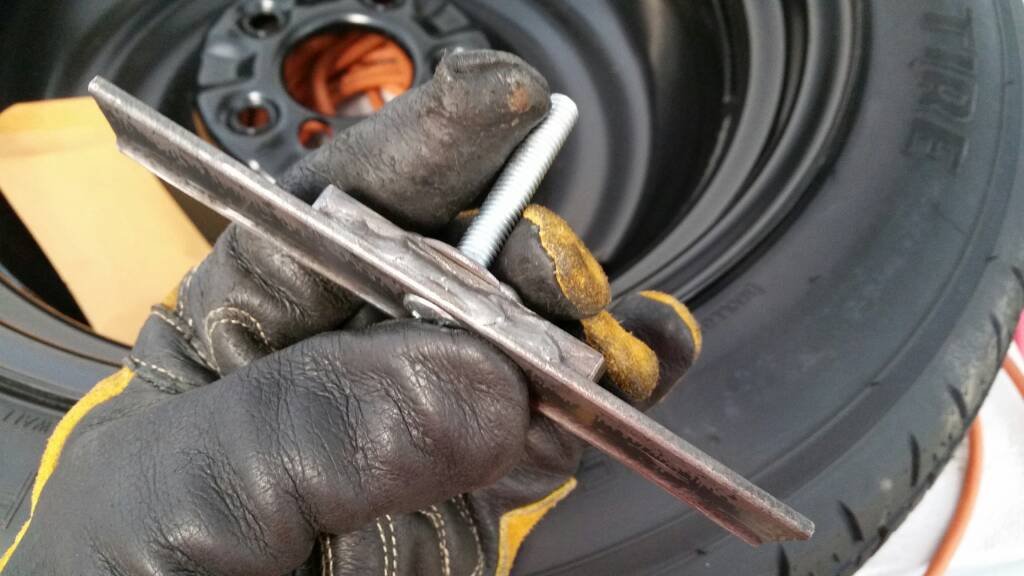 Should buy me a bit more room for the sub.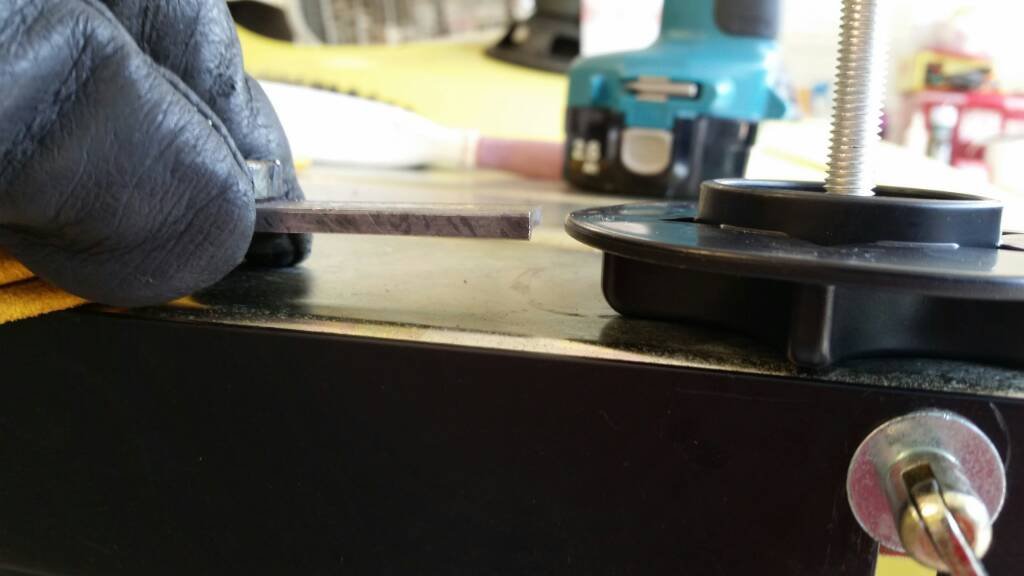
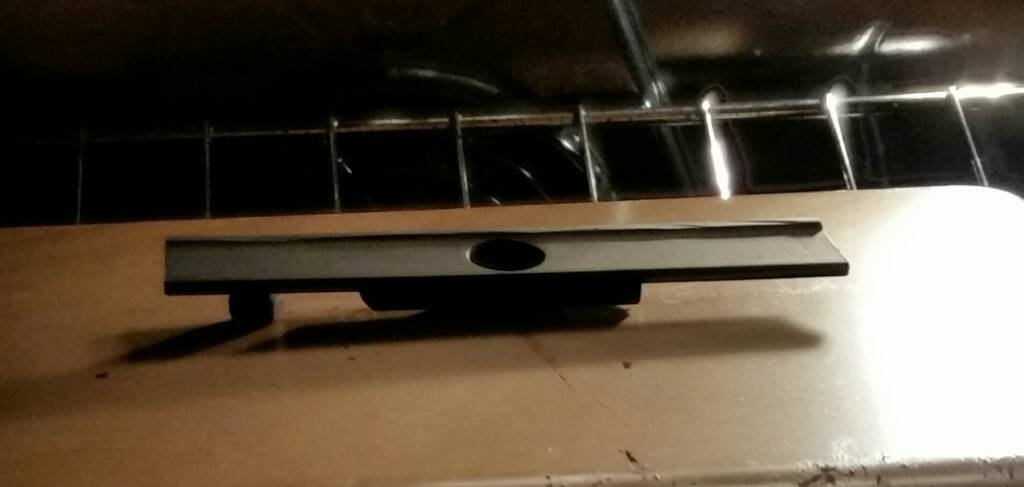 Hub centric with a lug lock pin. Baking on the coating.Time to work on the enclosure a bit.
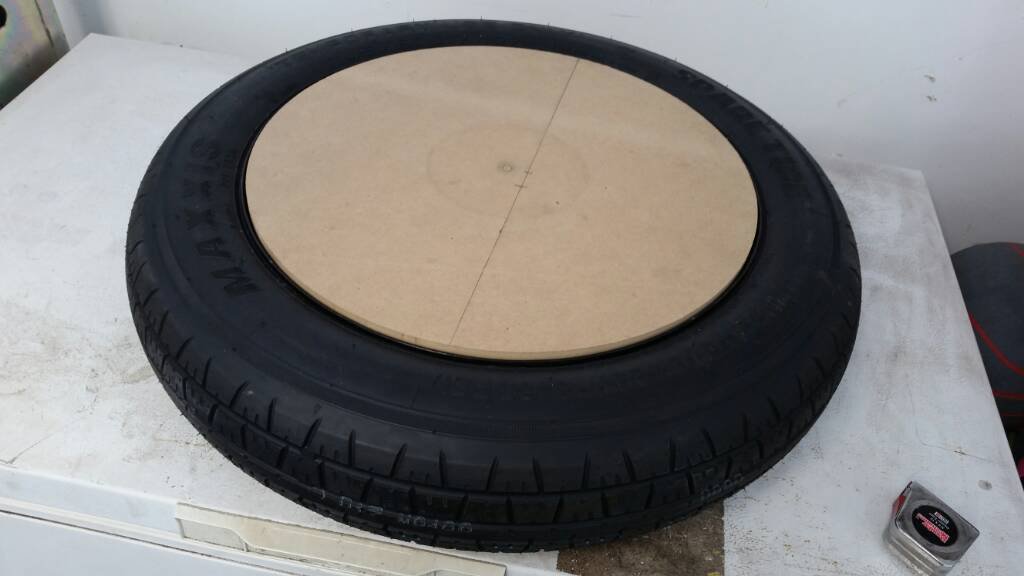 Trim ring.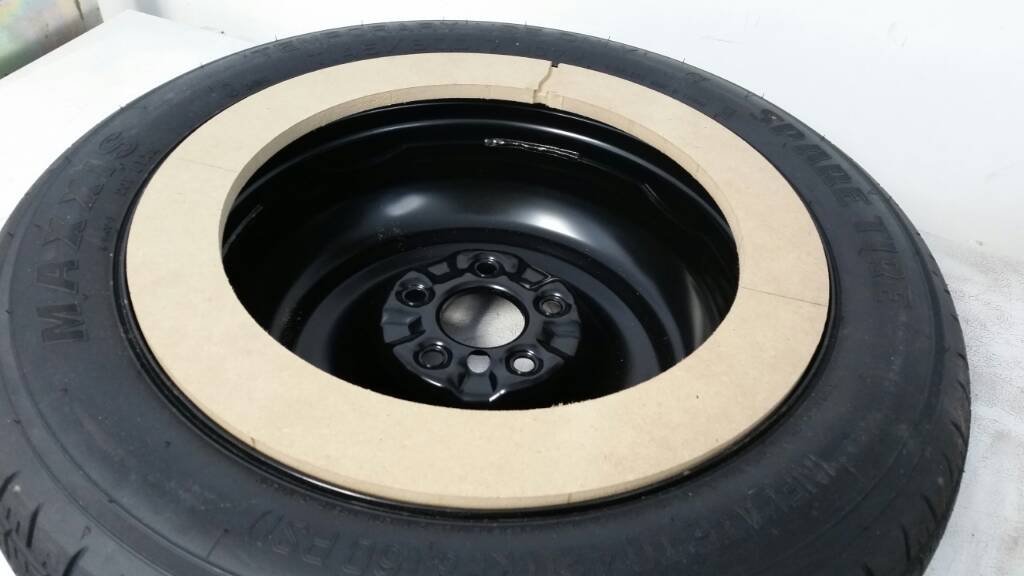
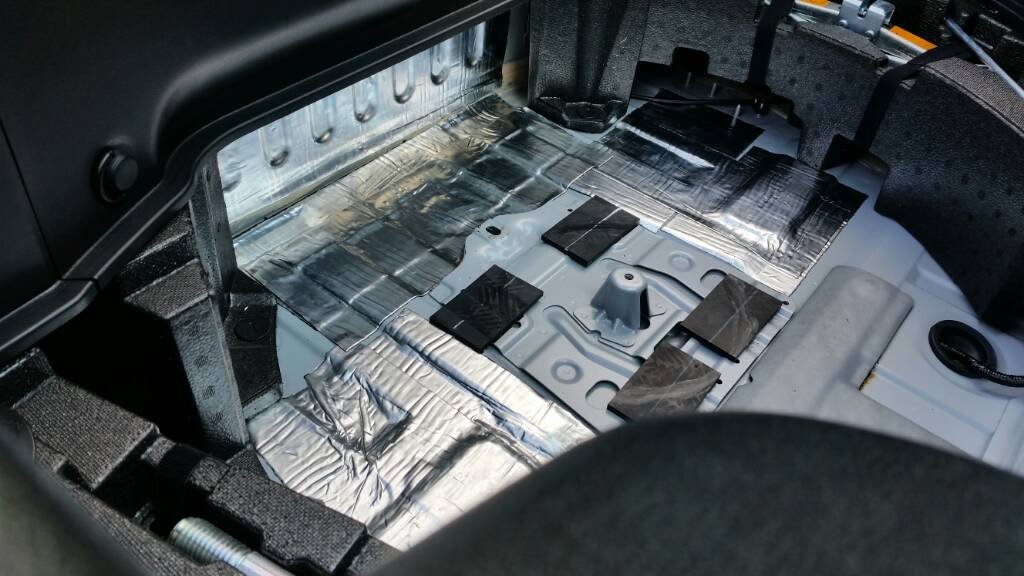
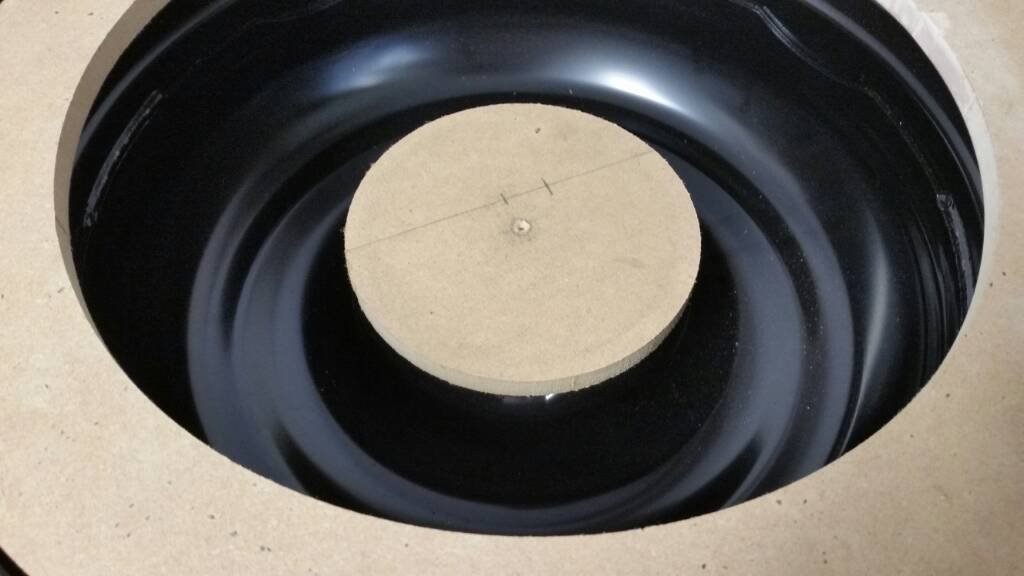 Hub spacer for tie down.I had a bit of noise dampening material left from the Camaro. I’ll get more if I need it.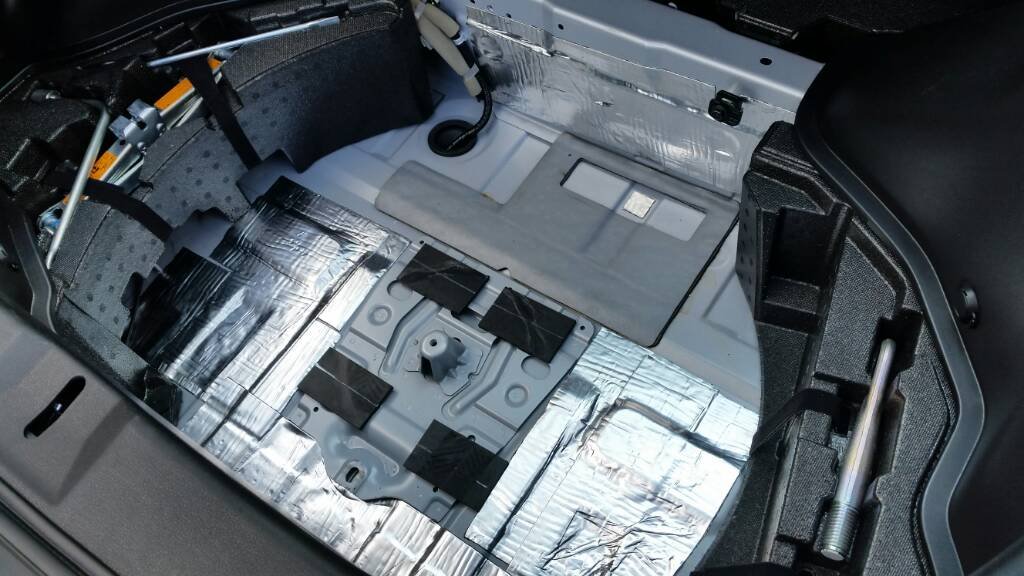
 The inside ring was just a hair less than a quarter inch too tall to give me the inch and a half between it and the top of the foam. After a little router action, we have perfection.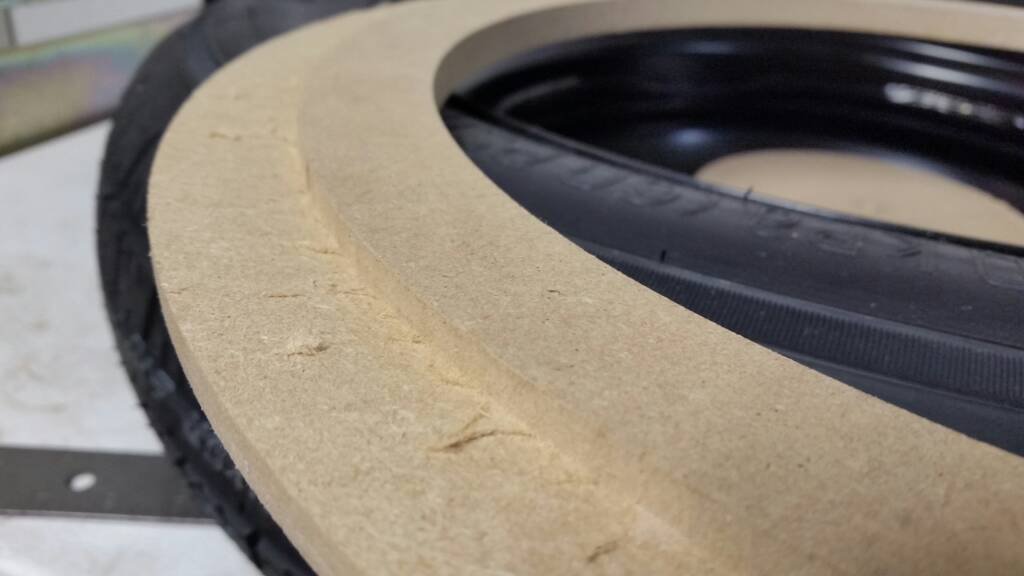
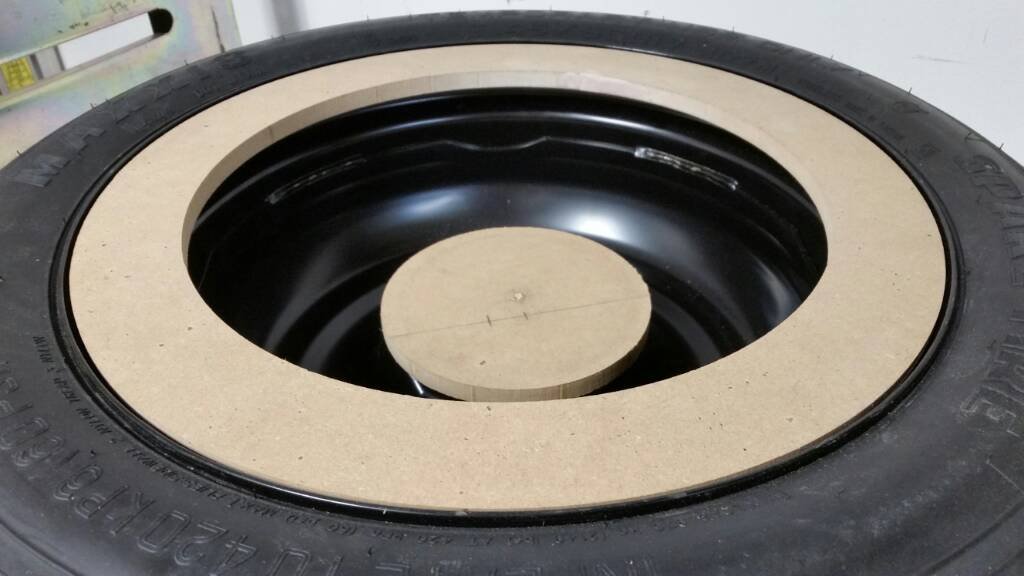
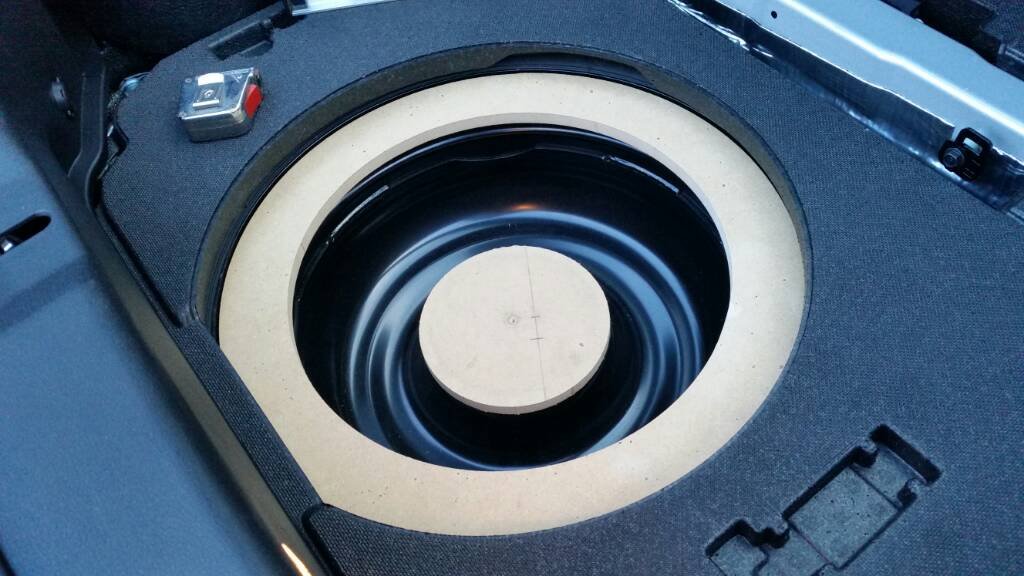
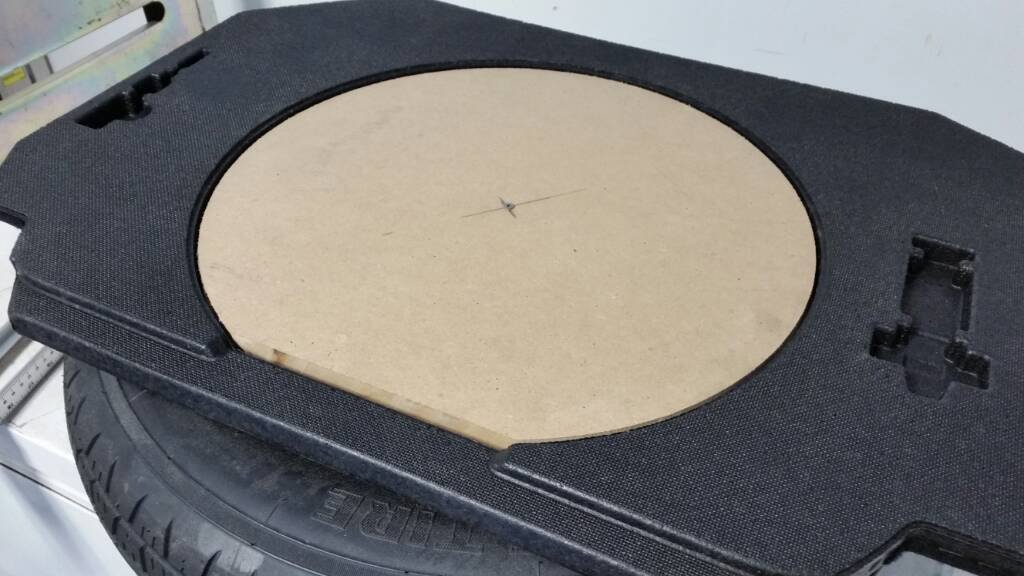
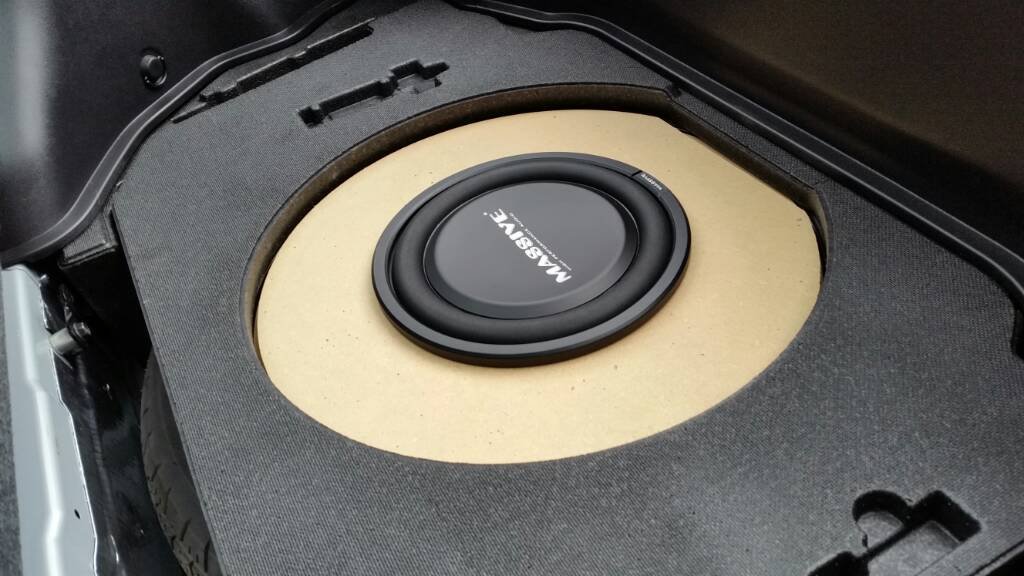 Looks like it fits.I think I’m ready for fiberglass.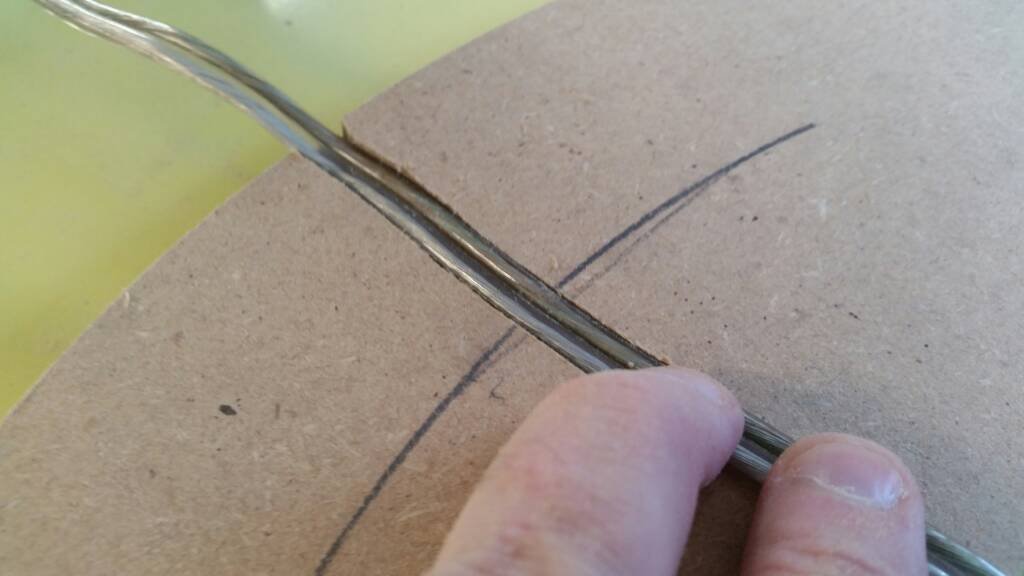
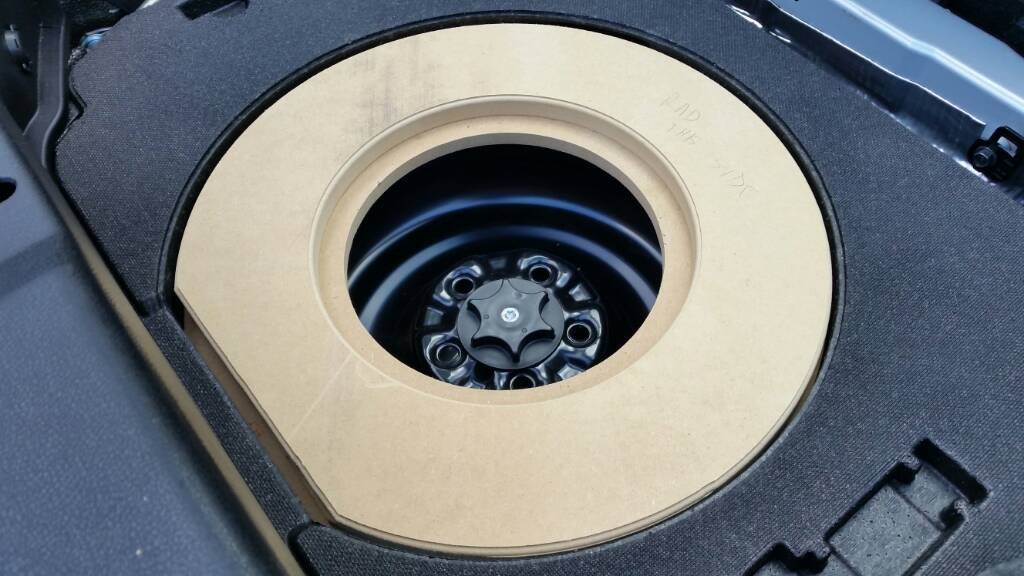
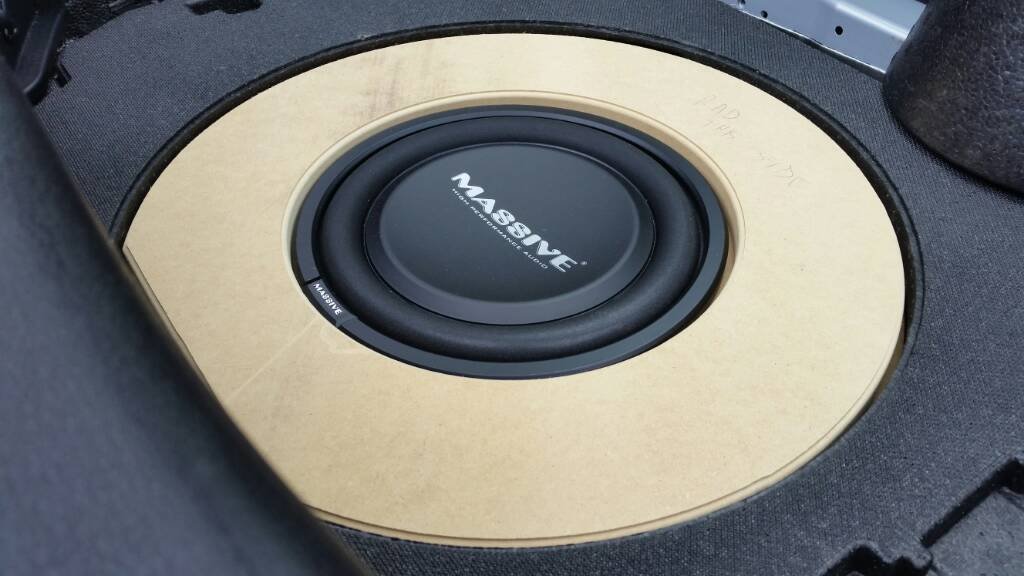
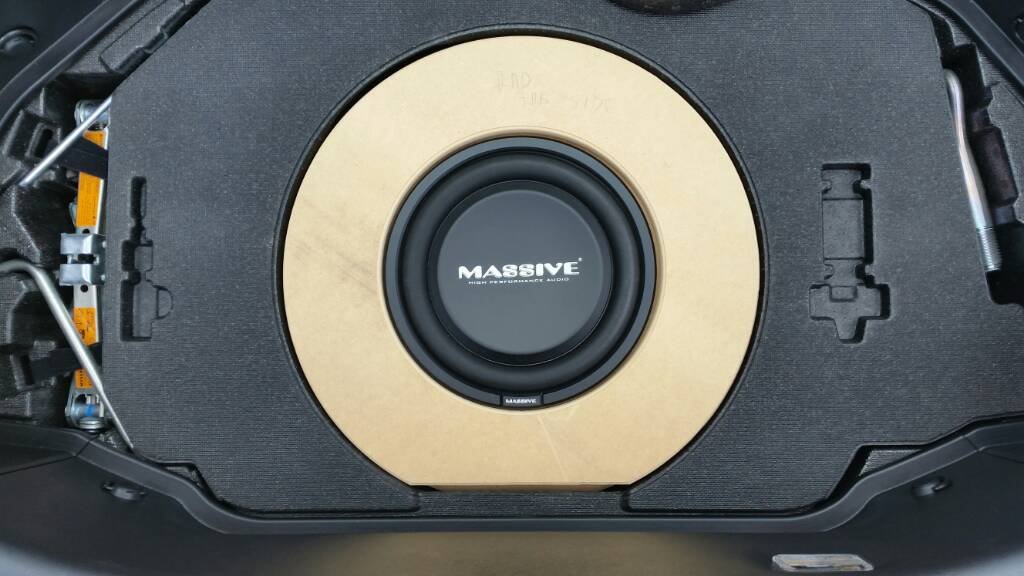 A little reshaping prior to glassing.
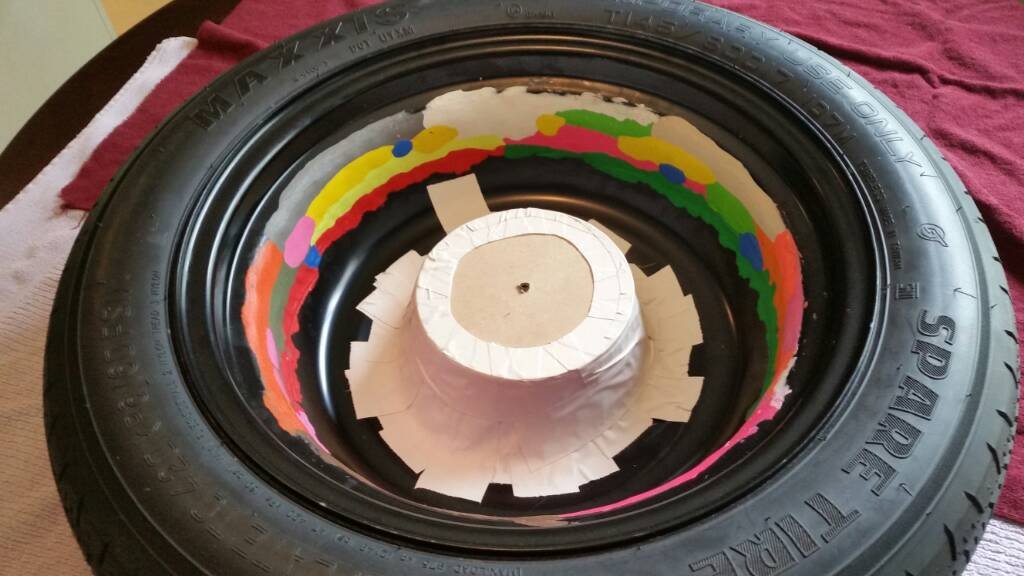 It looks like a rainbow puked in my spare. Being wax based clay, it should be a nice mold release.More importantly, my wife didn’t freak out when she walked into the kitchen and saw a tire on her table. :tup:Some lovely mold release wax.
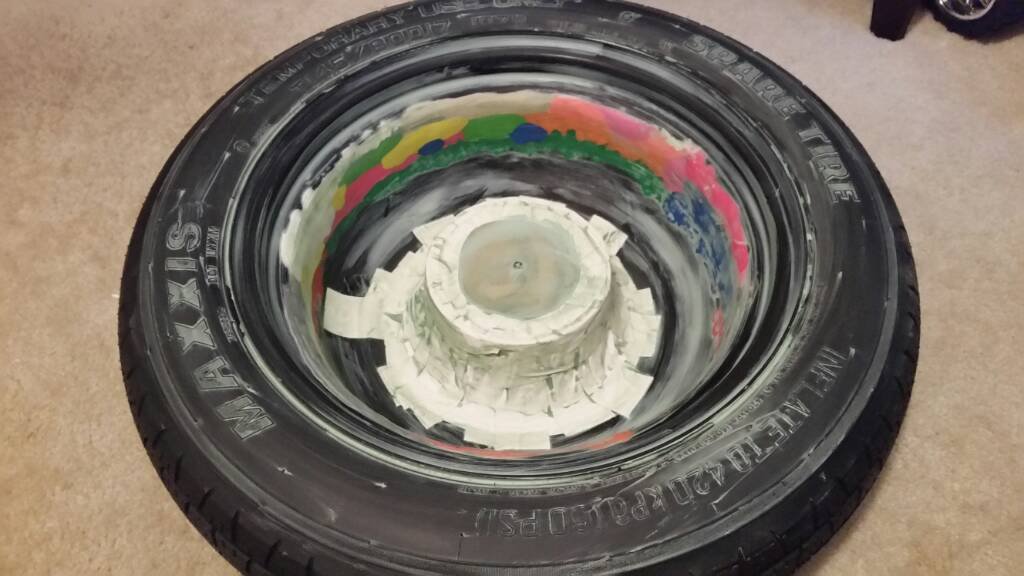 Cloth and mat all cut, ready to get the resin.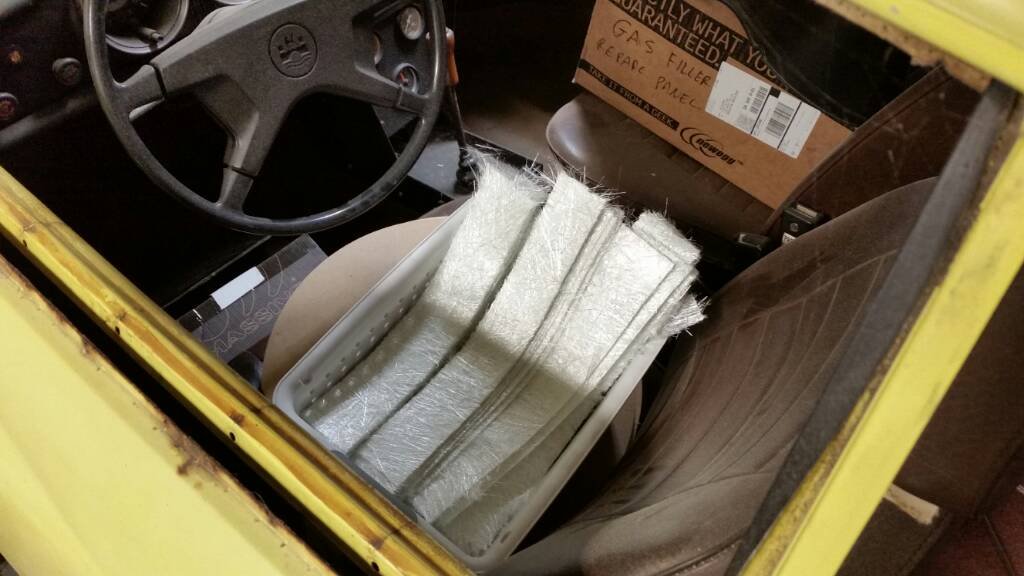
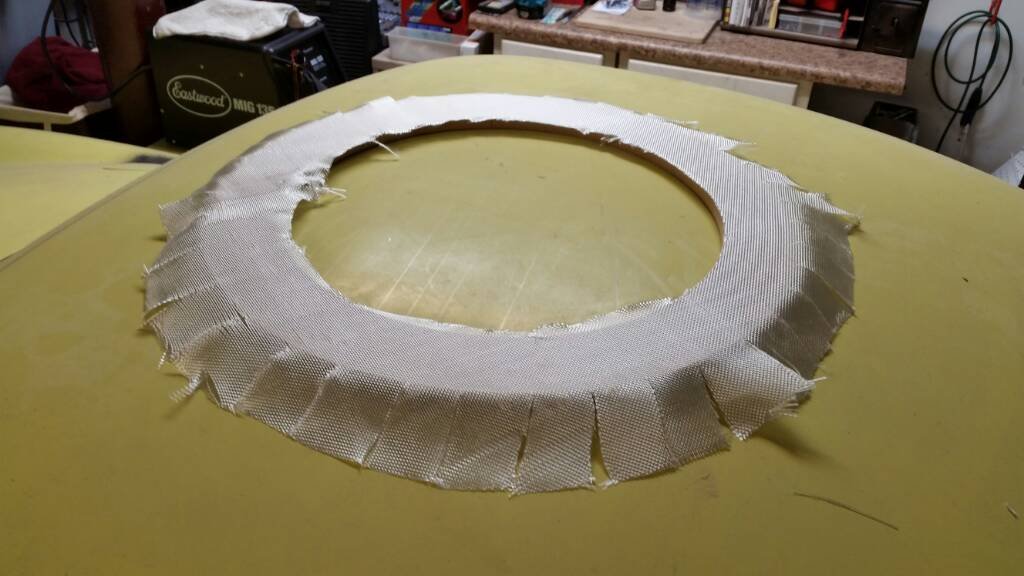 It is time. Here goes nothing!
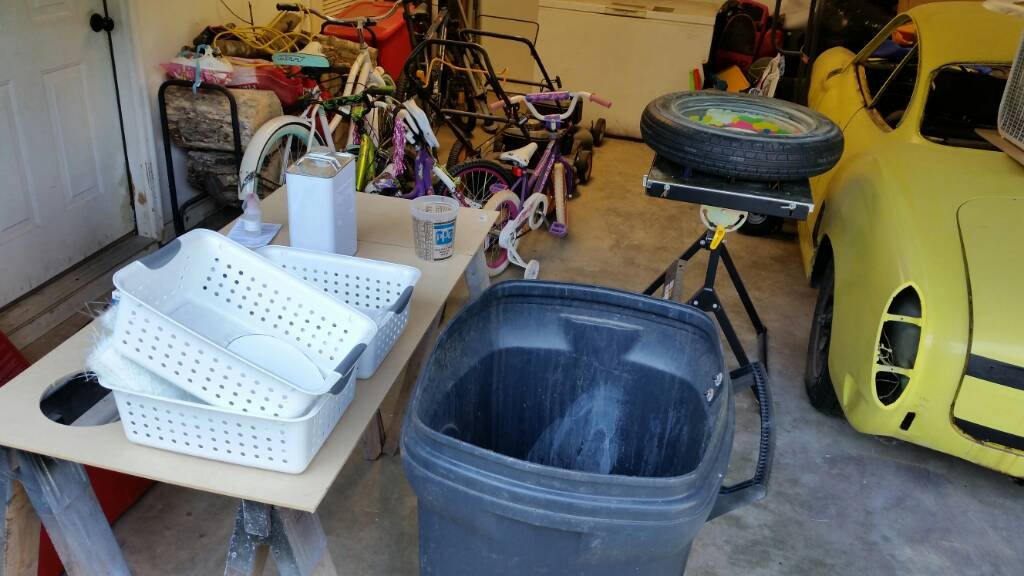 Got the cloth layers done. Time to build up the mat.
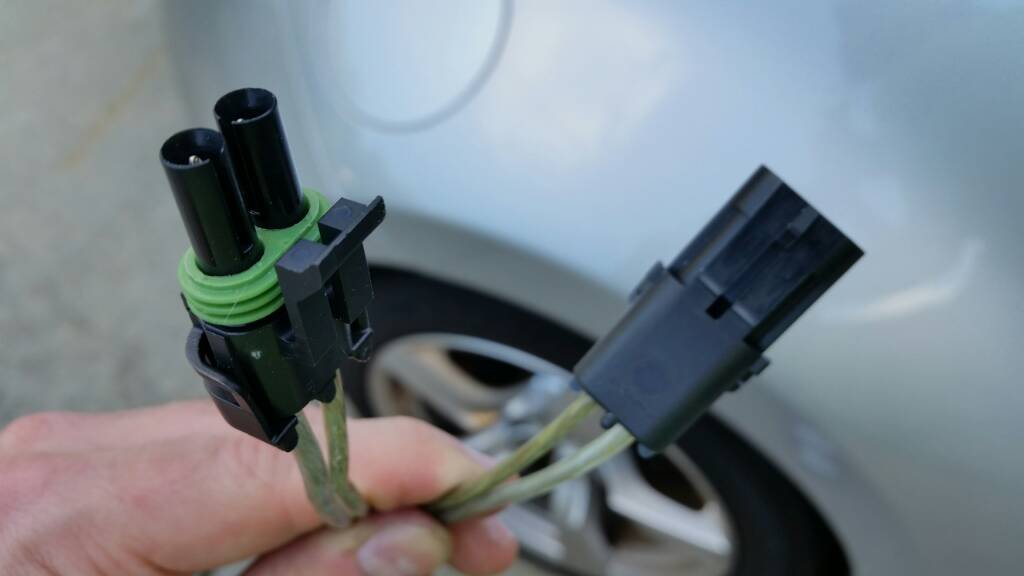
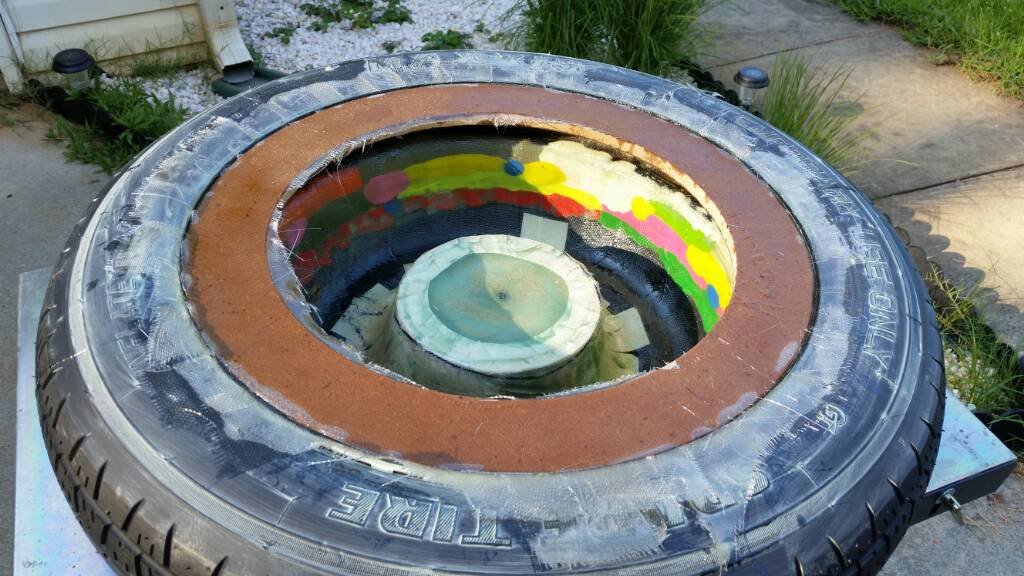 I’ll have a bunch of clean up work to do once it hardens.Wired up my quick disconnect.
 …and now I wait.
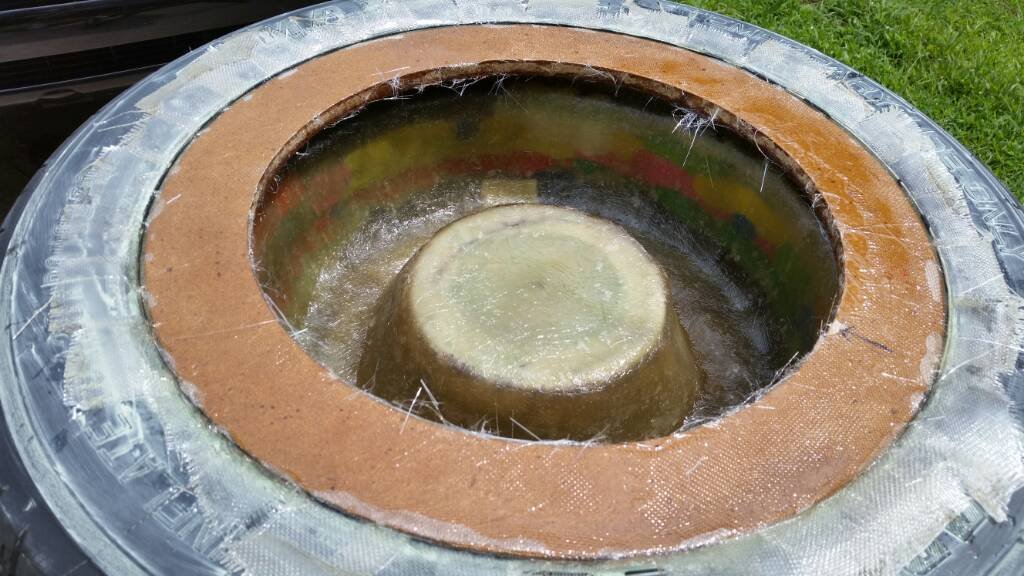 Clean up time.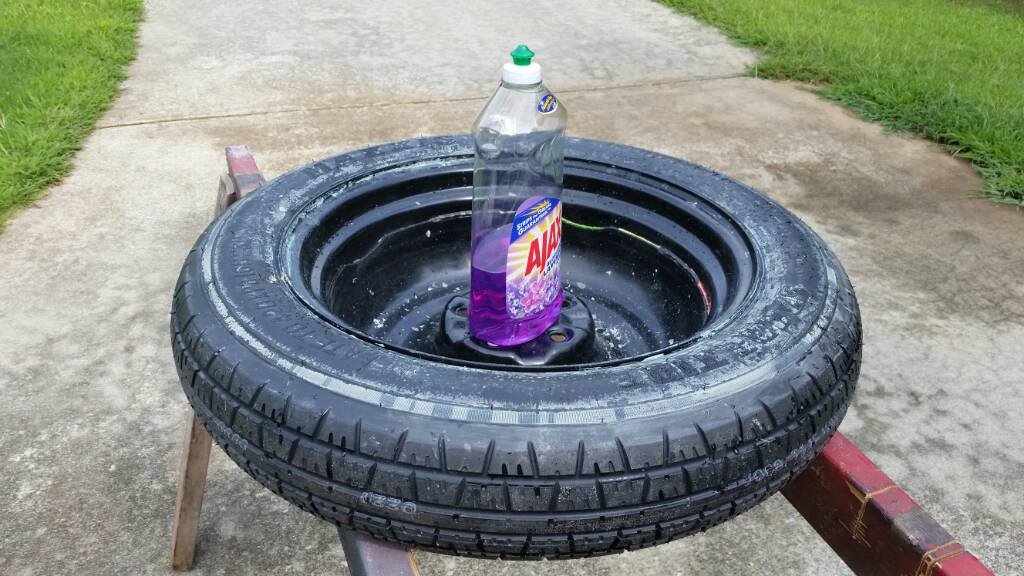
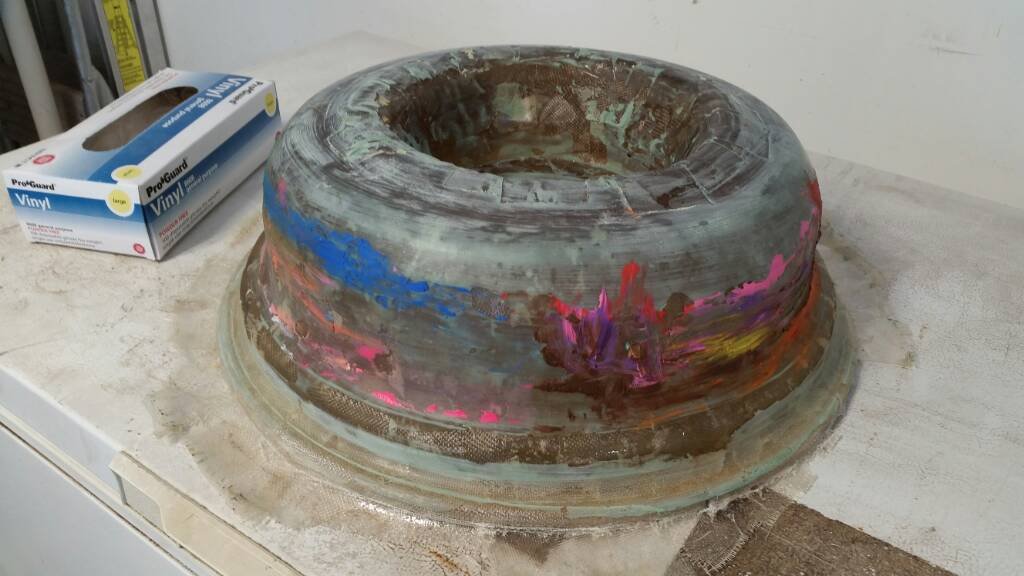 That’s all for today.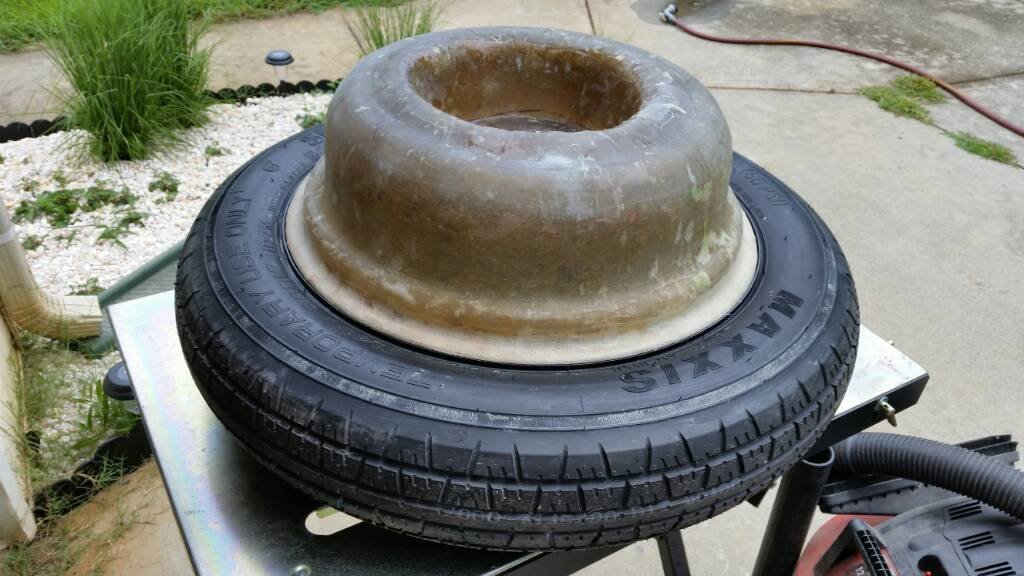
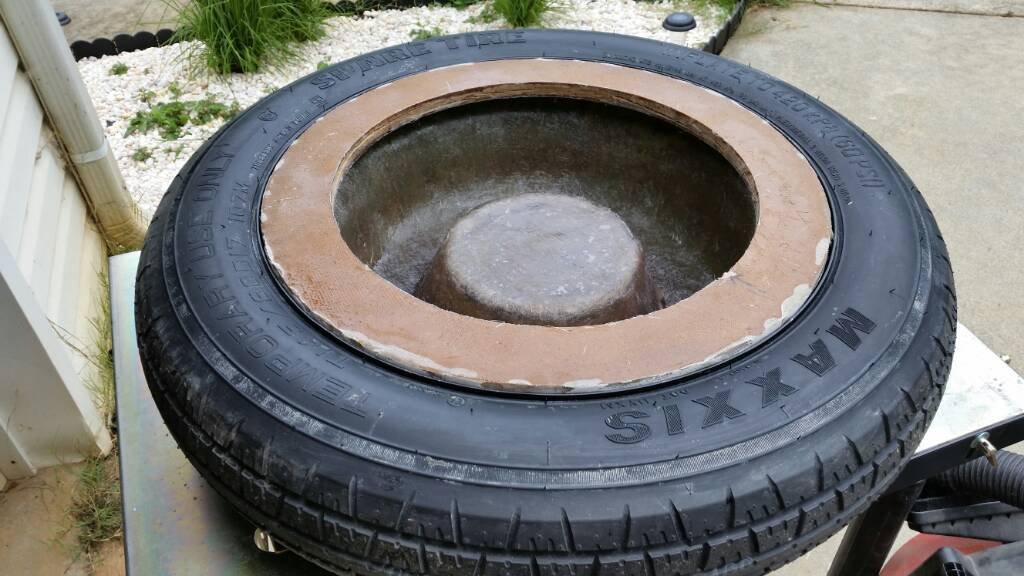
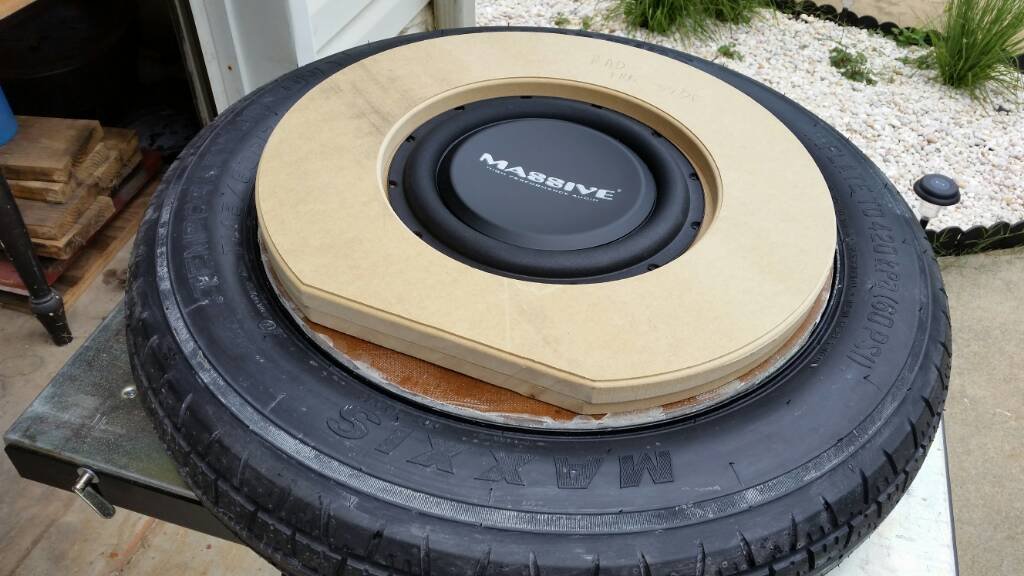 Work continues.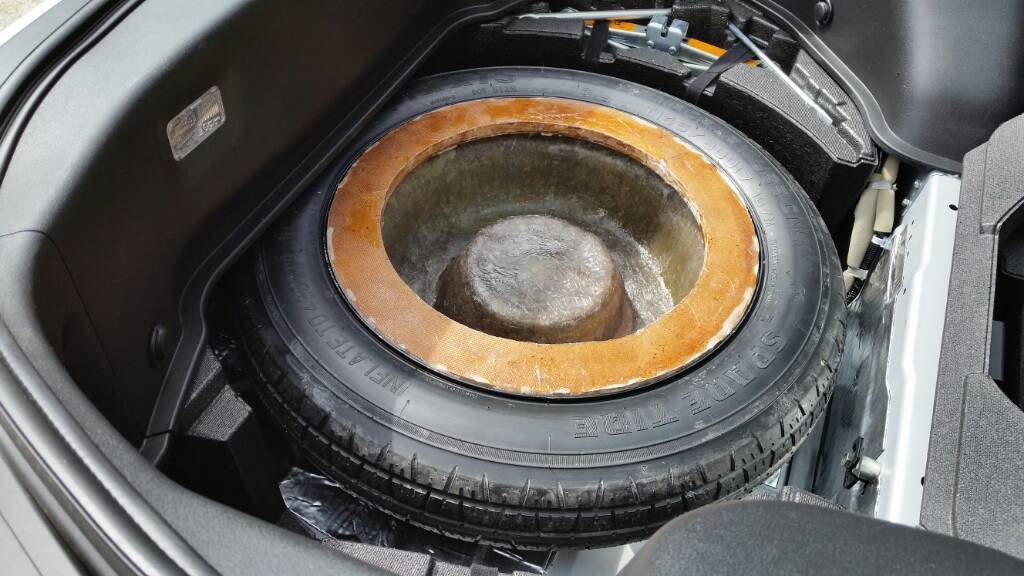
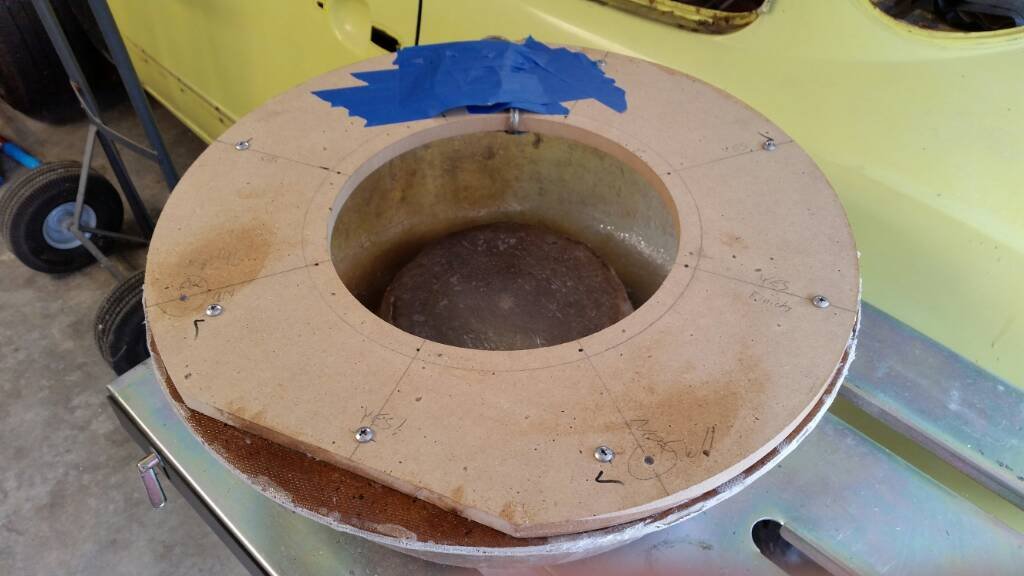 This thing fits in here so tightly, I need to think of some removal device. Done for now.
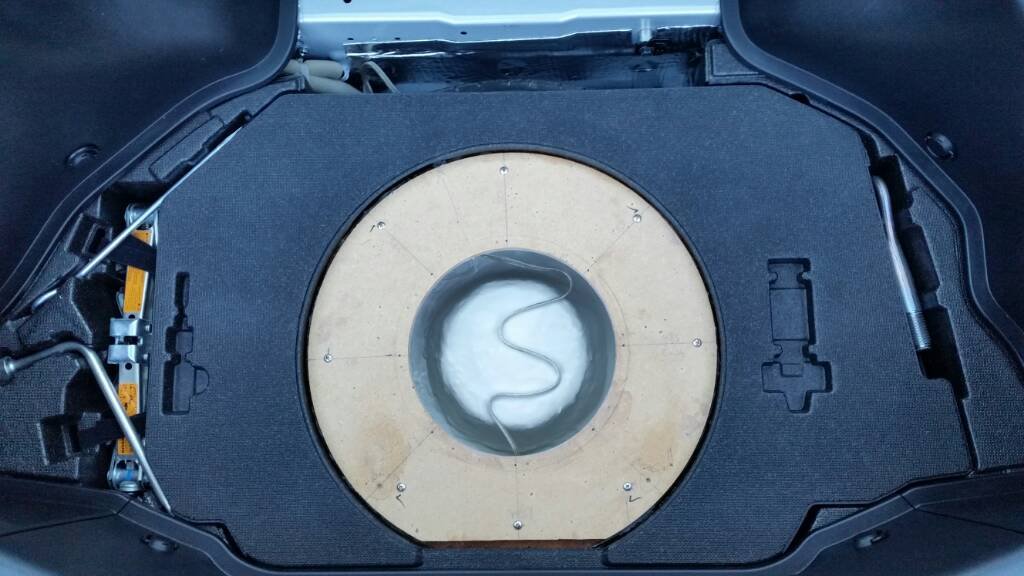 Back in business.
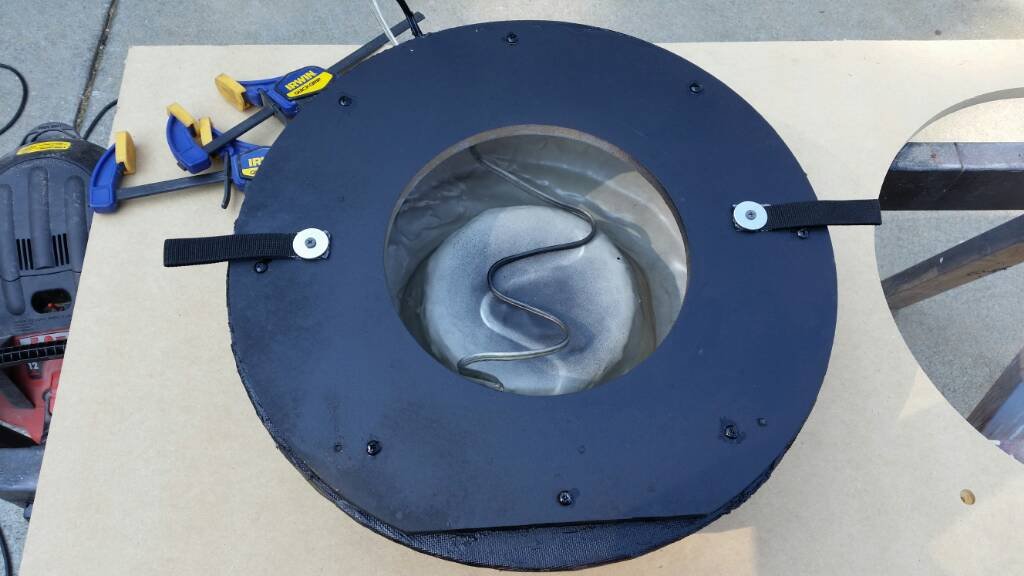
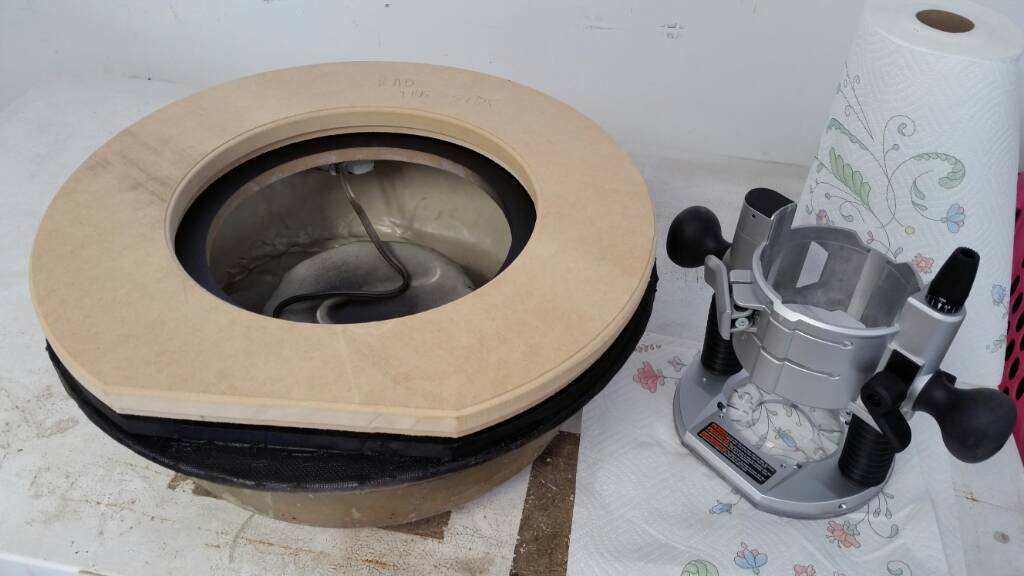 Pull tabs installed.
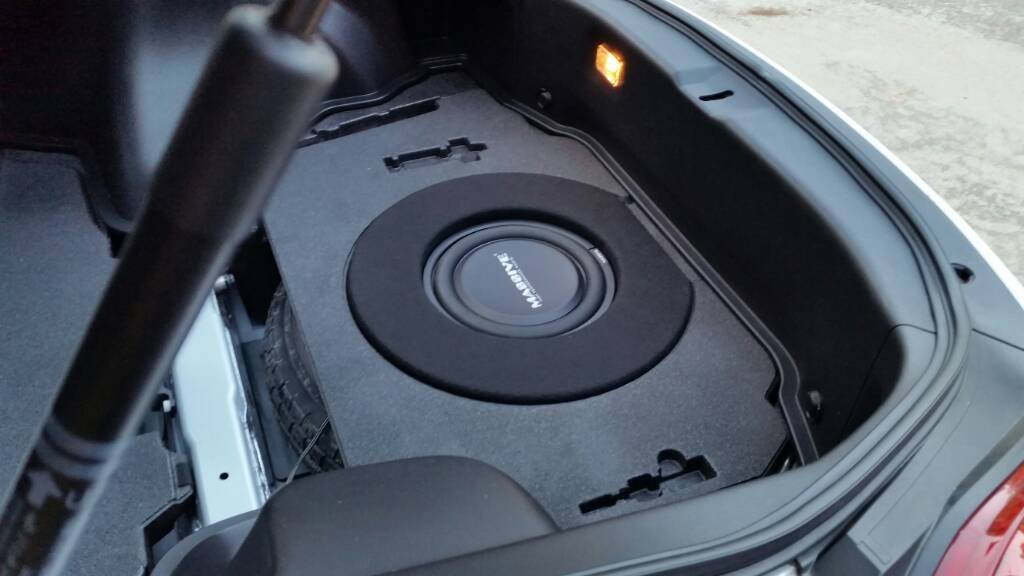
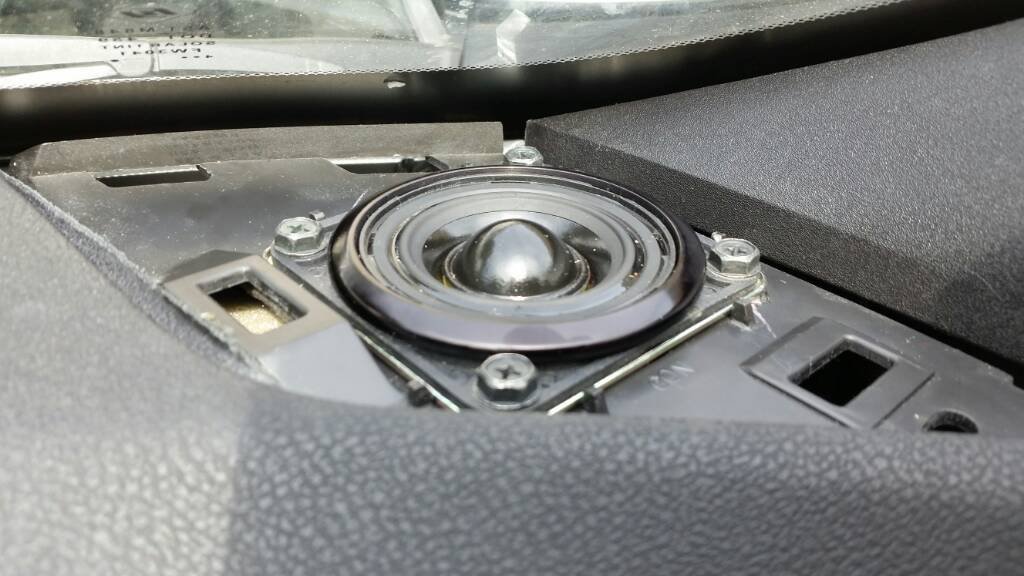
 Speaker in. Upholstery time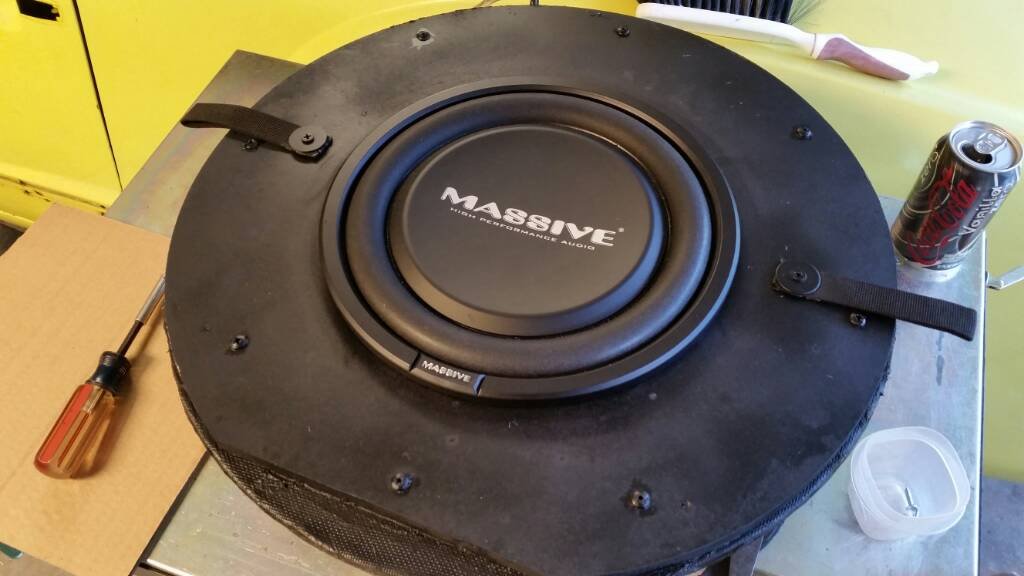
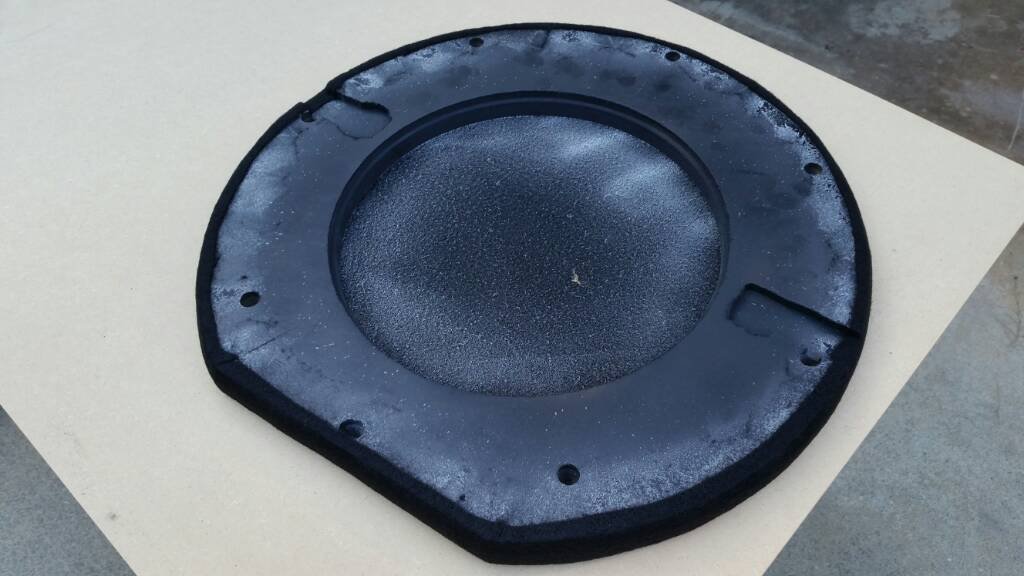 Enclosure is done! Woo hoo! Perhaps tomorrow I can get the headunit in.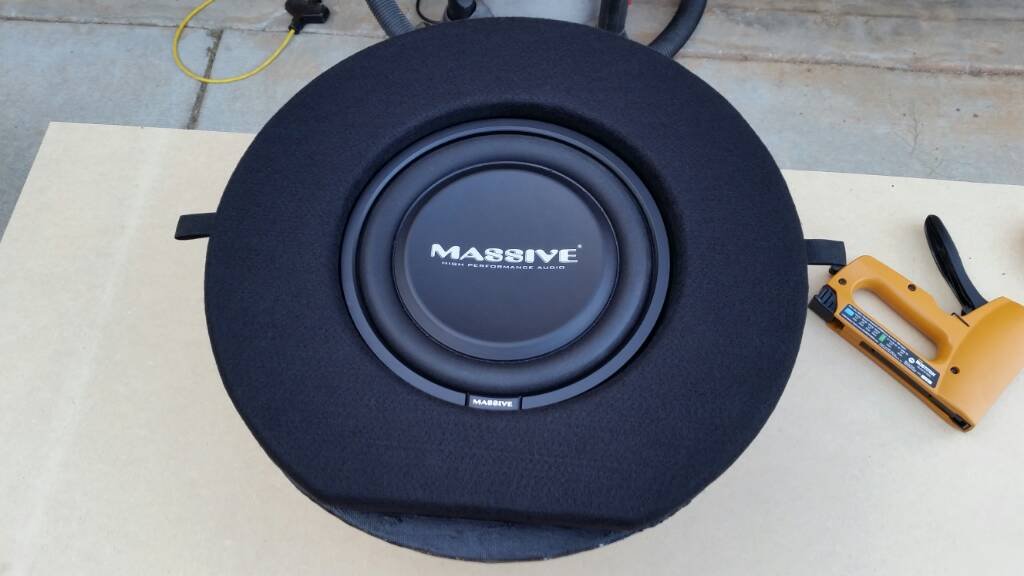
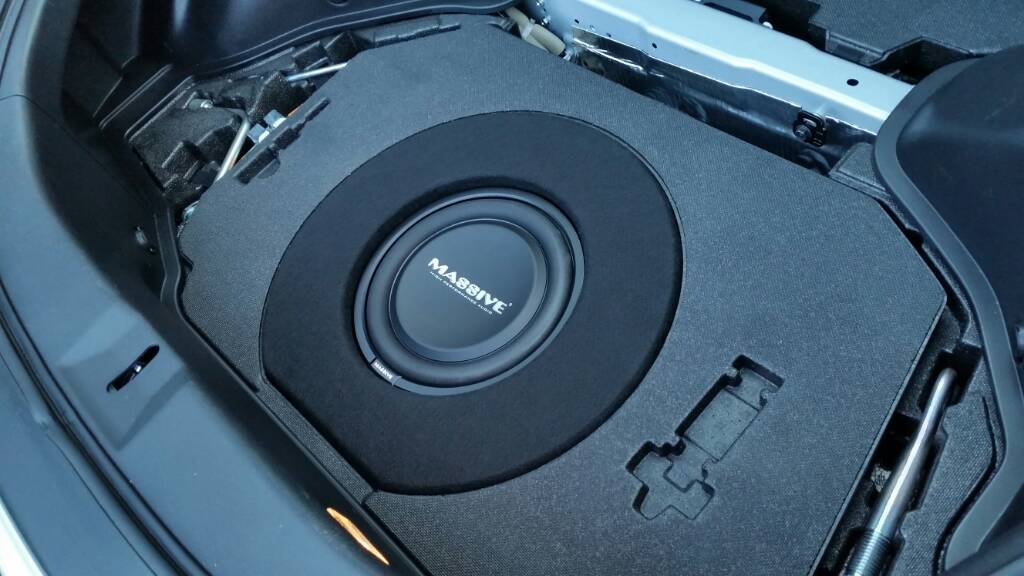
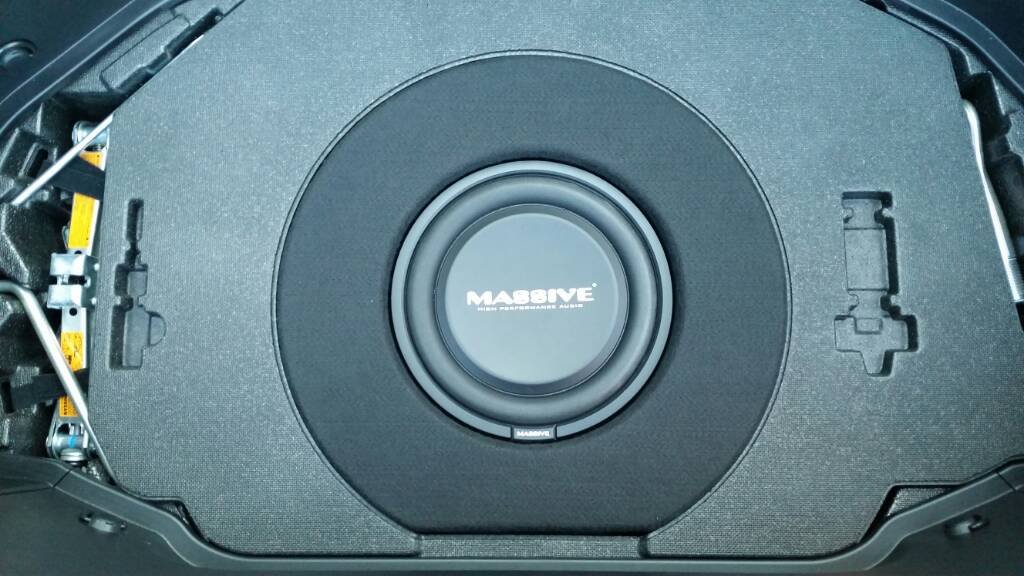
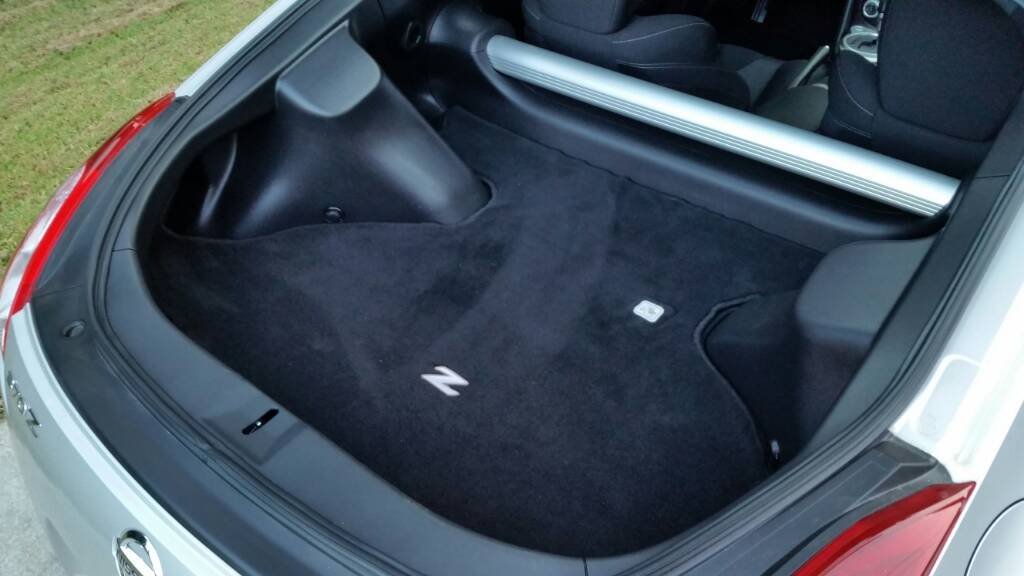 Where oh where to mount this noisy cricket…
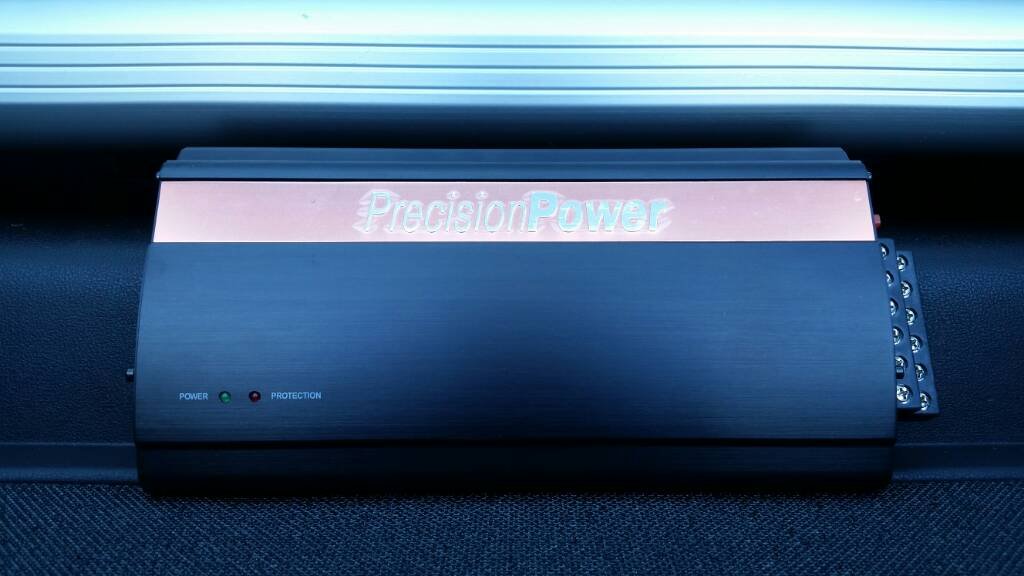 This would almost be too crazy.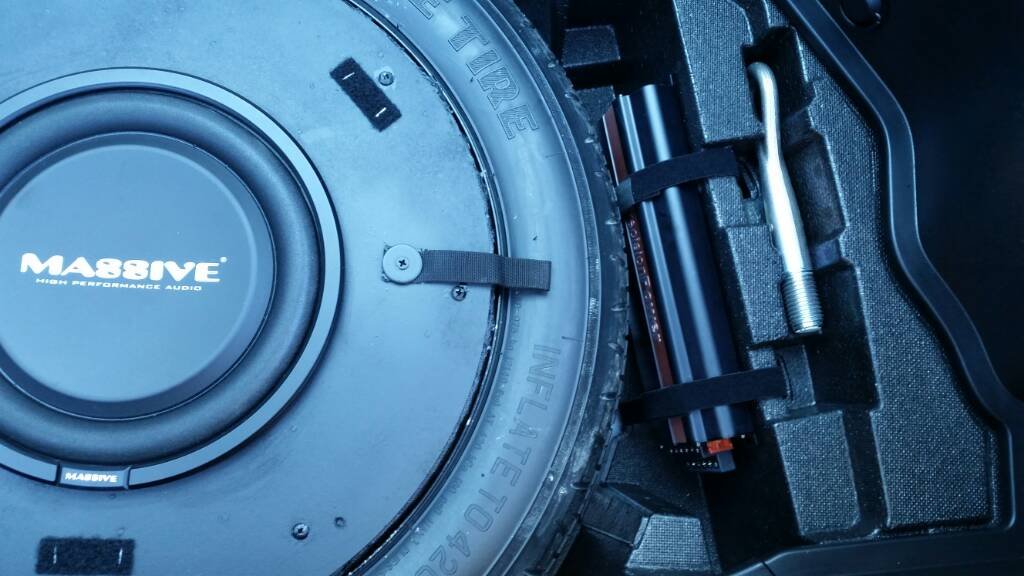
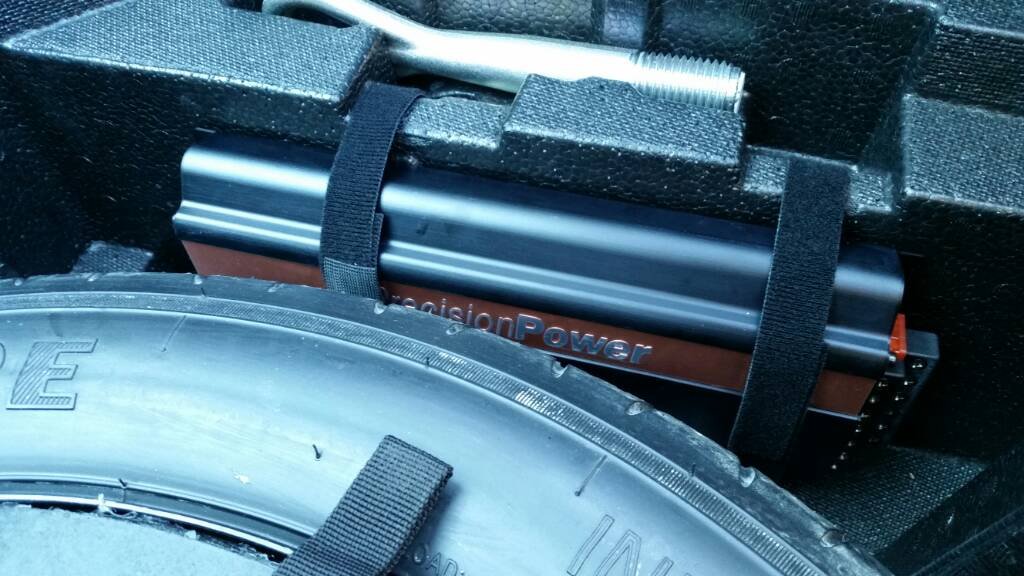 Yeah, what the hell. I’ll try this.
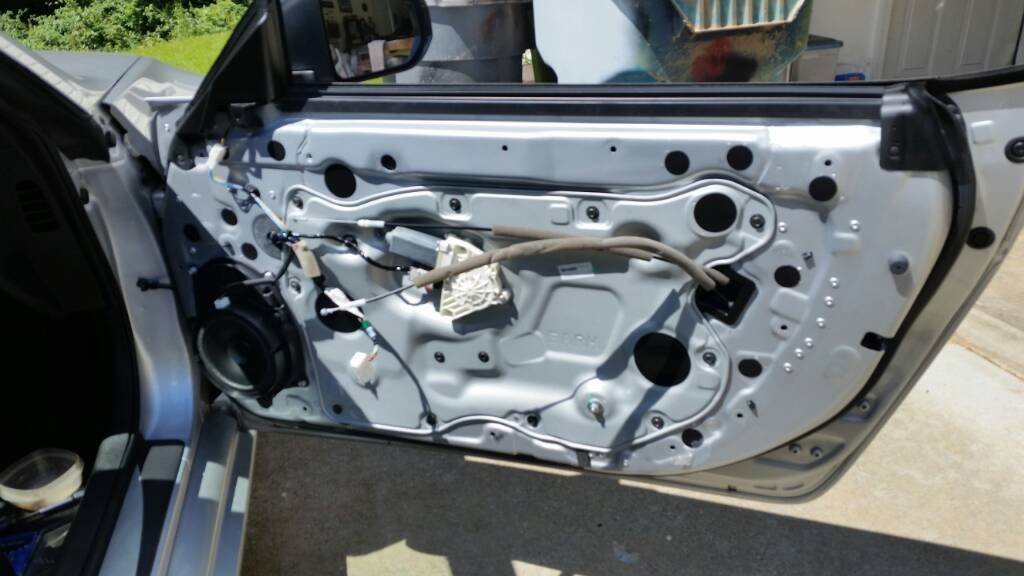
 That has to be the easiest door panel I’ve ever pulled off in my life.
 Might make a difference.
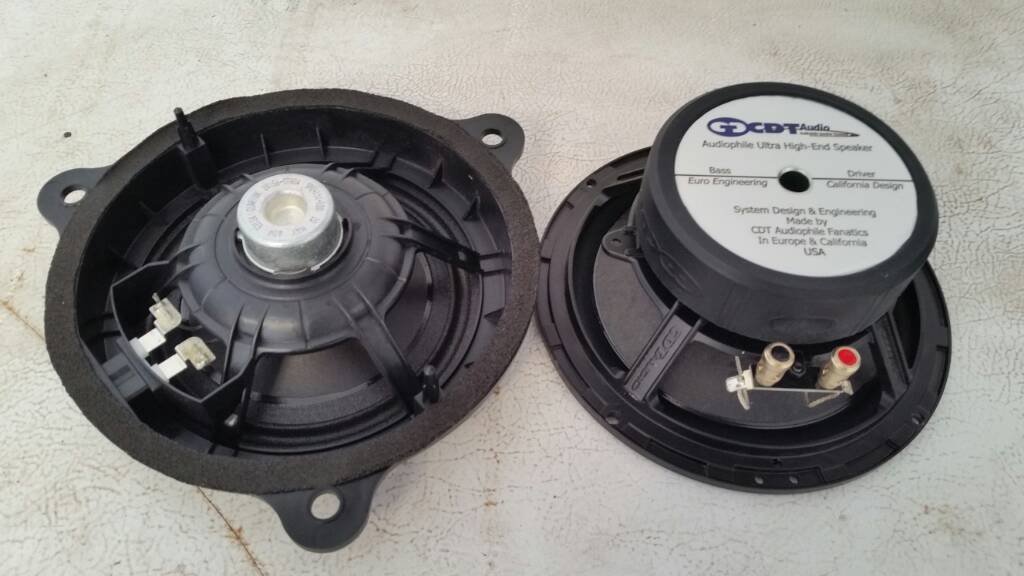 Time to make the donuts… I mean door speaker adapters.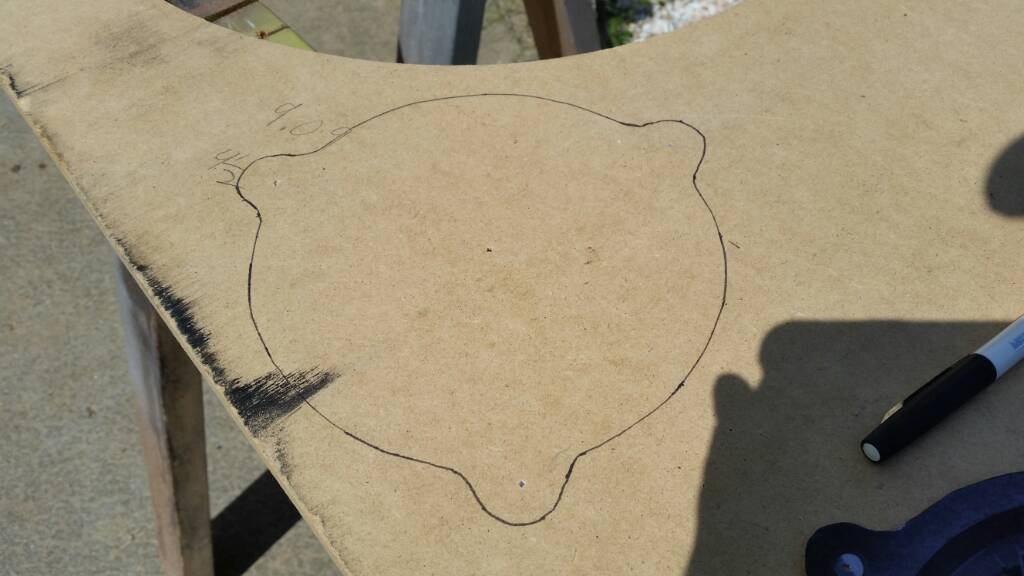
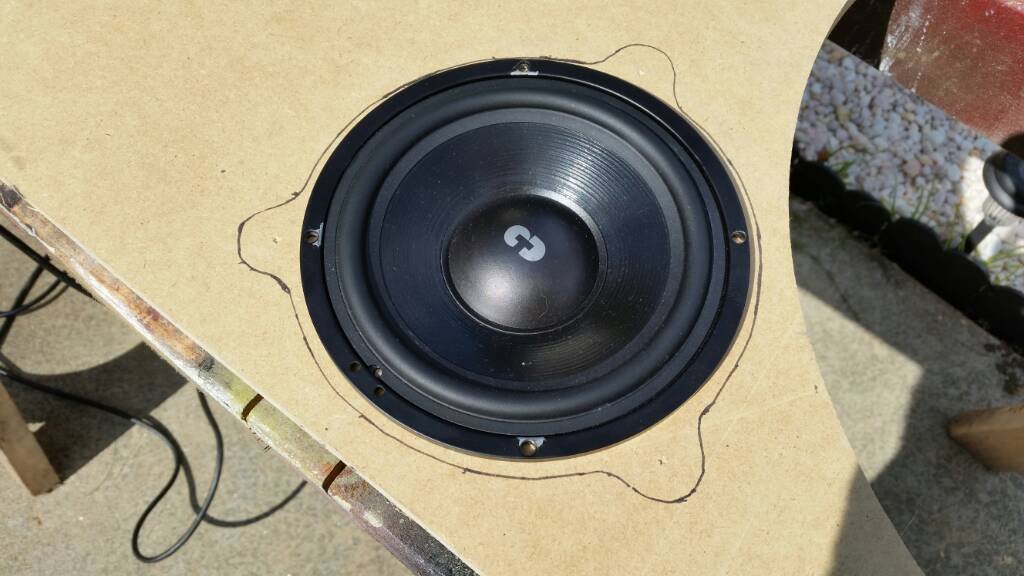 I’m going to try a notched approach.
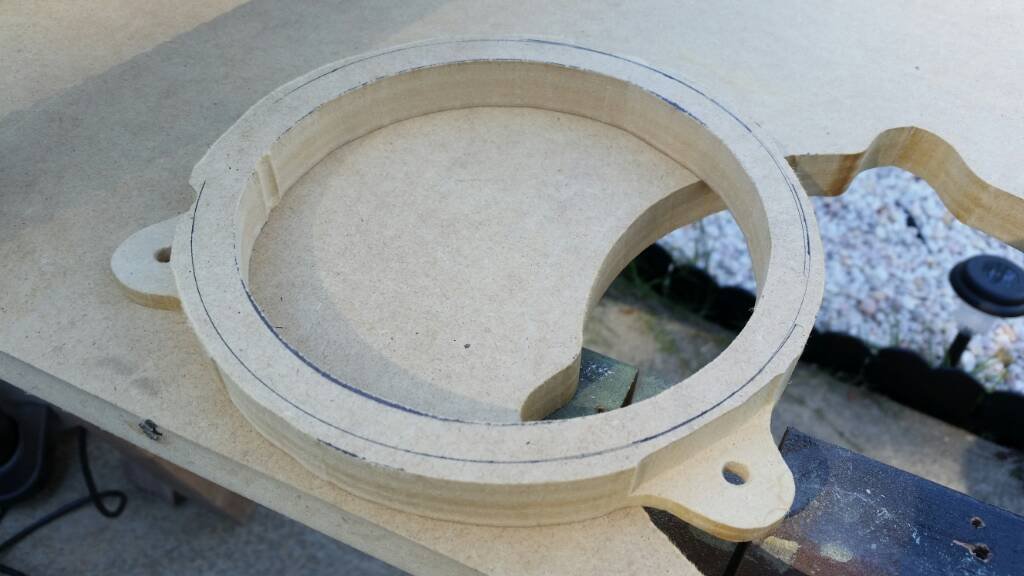 I have some Kilz. Perhaps that can prolong water absorption.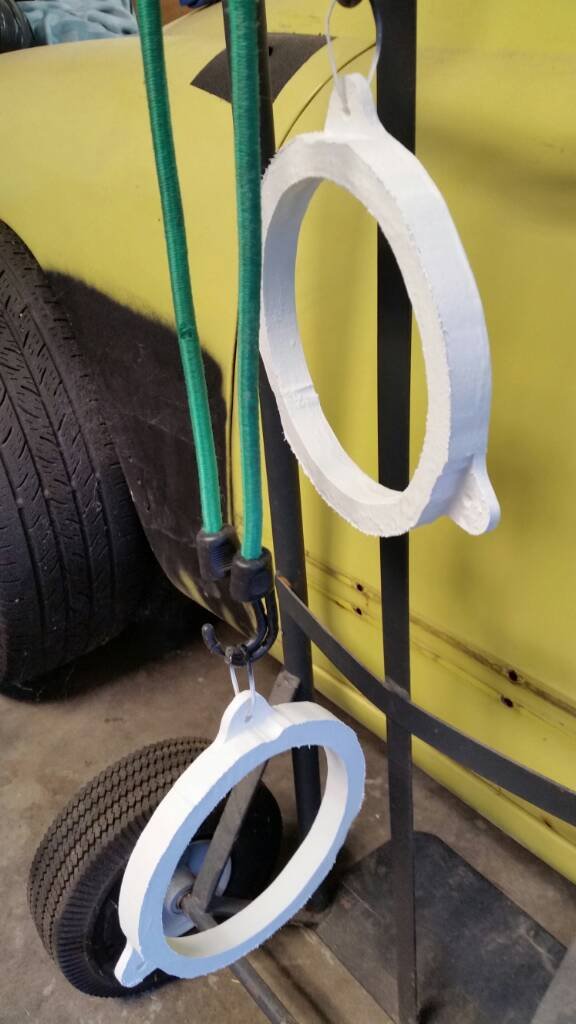
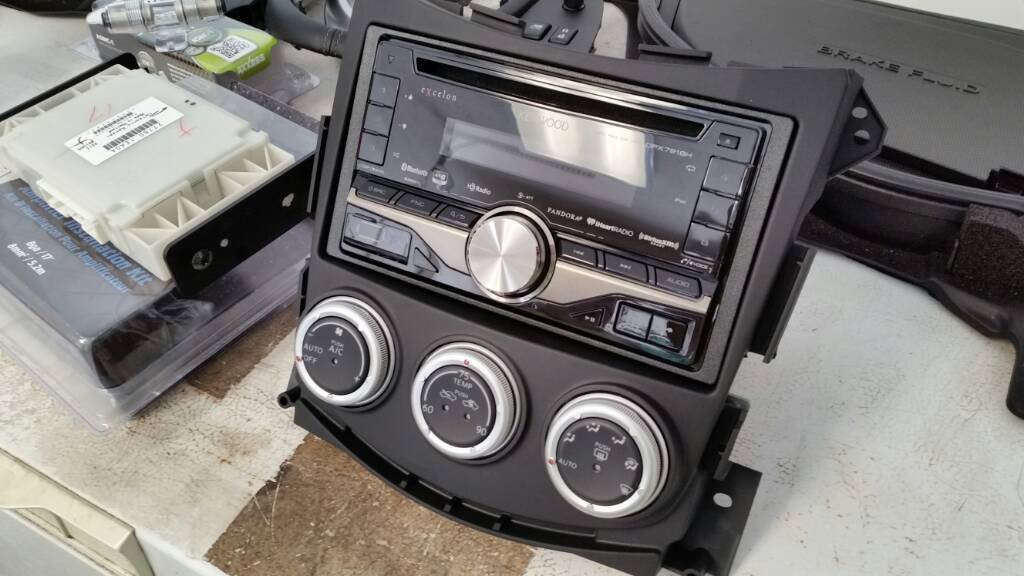
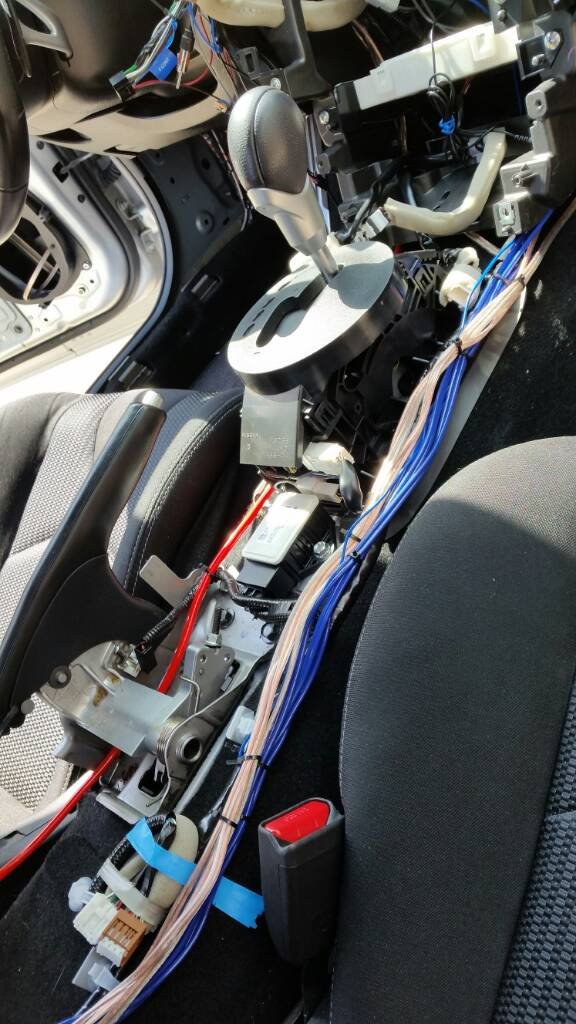 Wire management.
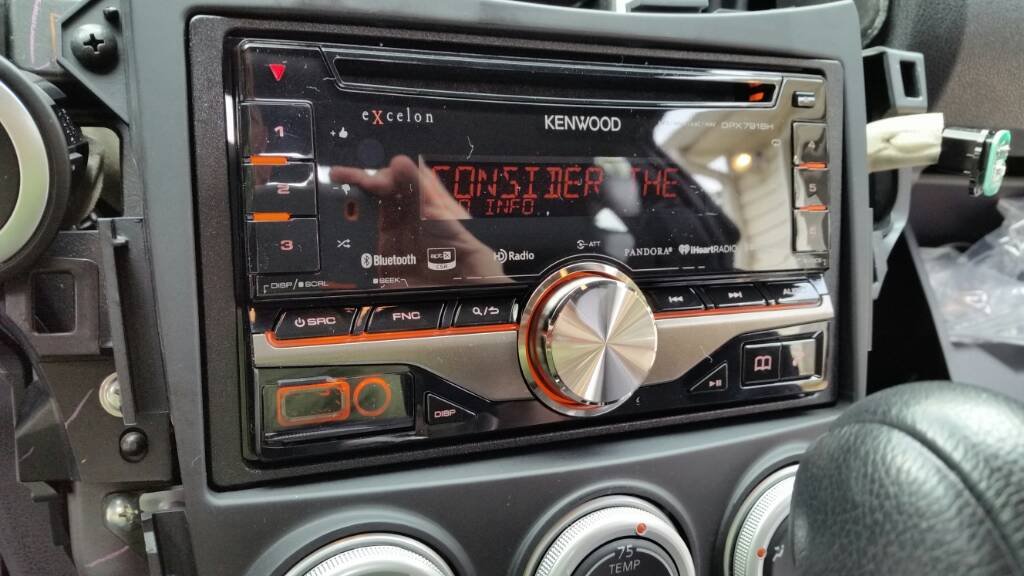 Looks like everything is powering up. I’m digging the Kenwood.
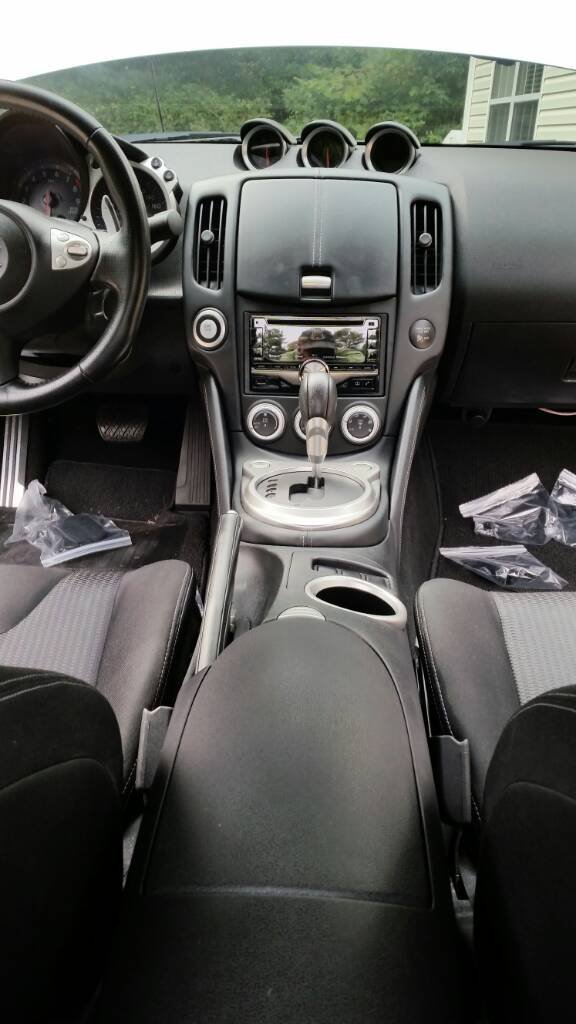 Looks like a car again.
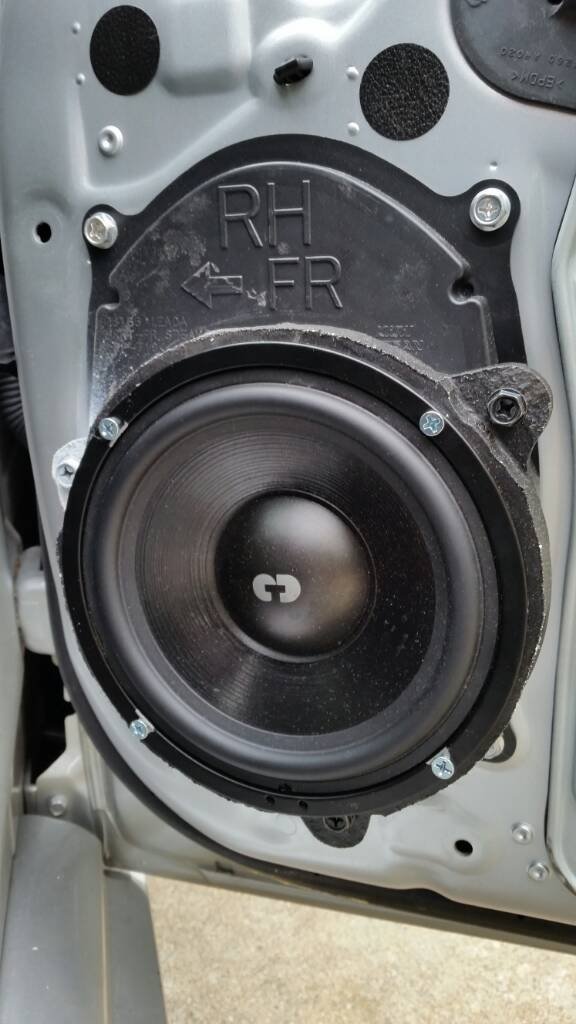 Doors are done.
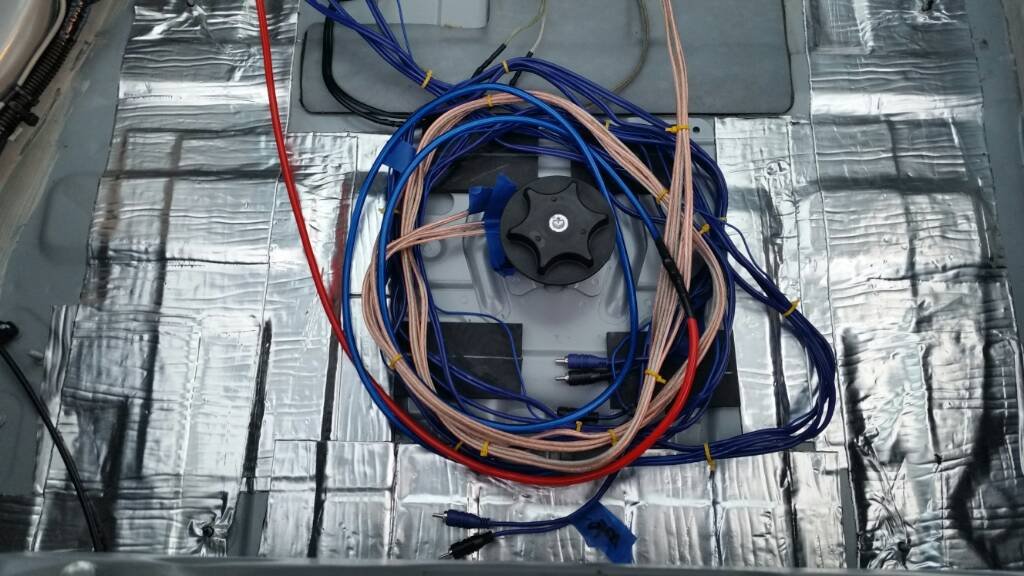 Done for today. All that’s left is to hook up everything in the hatch and start tweaking.Seems to be a decent color match.
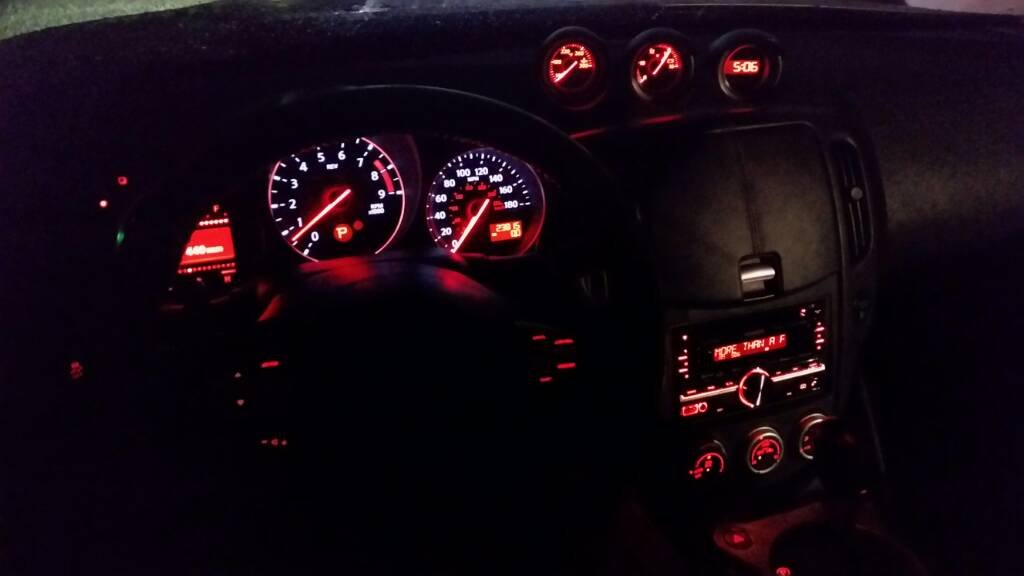 We have sound!Now the months of tweaking can commence, but that’s the relaxing part.
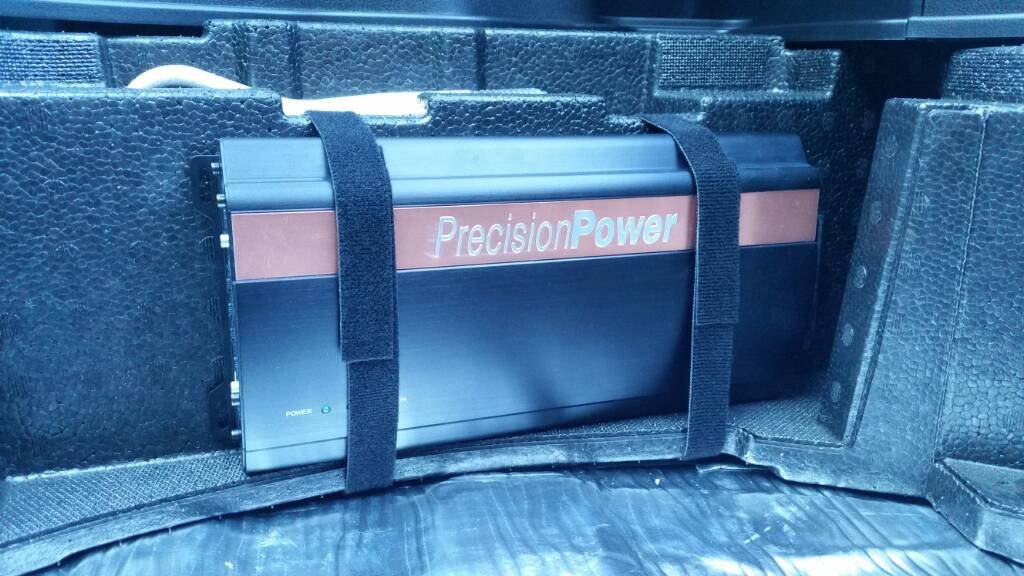
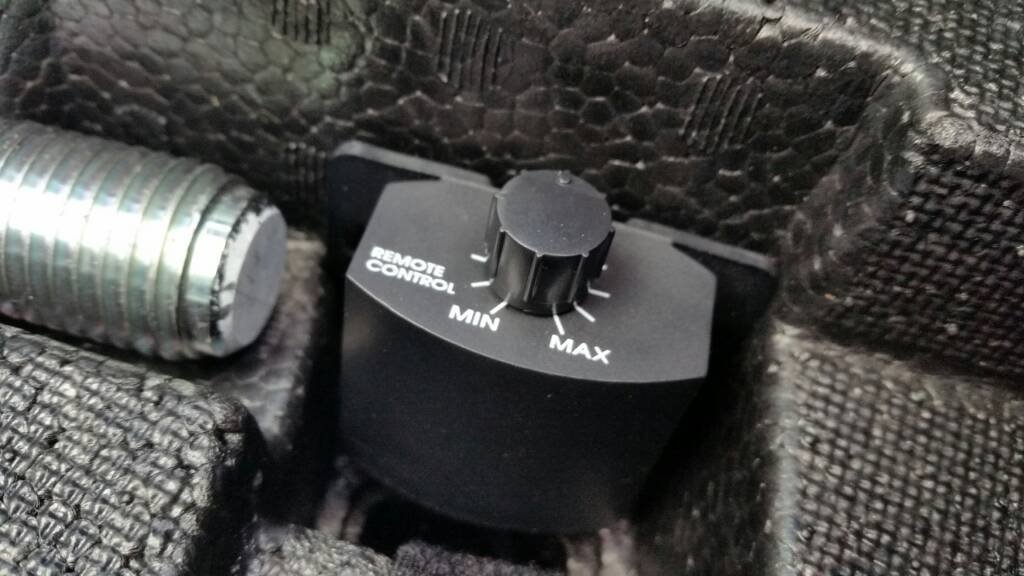
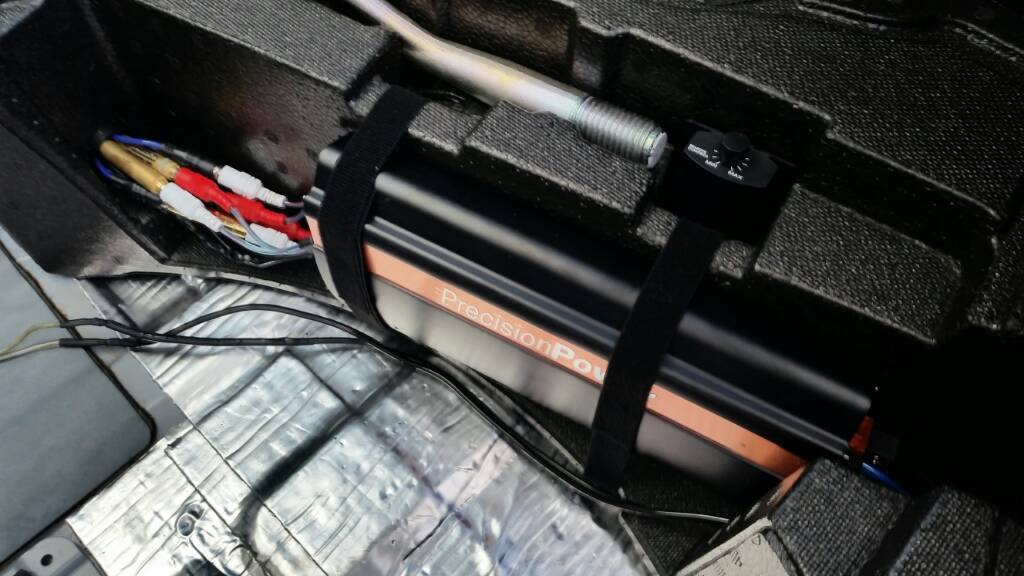 The amp has its home. I even found a convenient spot for the bass level knob, which I don’t really want anyway.
 I used a hole saw to cut a couple holes in the foam to pass the wires though. I glued in some copper pipes to trim it out, make it look better than just holes.I started making my grill and cover board.
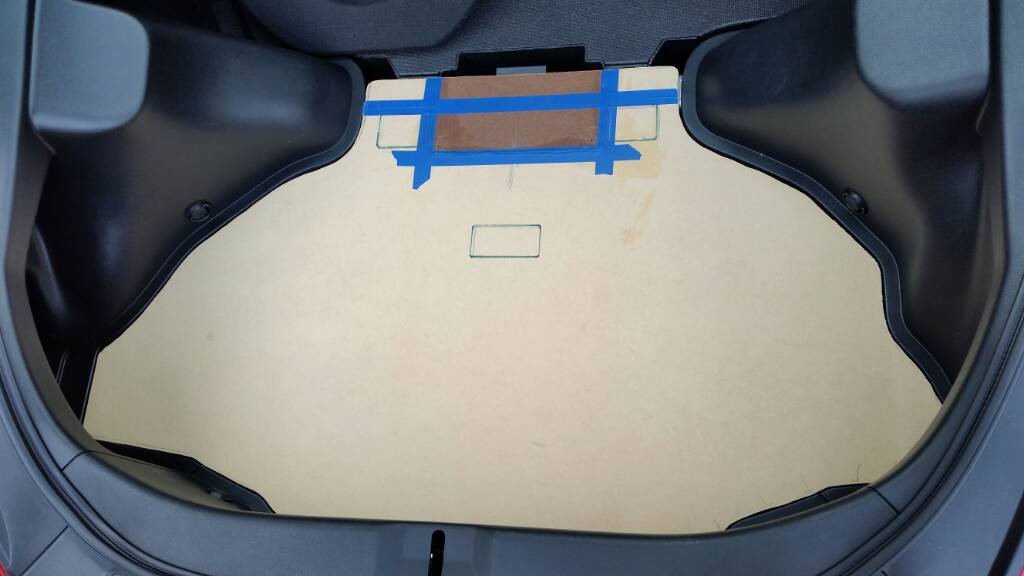
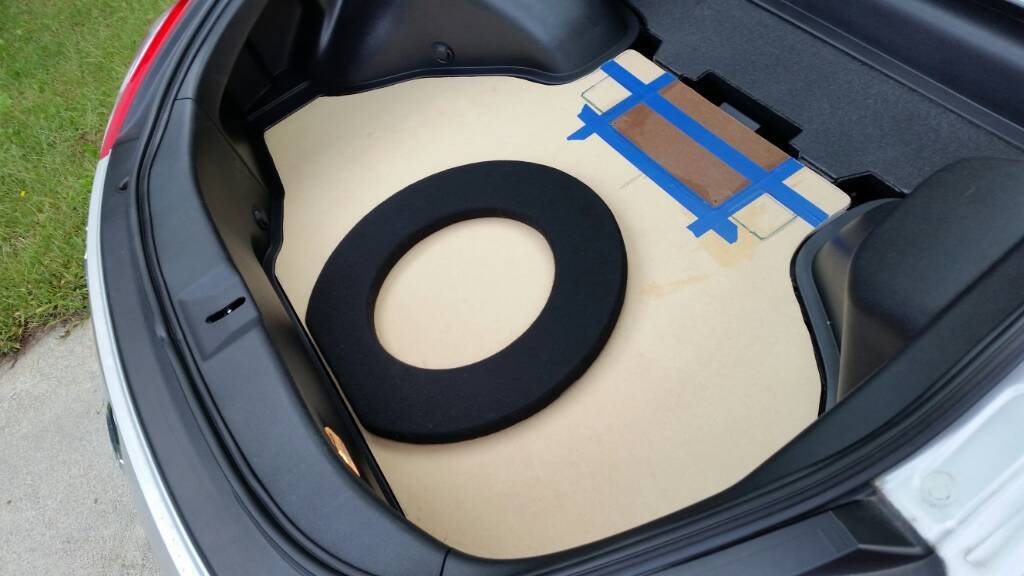
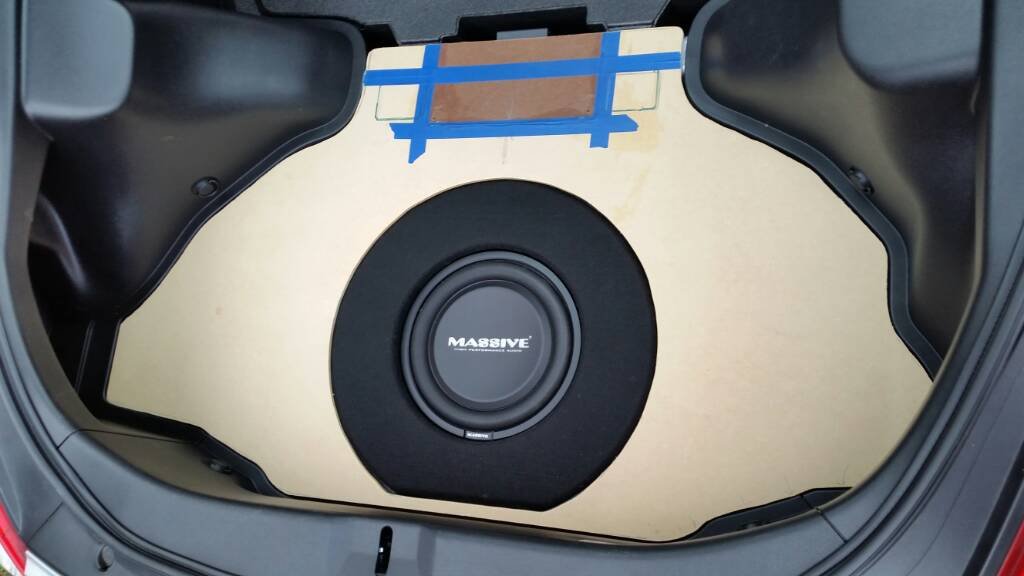 After all these months, I finally got around to the upholstery on the cover panel.
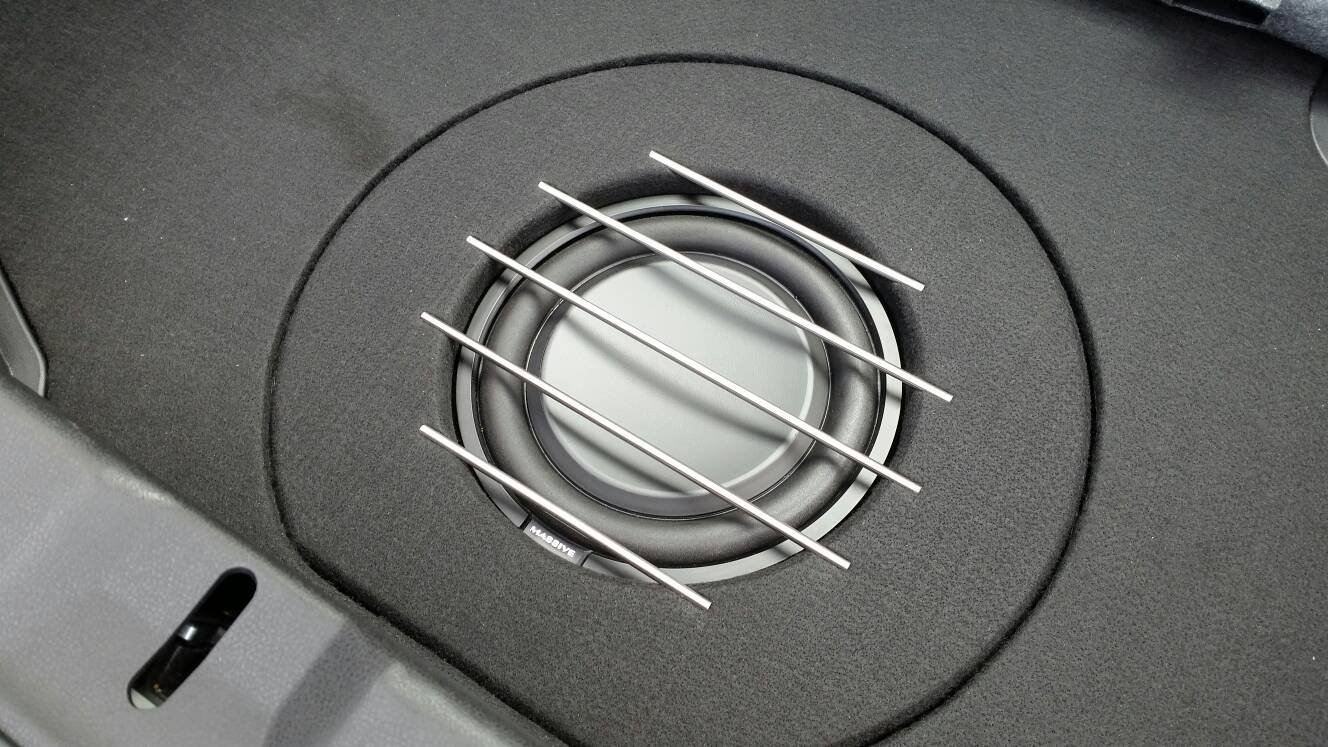
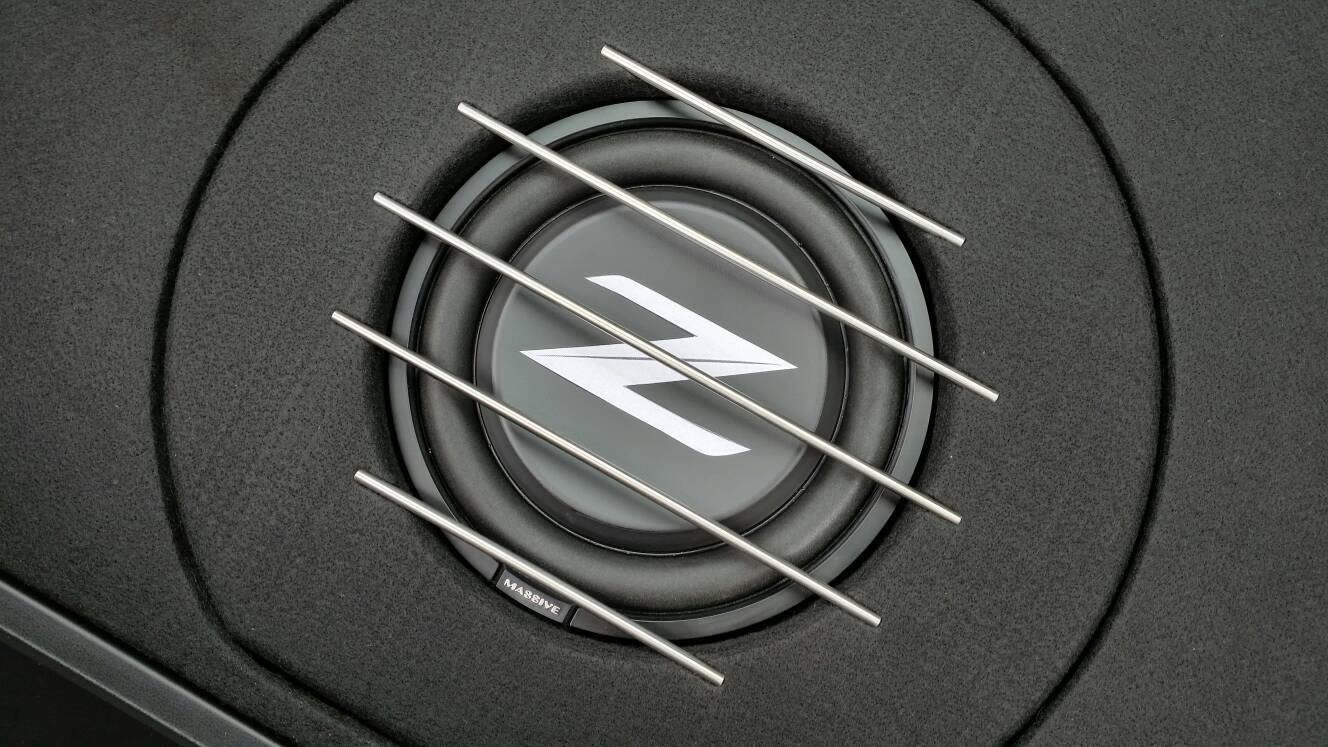
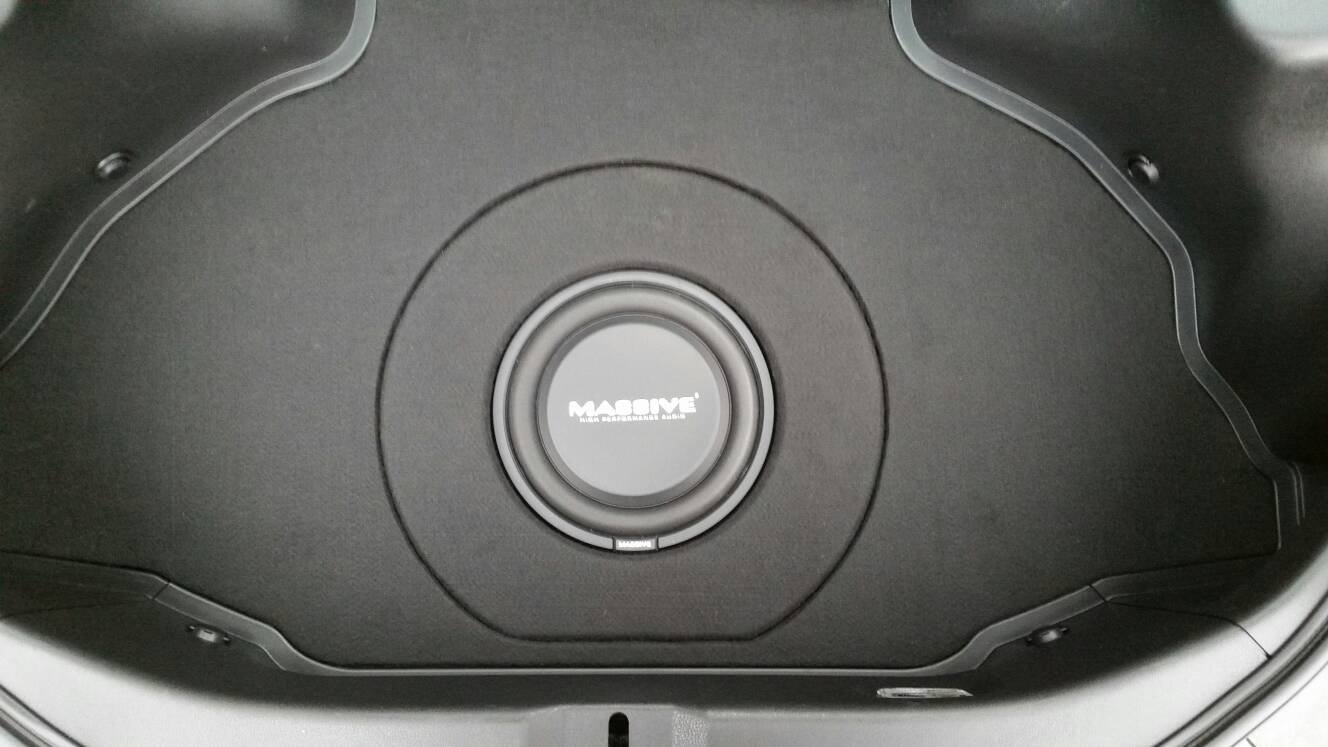 Now I just have to fab the stainless steel grill.Working on the grill a bit.
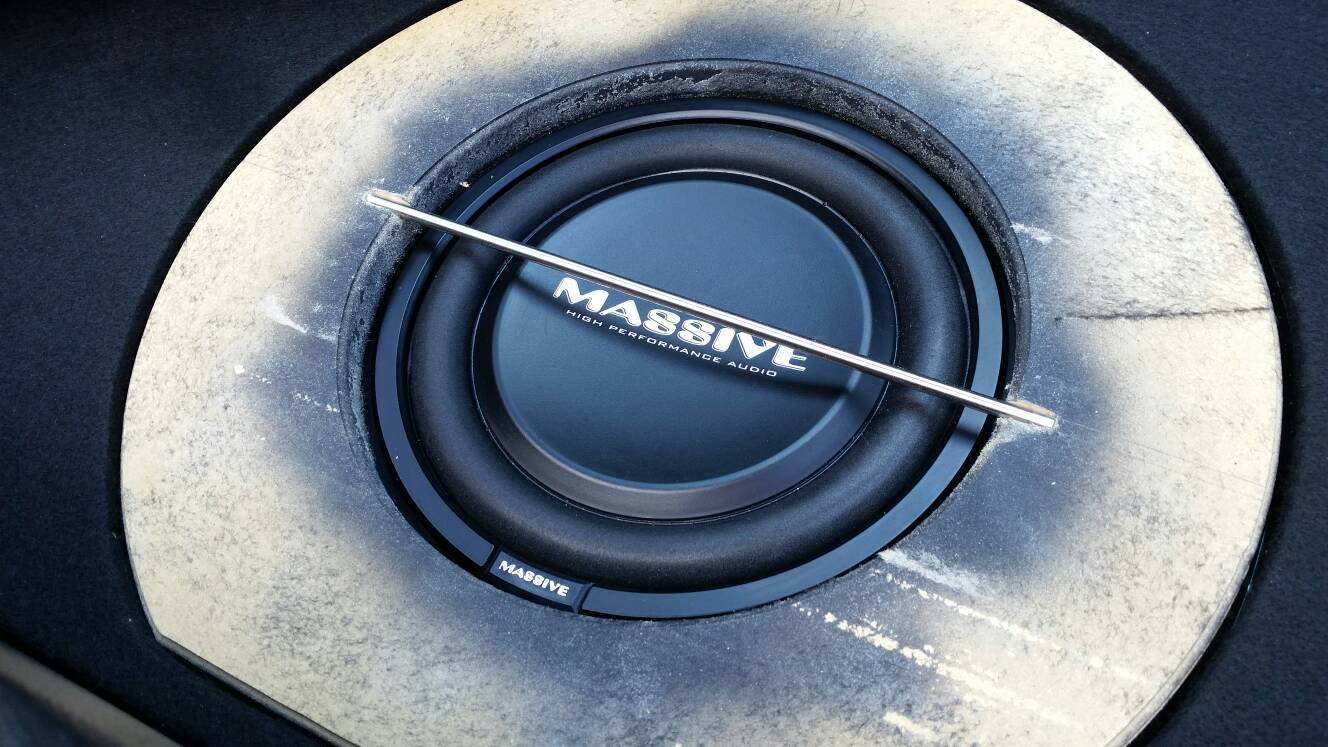 Got all the stainless cut.
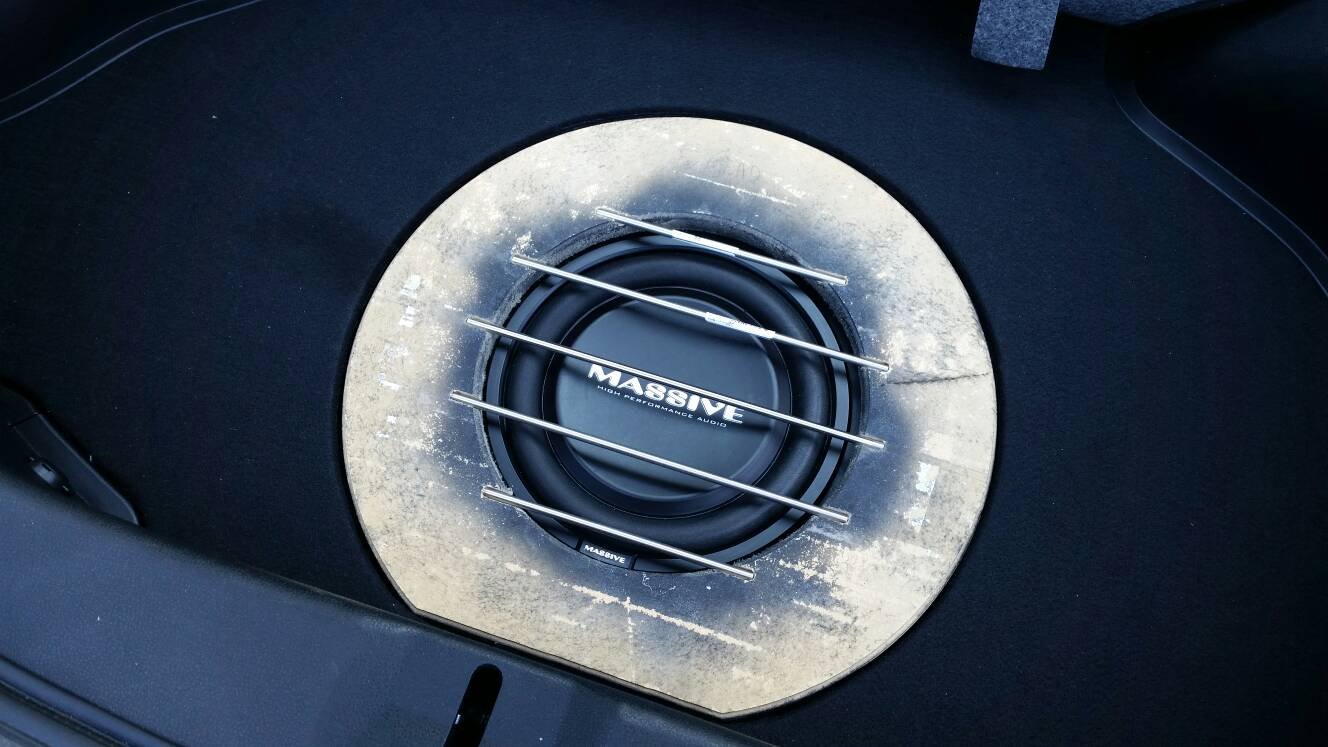 …and the grill.
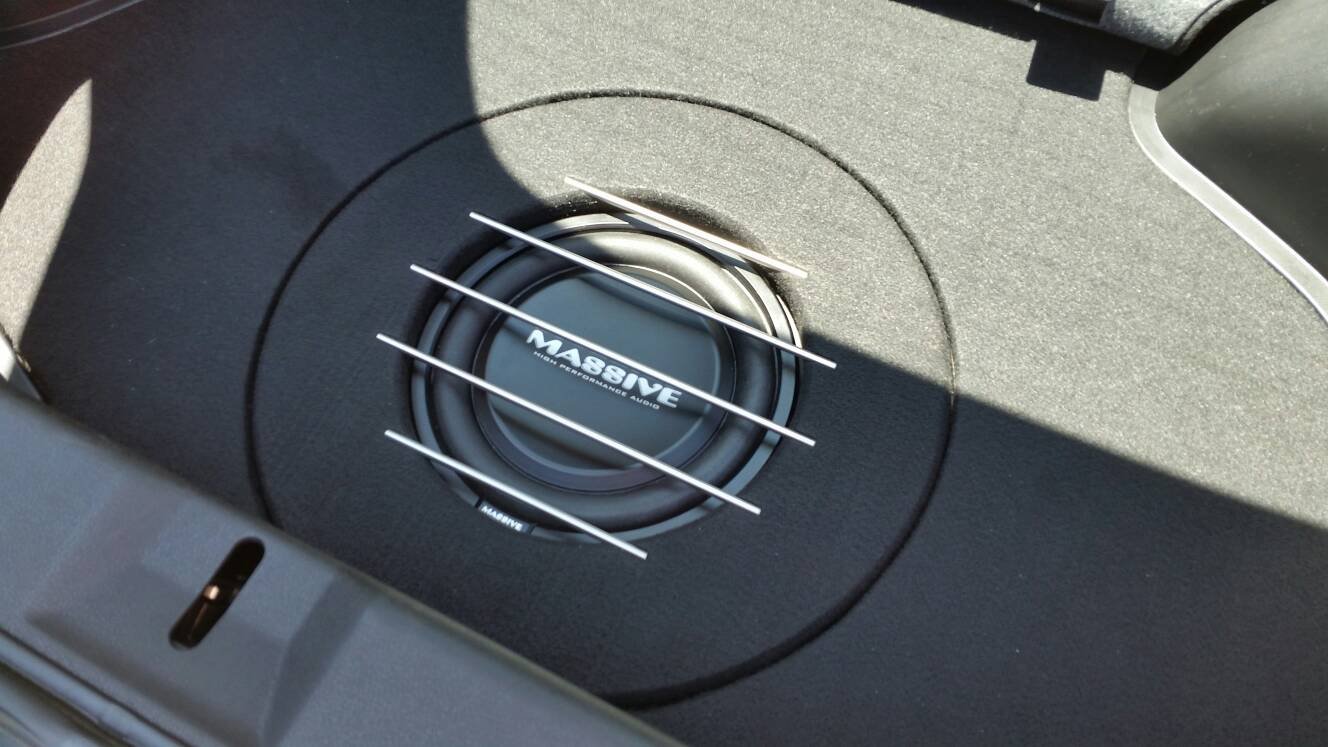
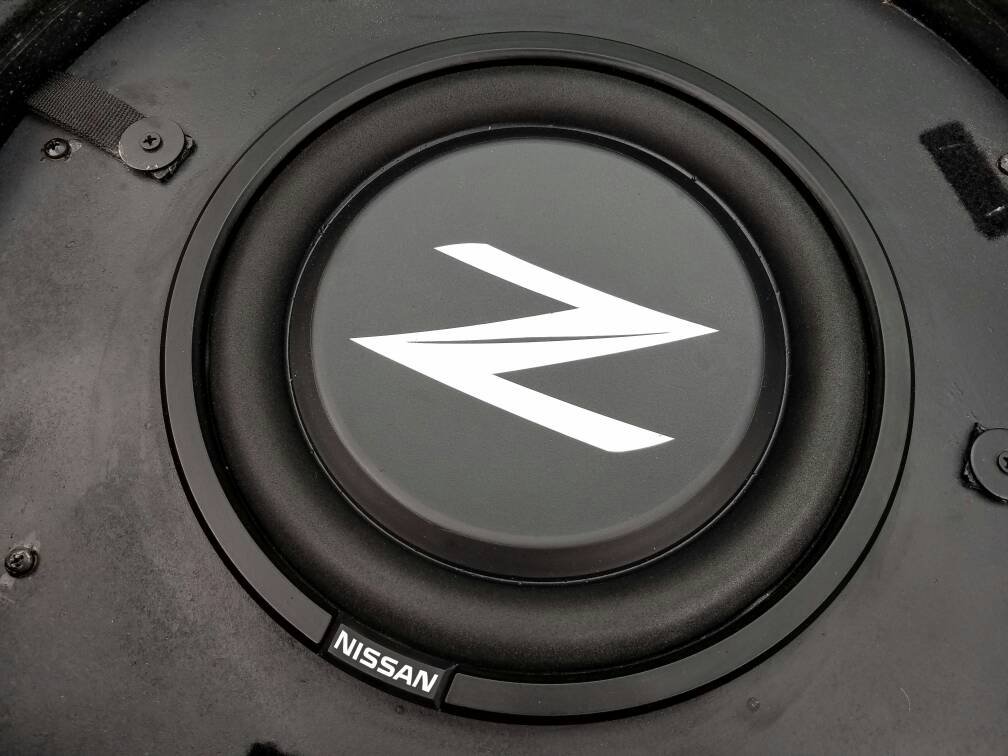
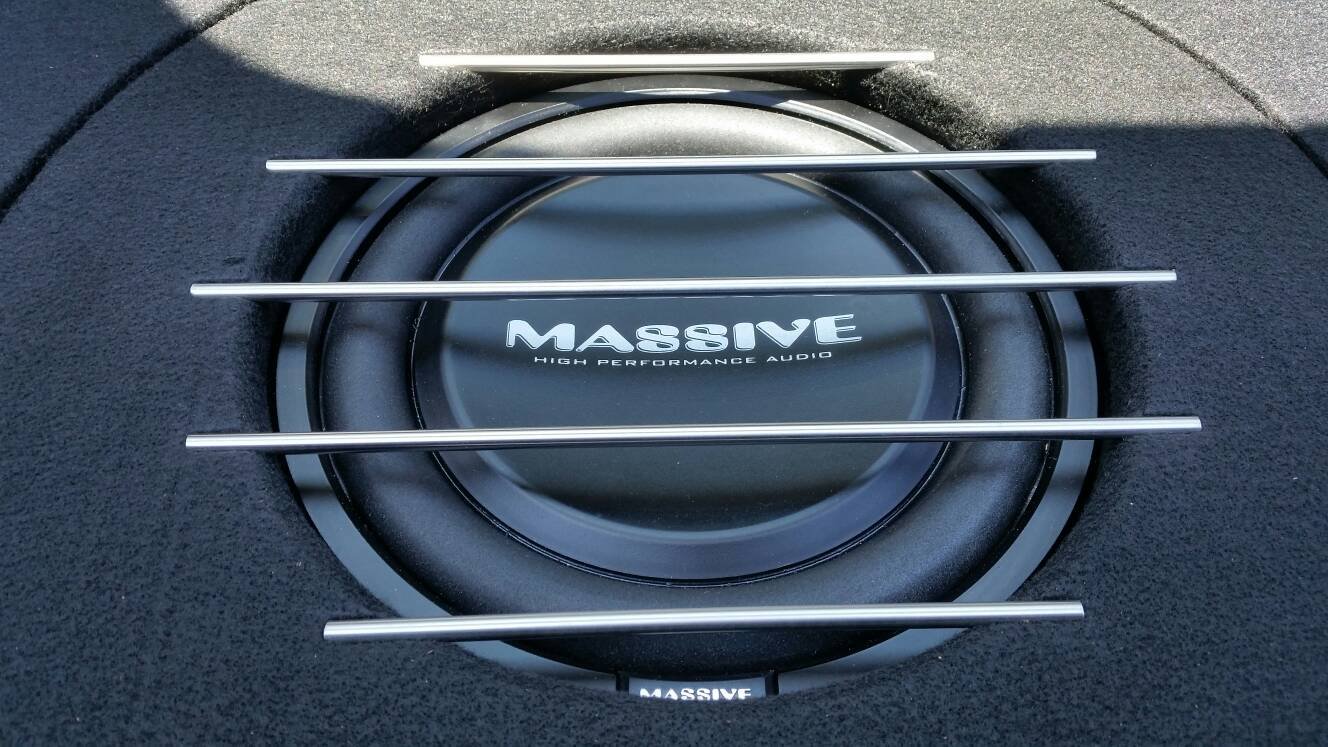 I wonder if I could cook steaks on it. :yum:Less branding makes me happy. I think I’m going to put the Z logo in the center.
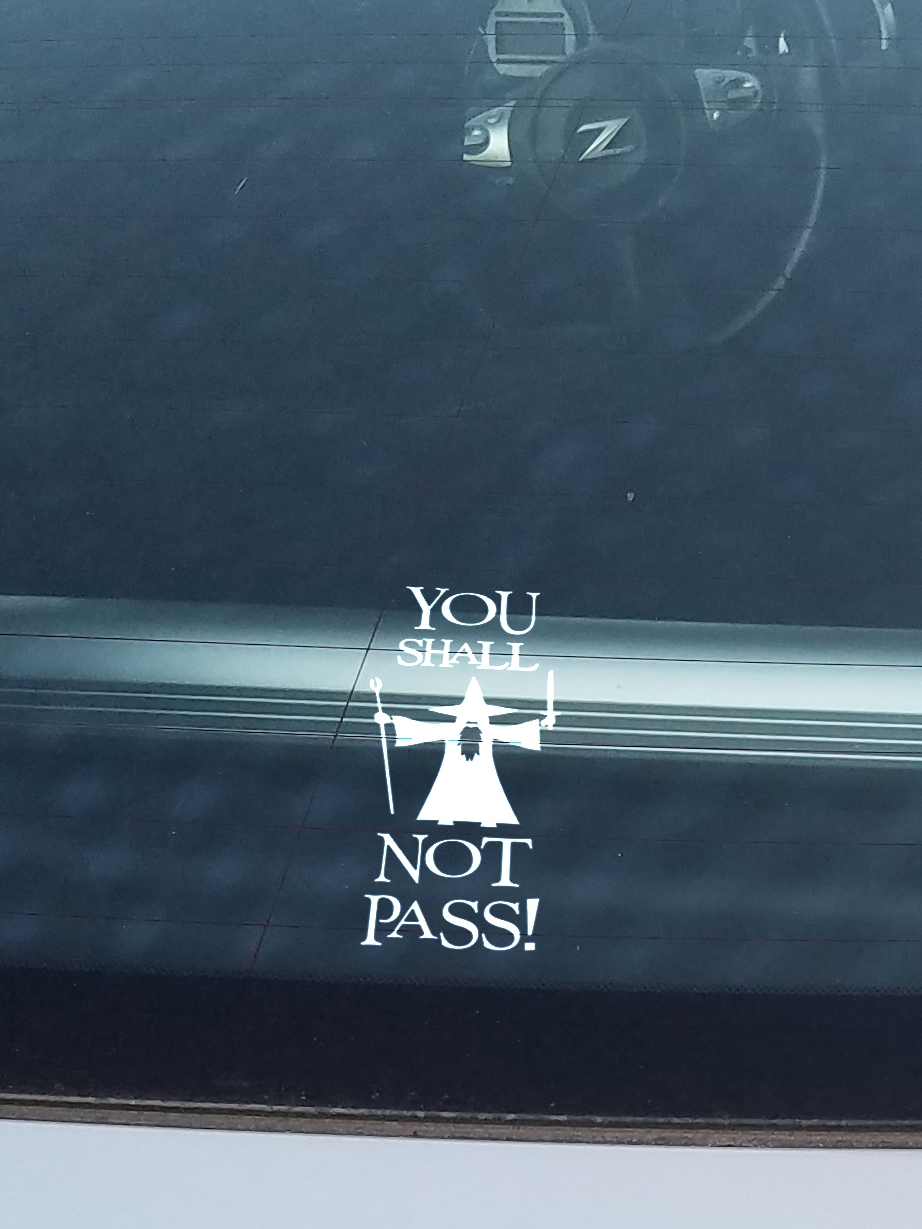
Funny Window Sticker
Ok… so this isn’t the Ghia, it’s my 370Z. Also, it isn’t really a sticker, just a poorly placed Photoshop. Regardless, I thought it was rather funny.
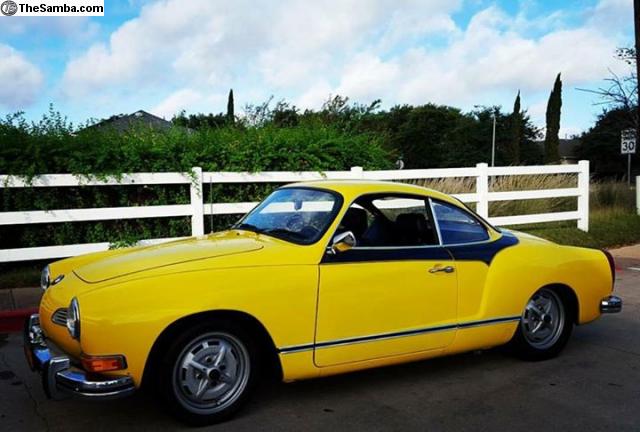
1973 Karmann Ghia Sport Edition
I just learned there was a sport edition of the Ghia available only in 1973. From what I understand, it was only available in this yellow, had different wheels and black stripes. I bet it had 300rwhp to go with those fancy stripes. I thought it interesting enough to include it here.
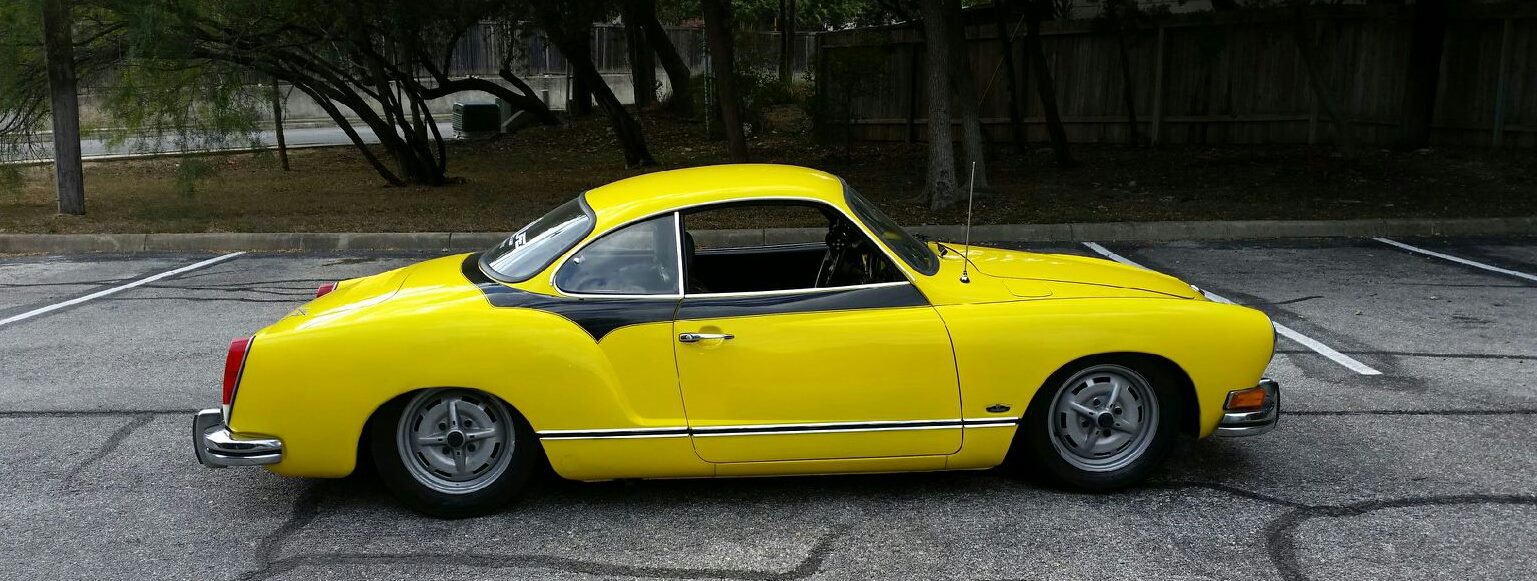
73 Ghia with custom 60’s Bodywork
This is similar to some of the things I’ve been planning. I love the smaller tail lights of the older Ghias.
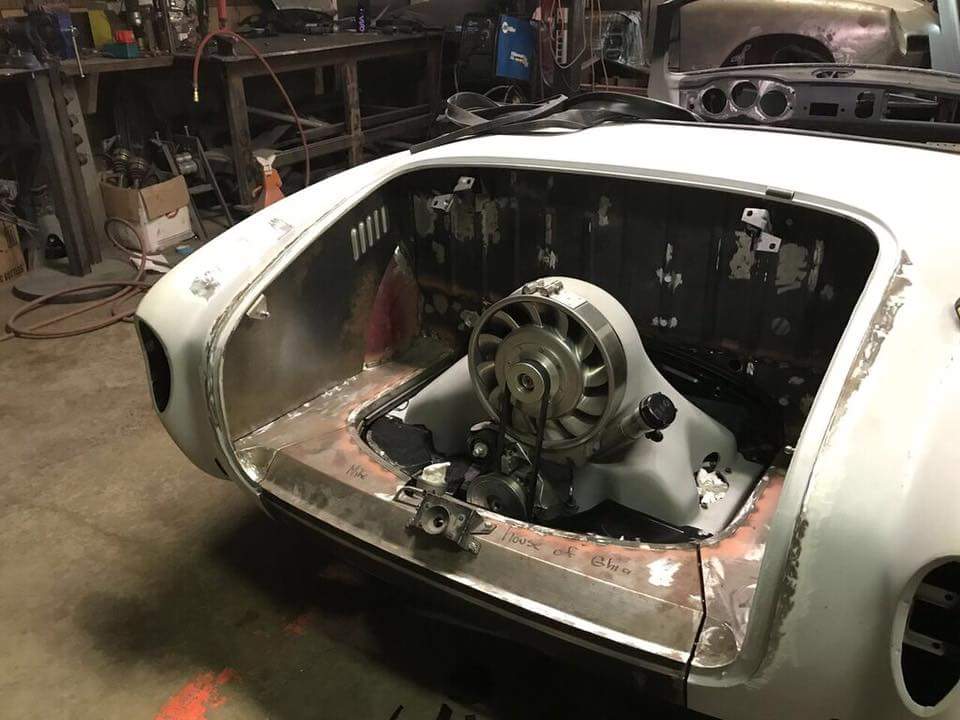
The original Facebook post of this can be found HERE.
Wrenching Fun with Frank
Here’s yet one more fun day from the past working on our Camaros with Frank. Again, these poss can be found on Frank’s Blog Frank Forged.
Month: May 2015
Day 1782 “Bone Manor/D’Casa Nossy”
Geez, what a weekend…
I took a few days to visit Bone and Nossy to try and work on the Bone. It was a busy weekend. We did get to weld on my exhaust some. Here is a progress report of the past few days.
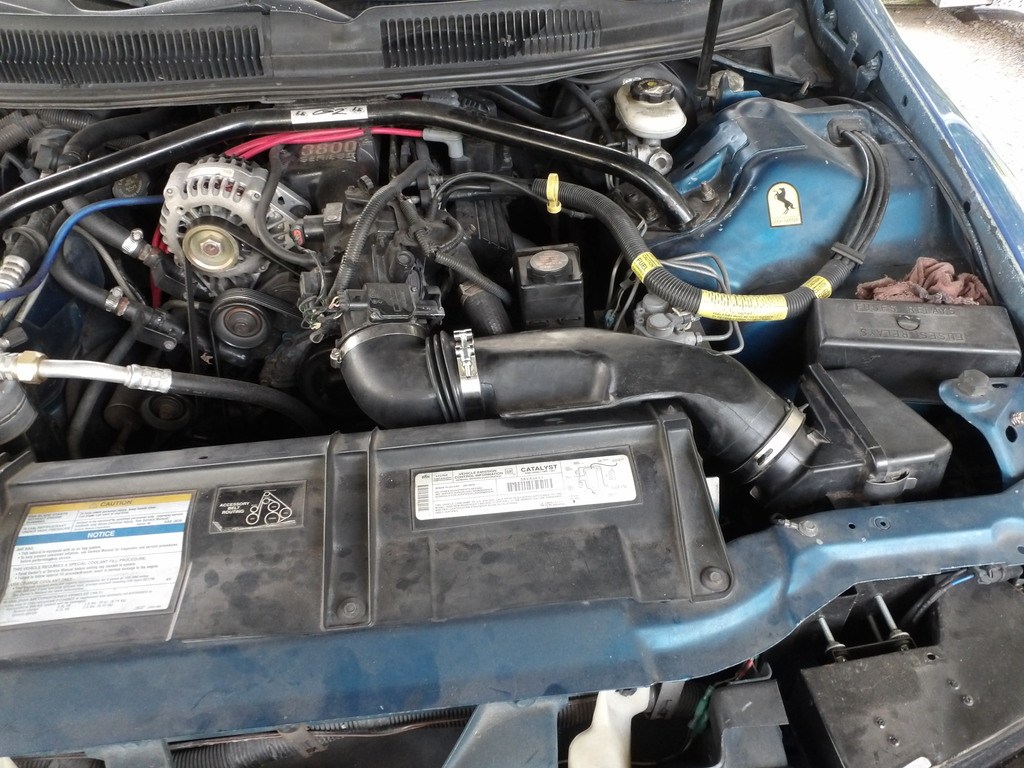
From the collection of parts I got from my memphis visit Laura gave me her stock filter box. I also found a 3.4 connecting tube that is almost an exact fit for a 90 elbow.
It came in the day before I left for GA. It looks pretty good to me. I like the fit and the ease of access too.
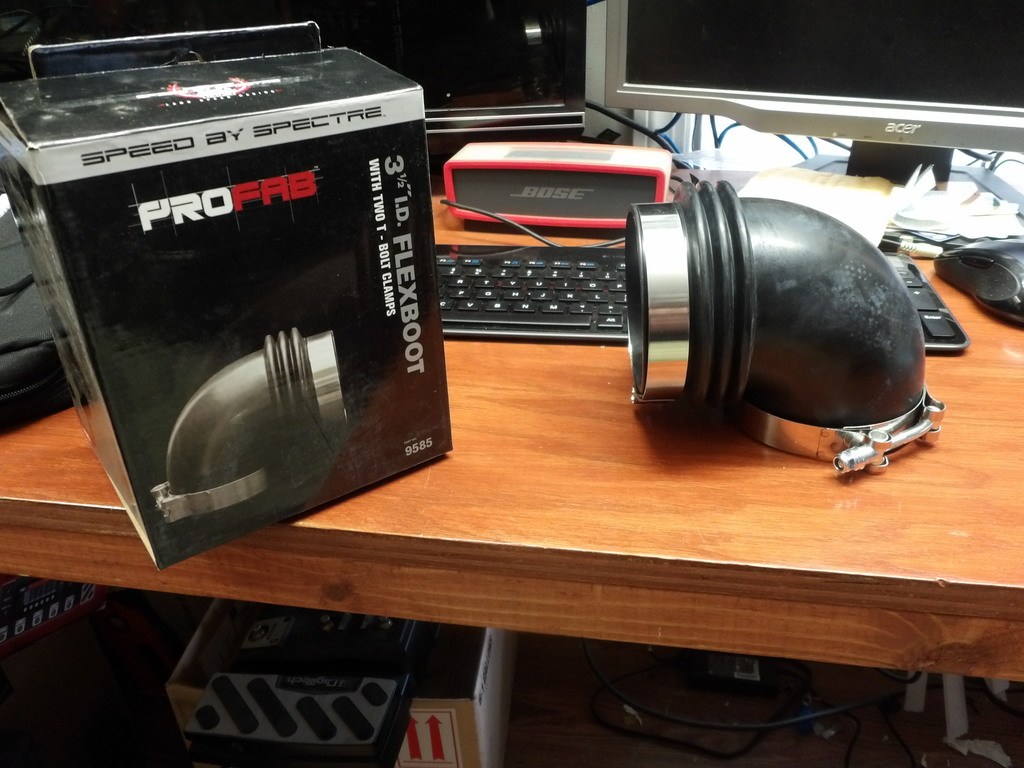 The 3.4 tube had to be trimmed about an 1in to connect to the elbow.
The bone took a lot more time than we thought mainly because I’m getting old and slow.
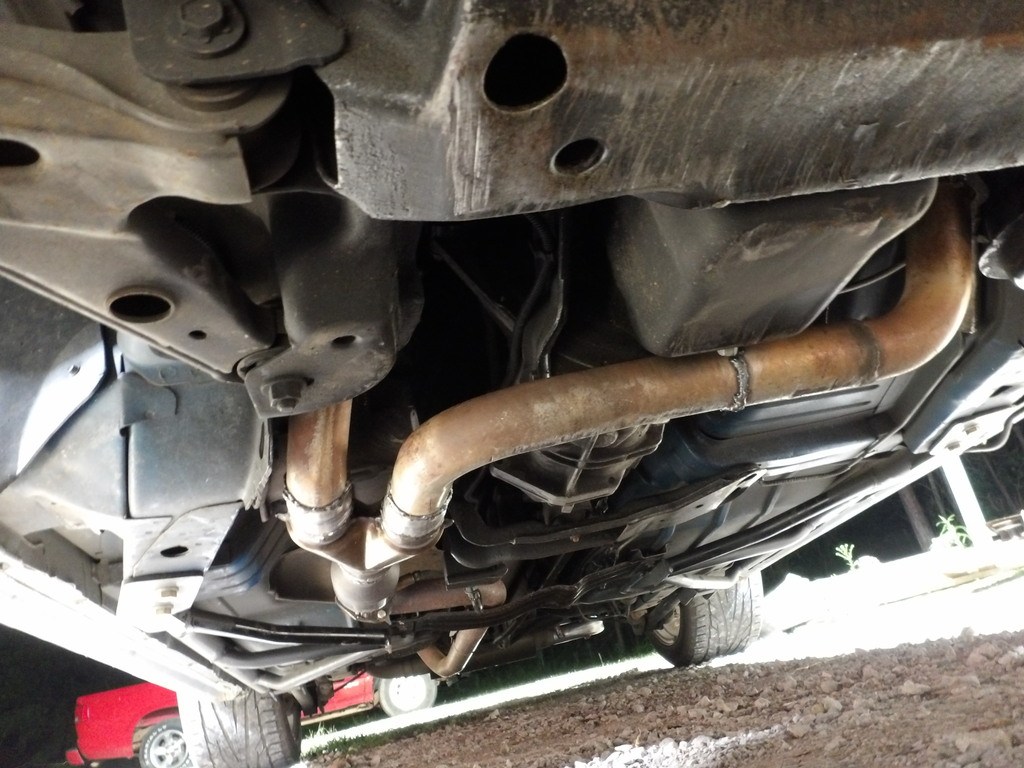
But we went ahead and chopped up my exhaust to weld in a MagnaFlow Y-pipe. just to see if all this talk about the flow of the y-pipe causes most of our rasp.
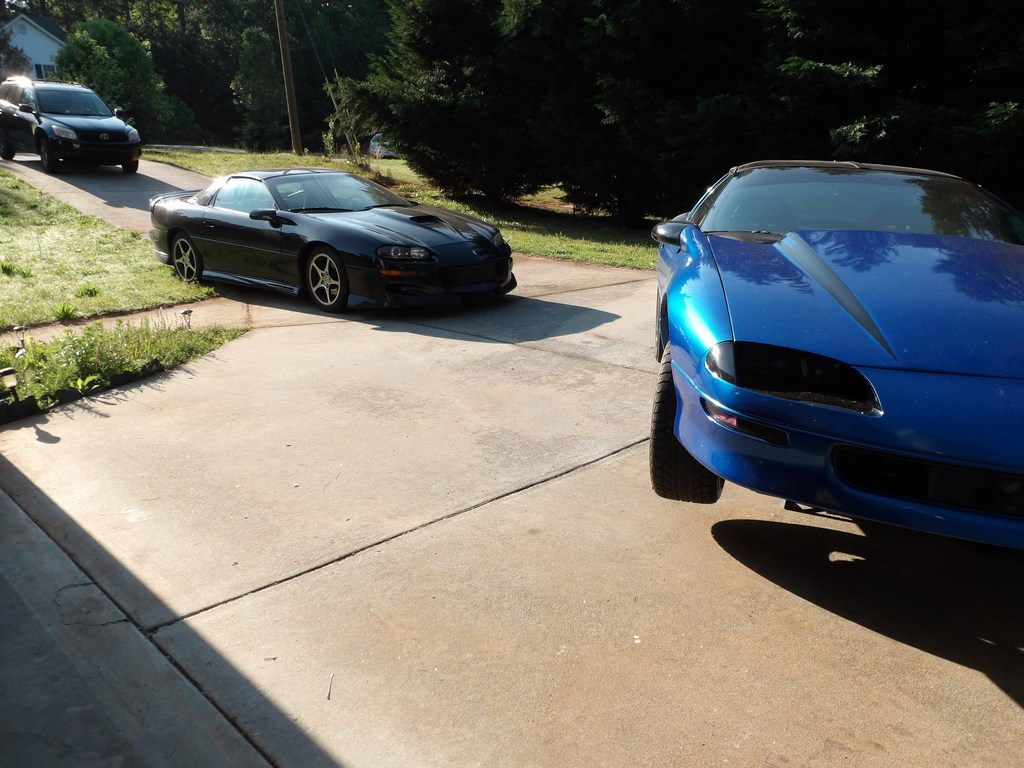
I got it up off the ground, looked at what we needed, and ran to the parts store
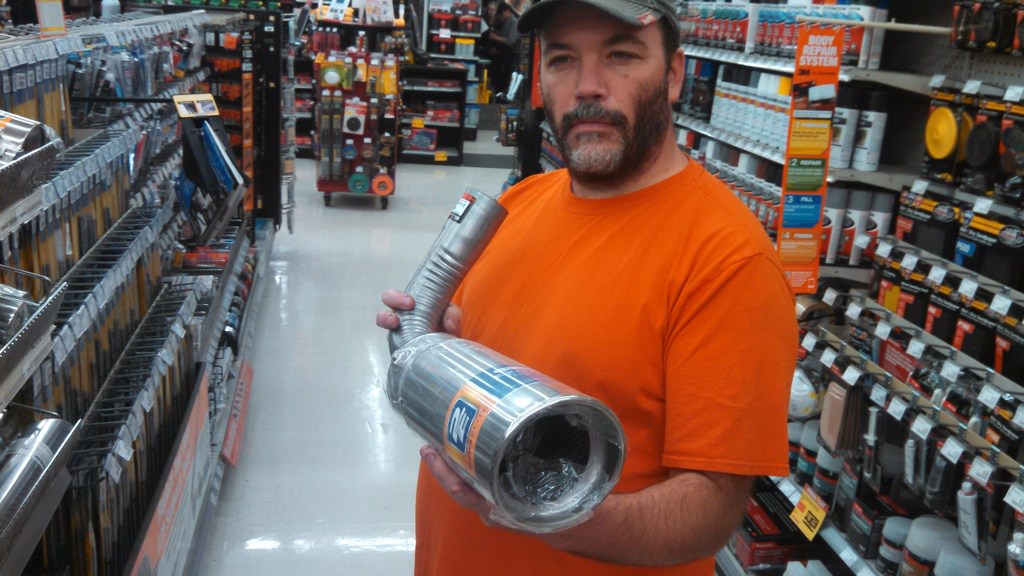
 Jim was adamant that this wasn’t to big or too ricey. I failed to see his point.
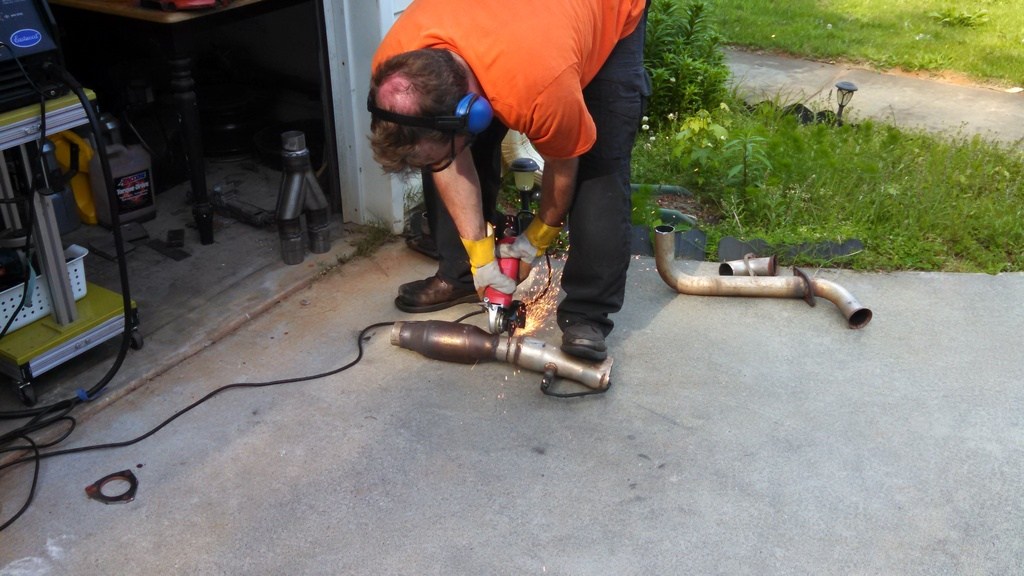
 Point of no return, chopping the pacesetter y-pipe.
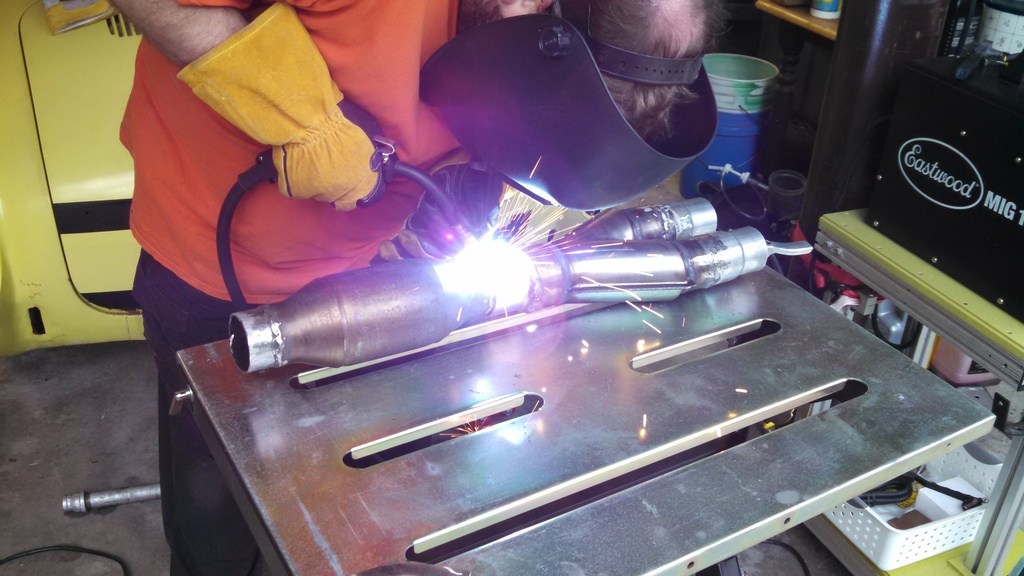
 Jim began welding up the pieces
 This was also something we were going to change. This here makes way to much noise inside the car.
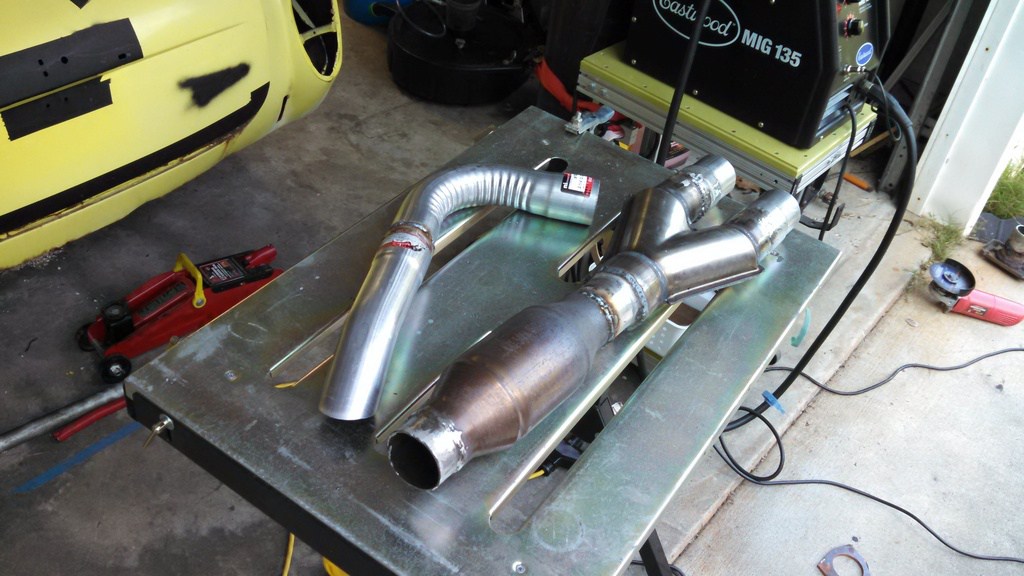
 We got the Y-pipe and cat welded as well as the after muffler pipe.
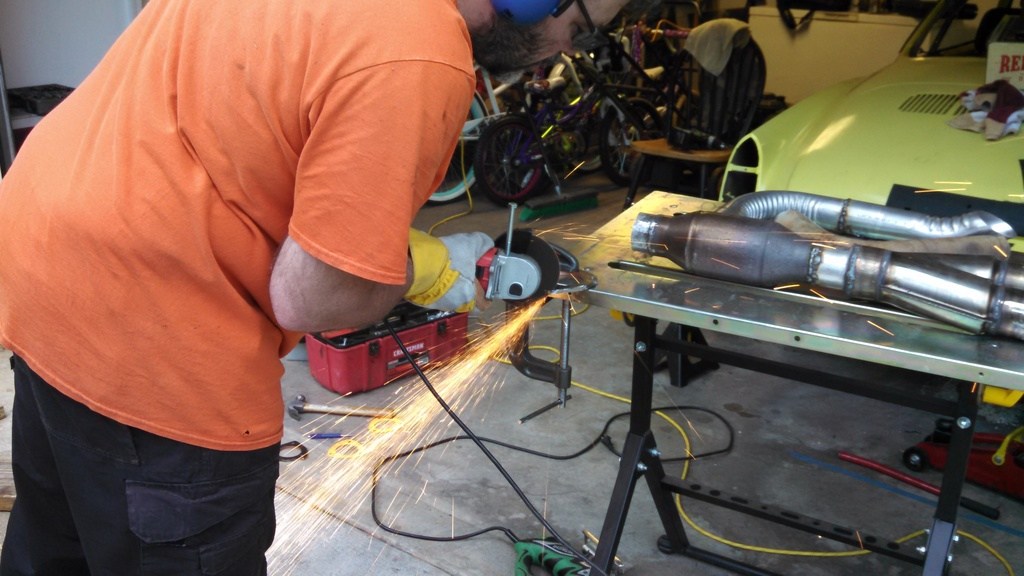
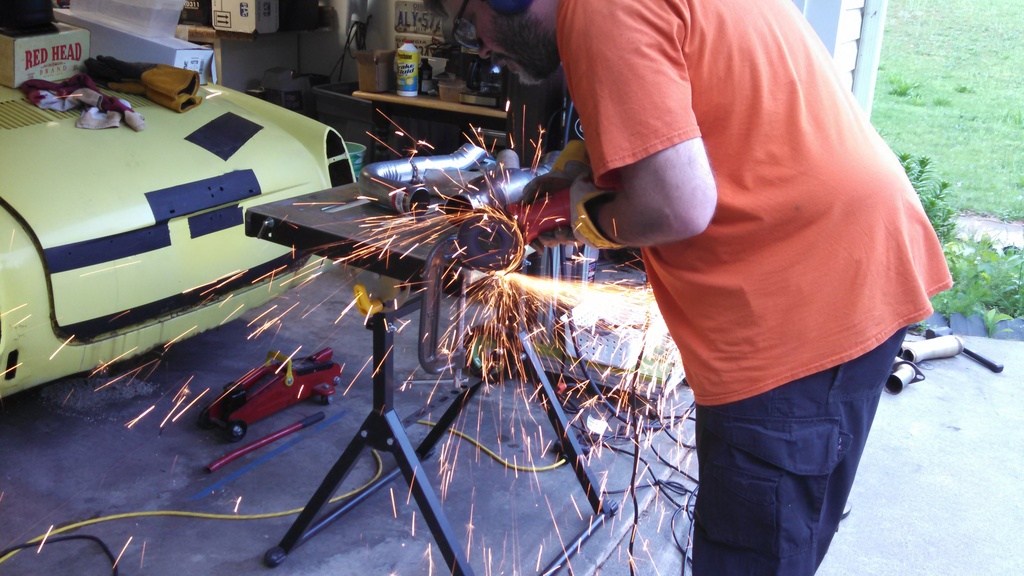
 We also cut and welded a flange to bolt the new y-pipe in instead of welding it to the stock cat back pipe. Here are some gratuitous action shots with the cutting wheel..
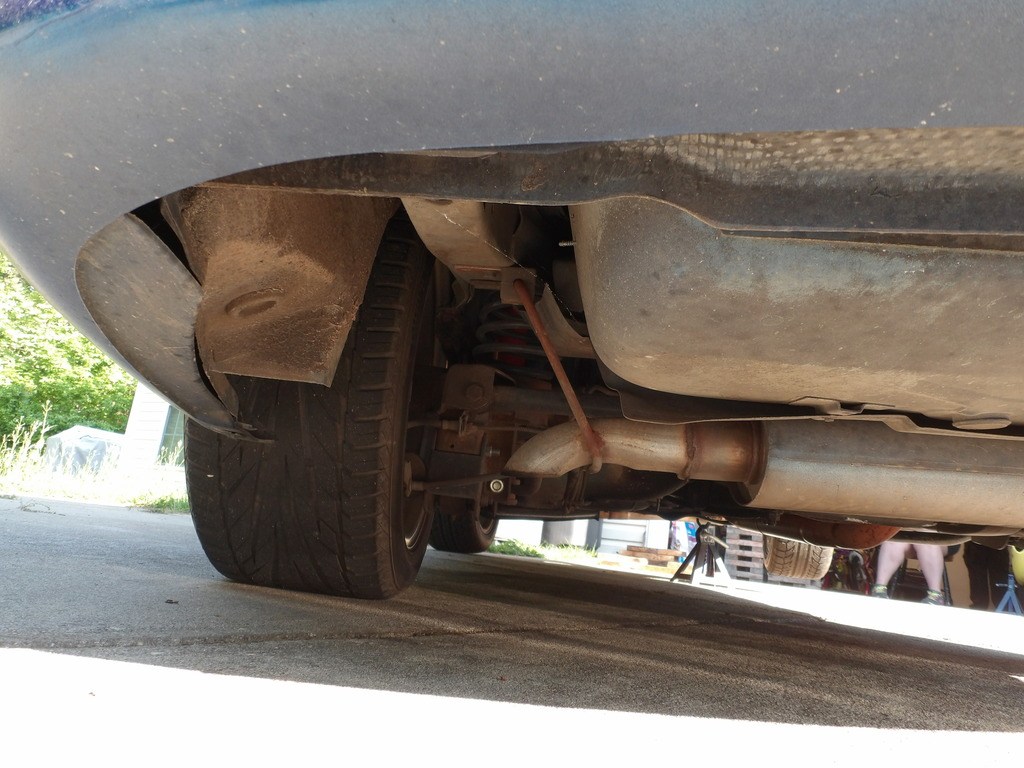
 We got the rear pipe installed. This makes it so much quieter in the car. I can actually hear the sound of the exhaust vs the drone of the sound hitting the ground.
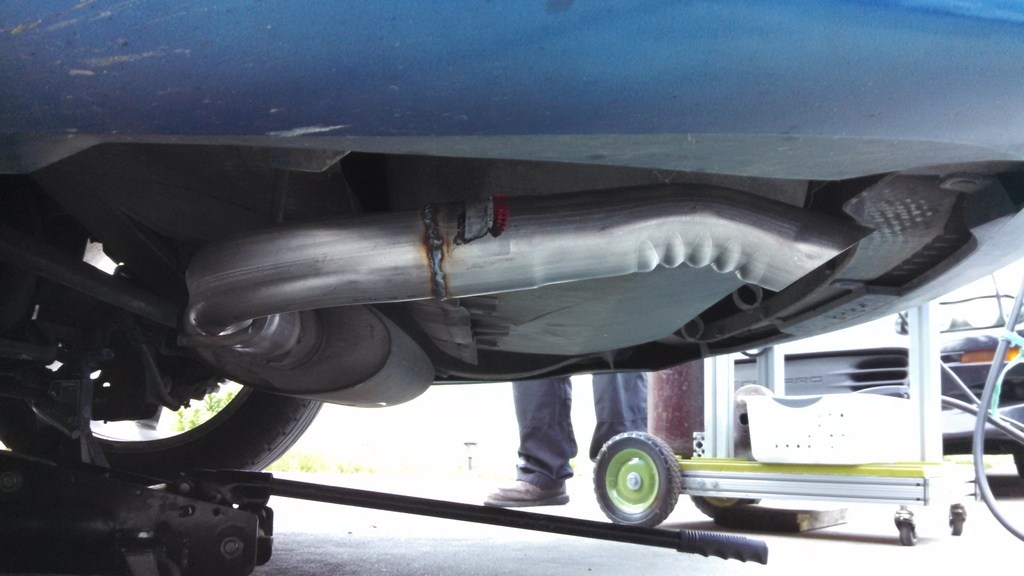
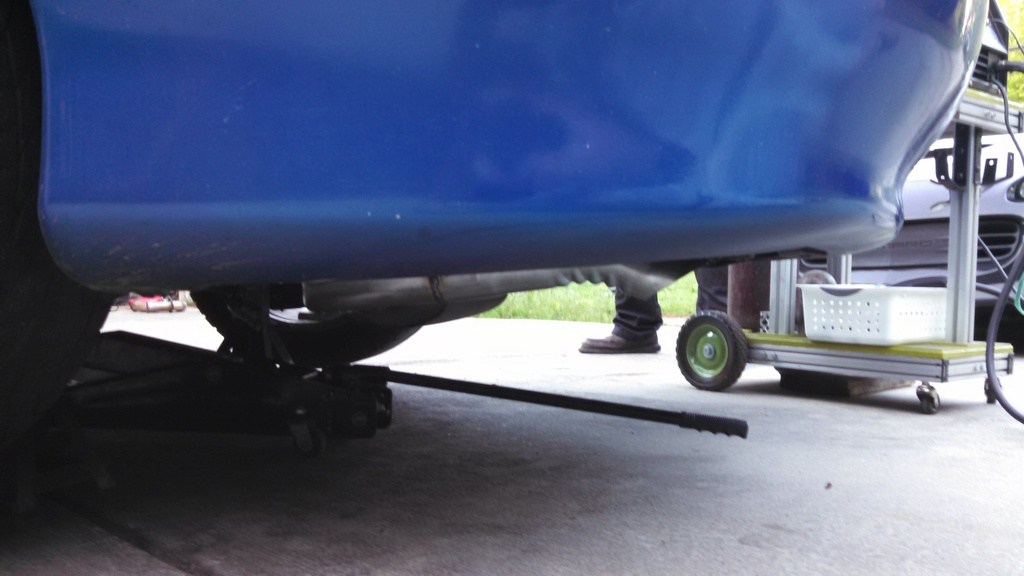 We got the y-pipe installed at about 10pm on sunday. I had to be back home for work the next day. :-\ It was a long ride home.
Last night however I got a chance to work on sealing the headers because we had to ditch the factory donuts.
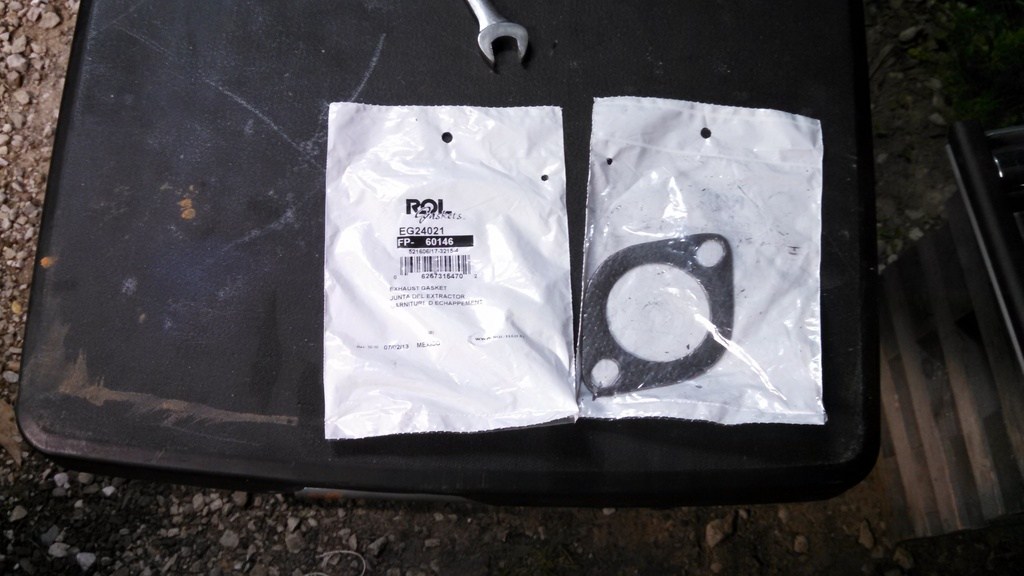
I got a couple 2 bolt flange gaskets to stick between the ball and flange. it seems to seal them up pretty good.
 I’m back in the camaro today. The exhaust sounds completely different and the underside looks pretty good. I’ll have to get some new exhaust video very soon.