I want these toys for a SQ system. So it is written, so it shall be.
AKA Project Farfemmuven
I want these toys for a SQ system. So it is written, so it shall be.
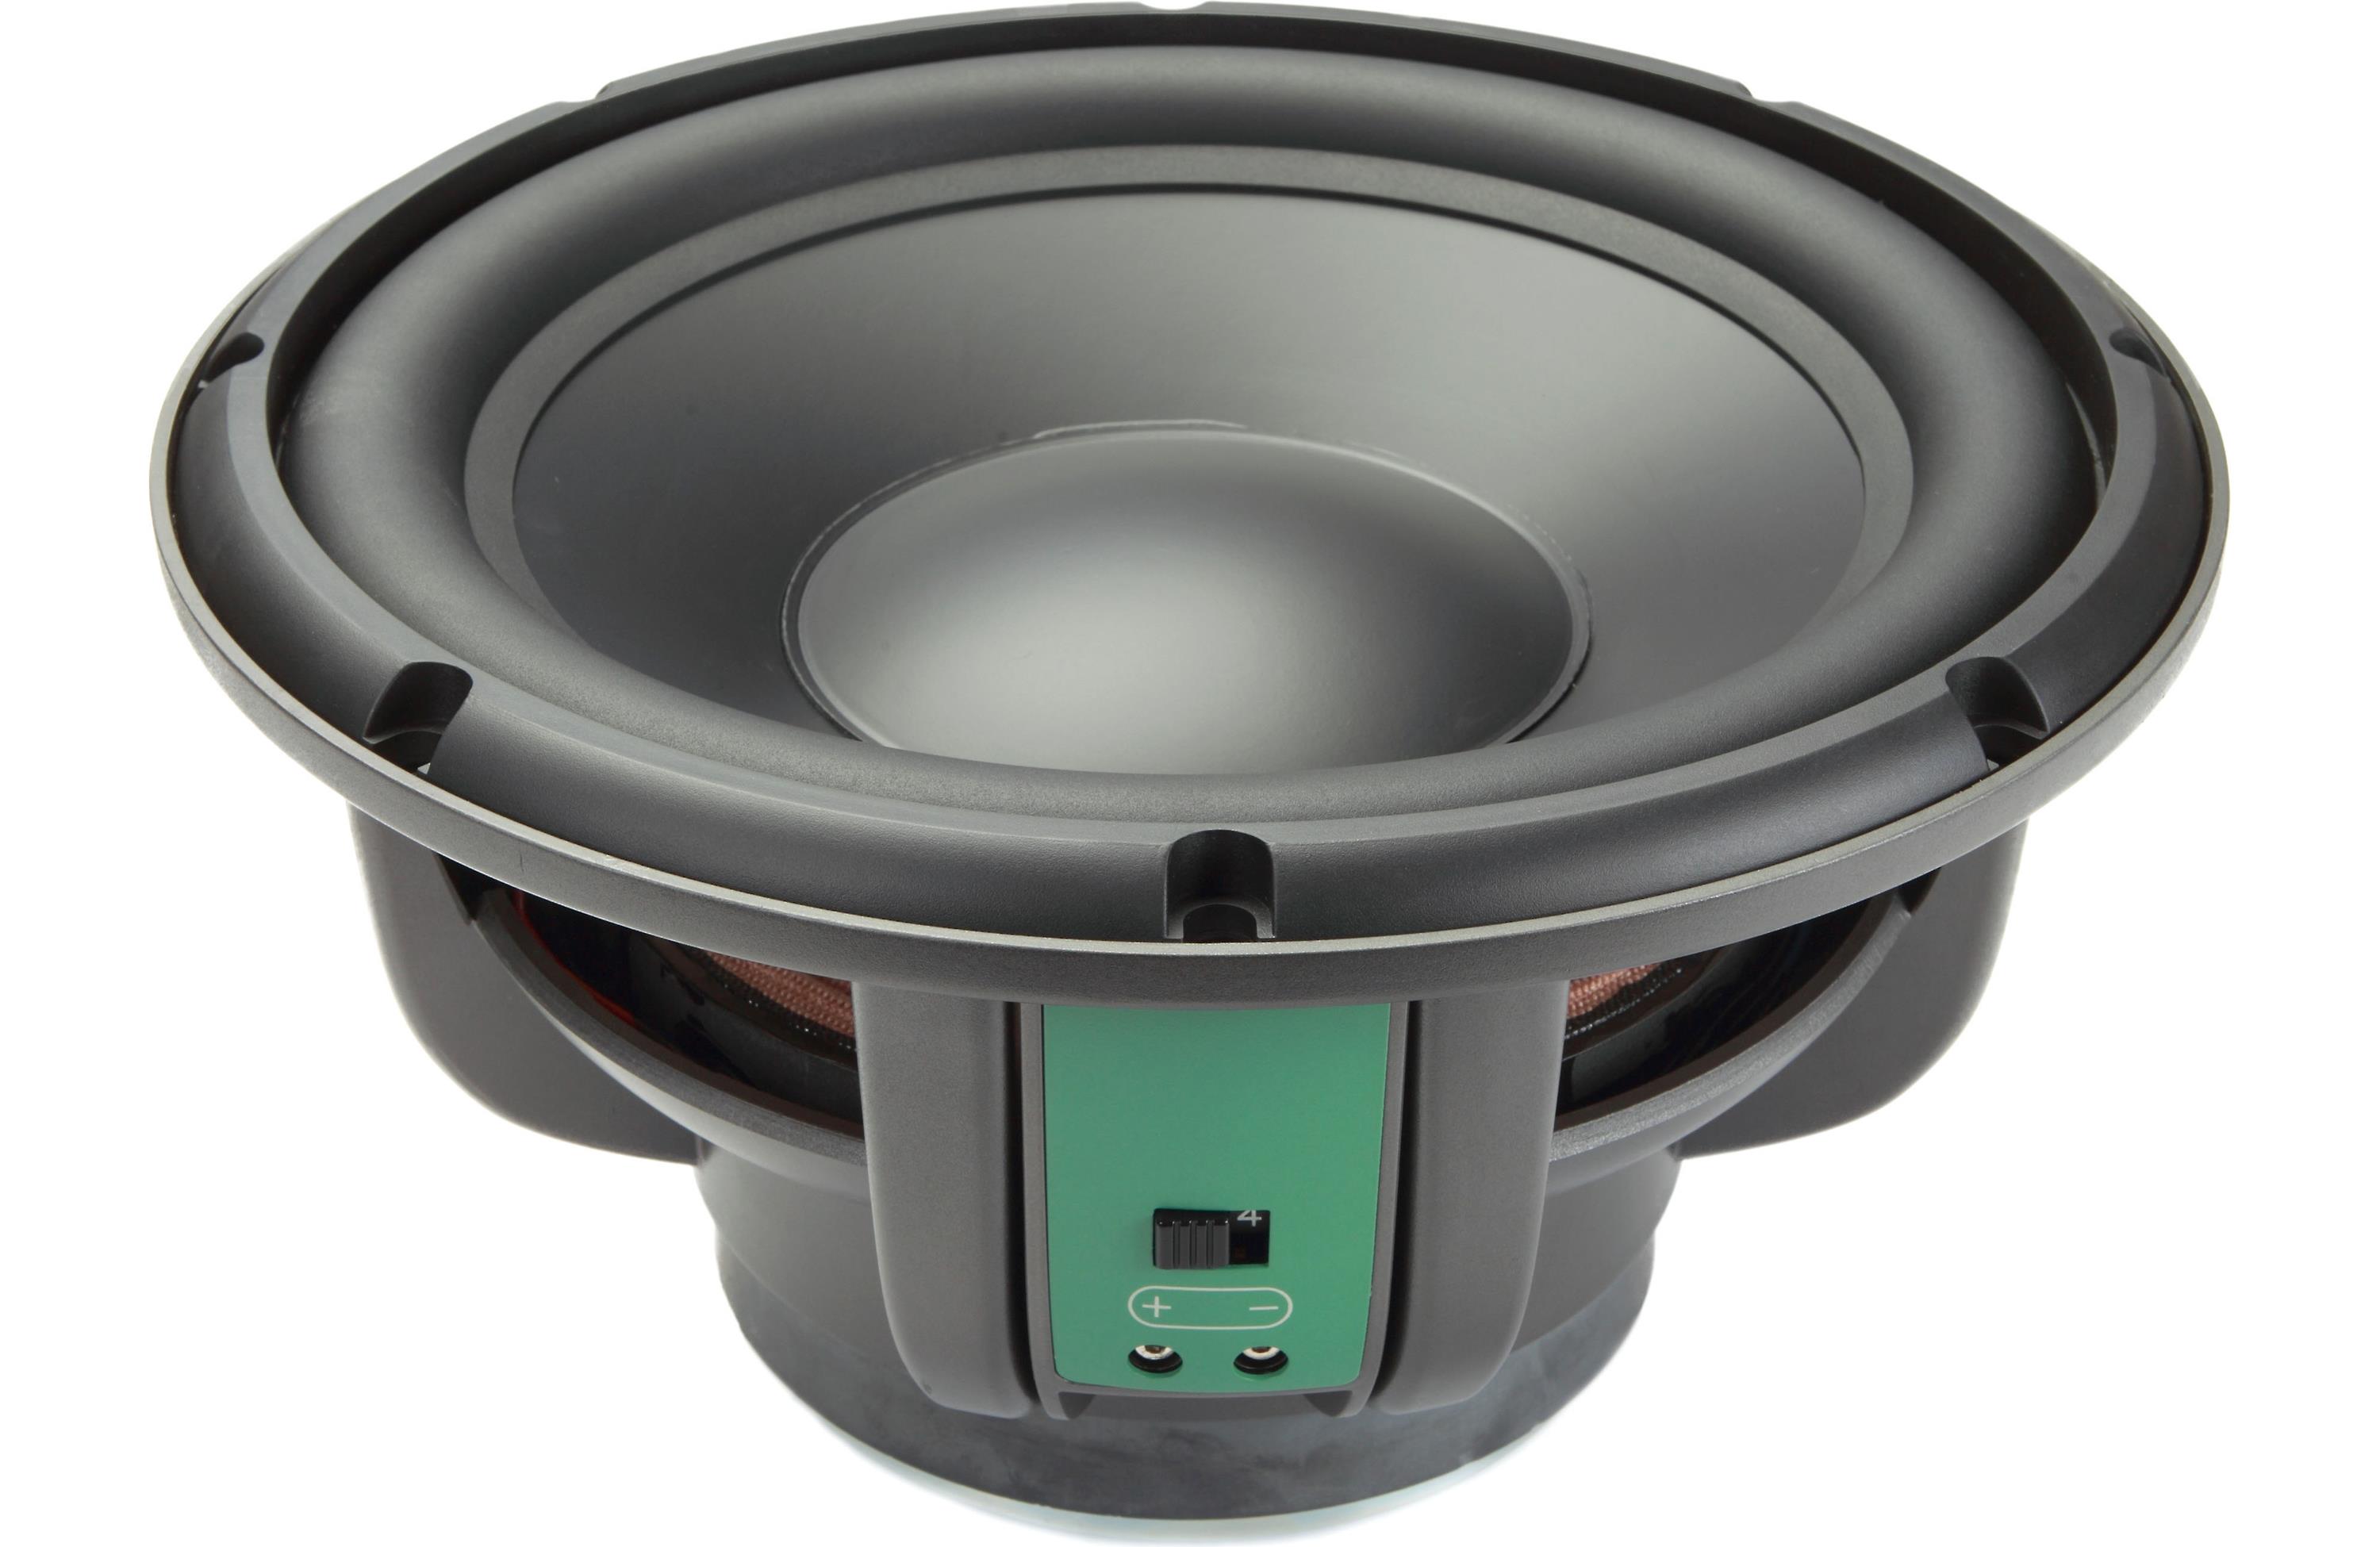
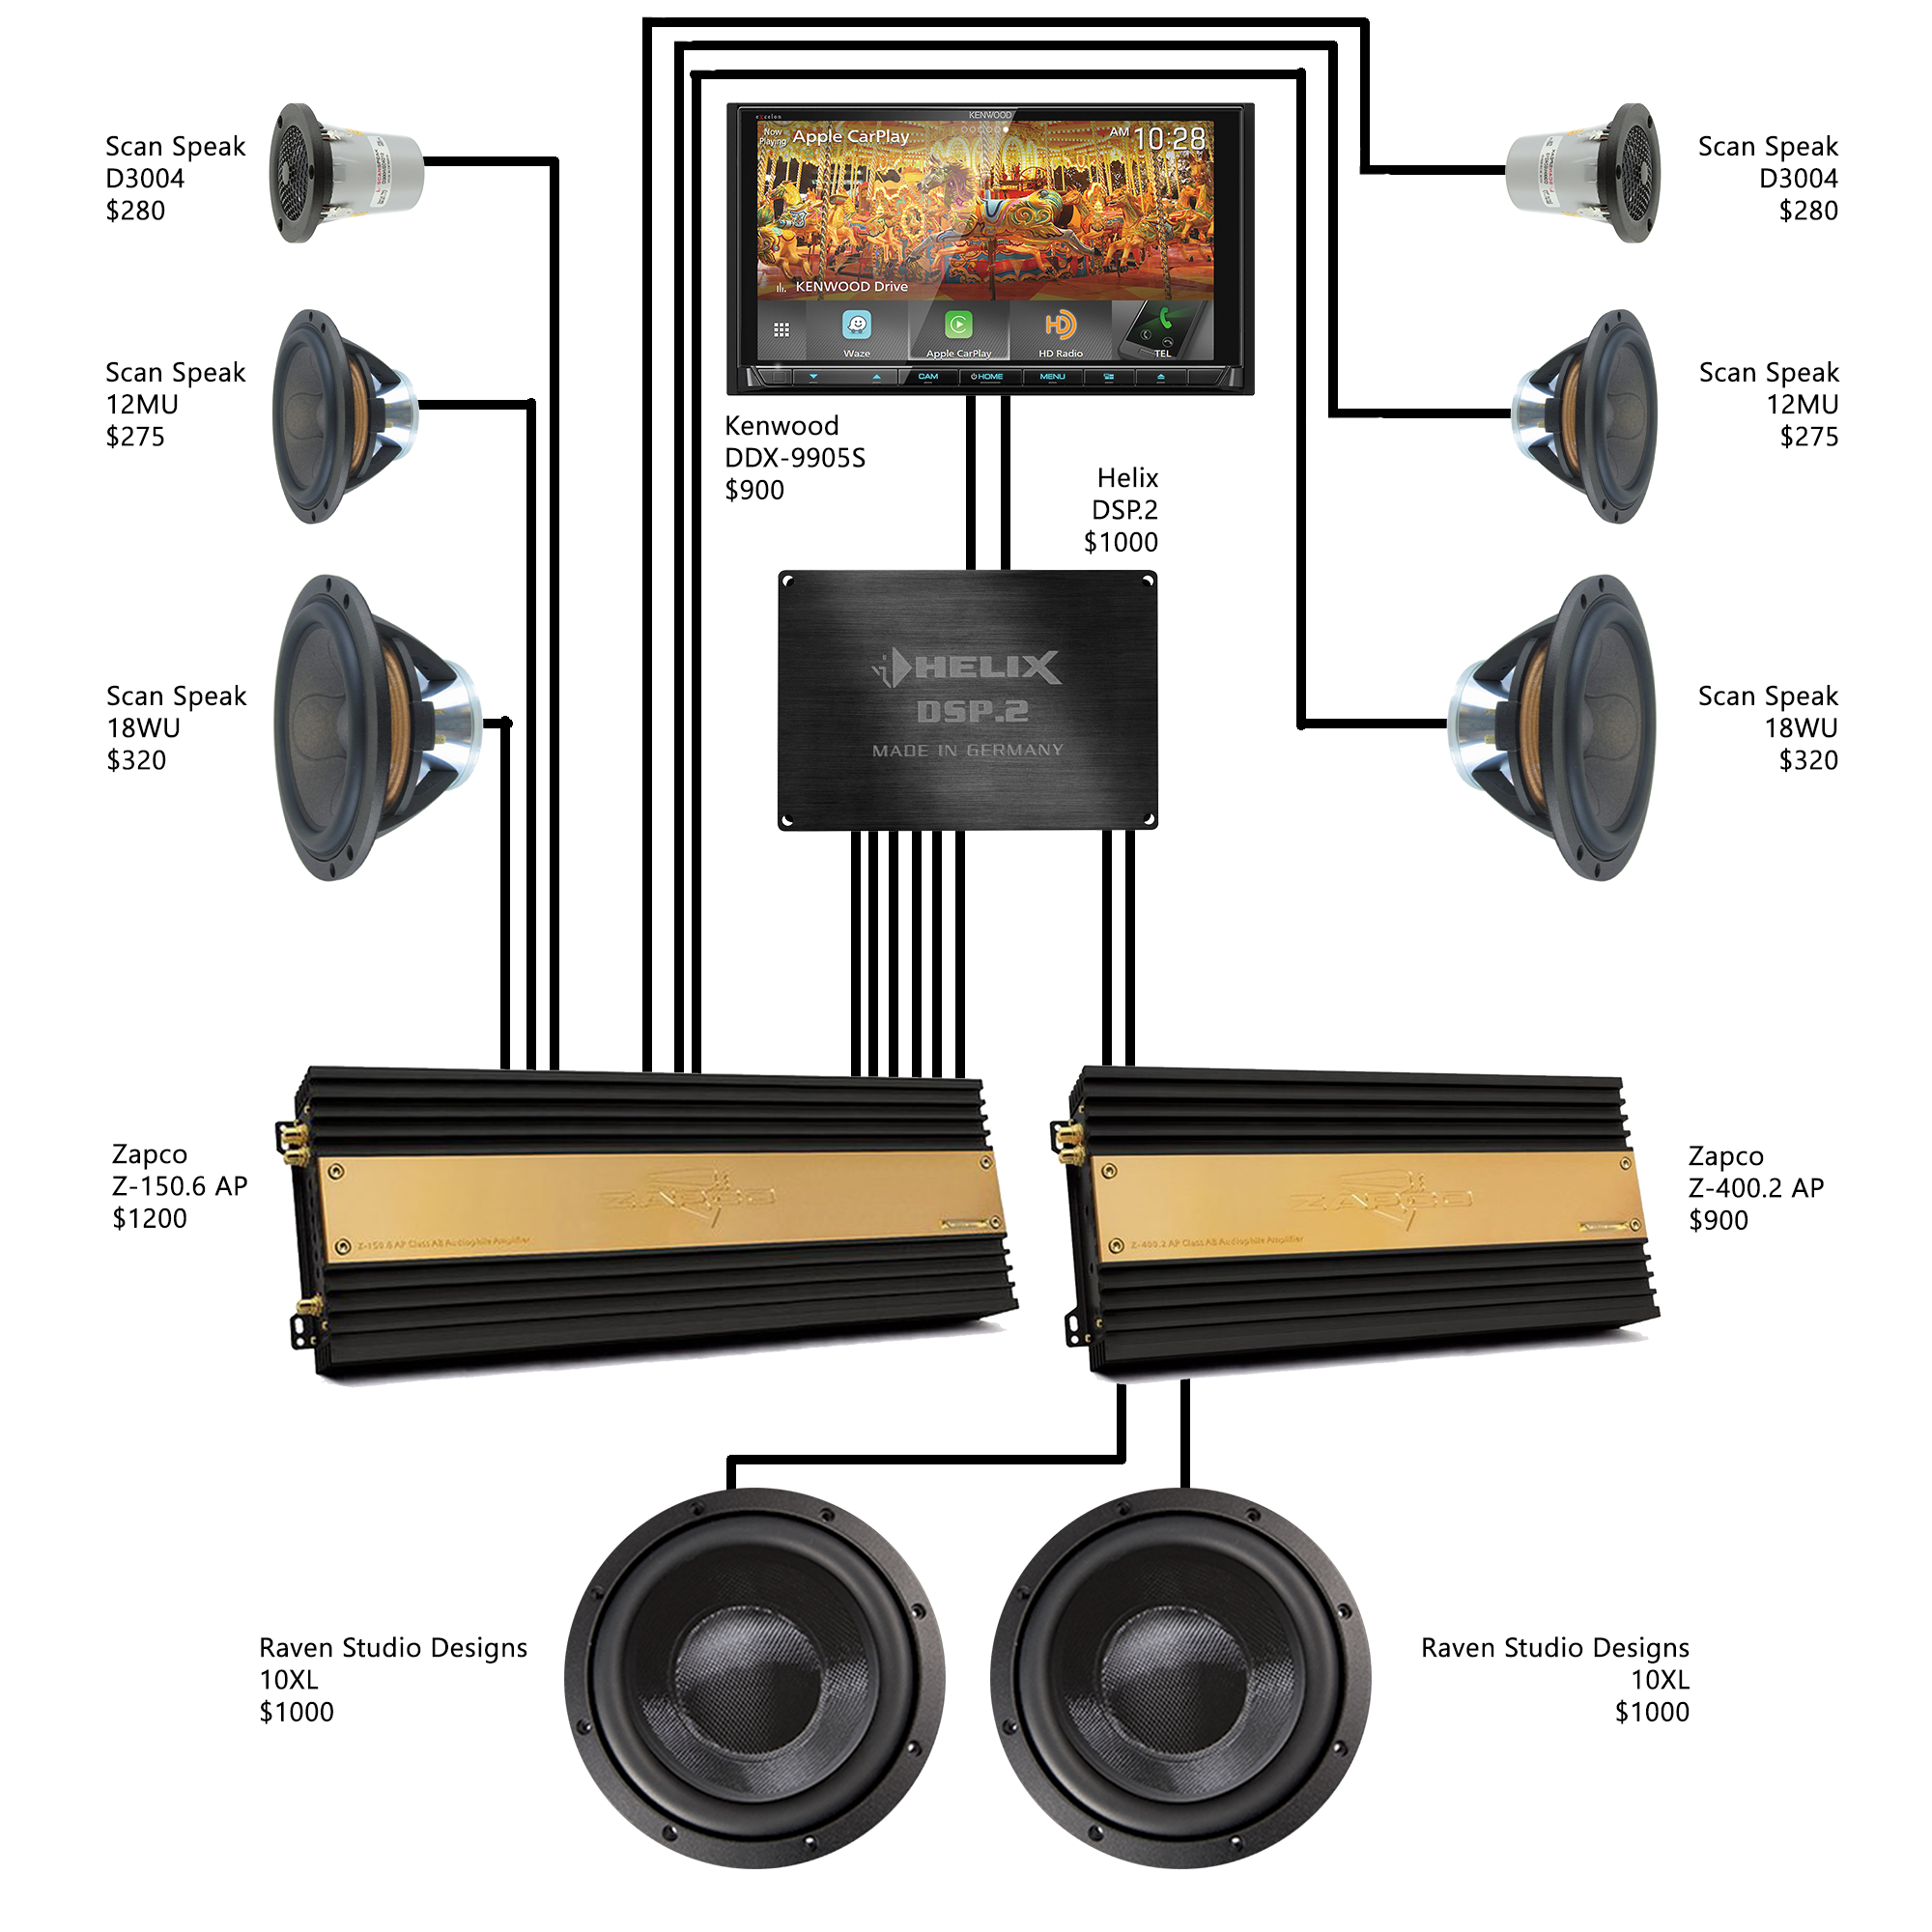
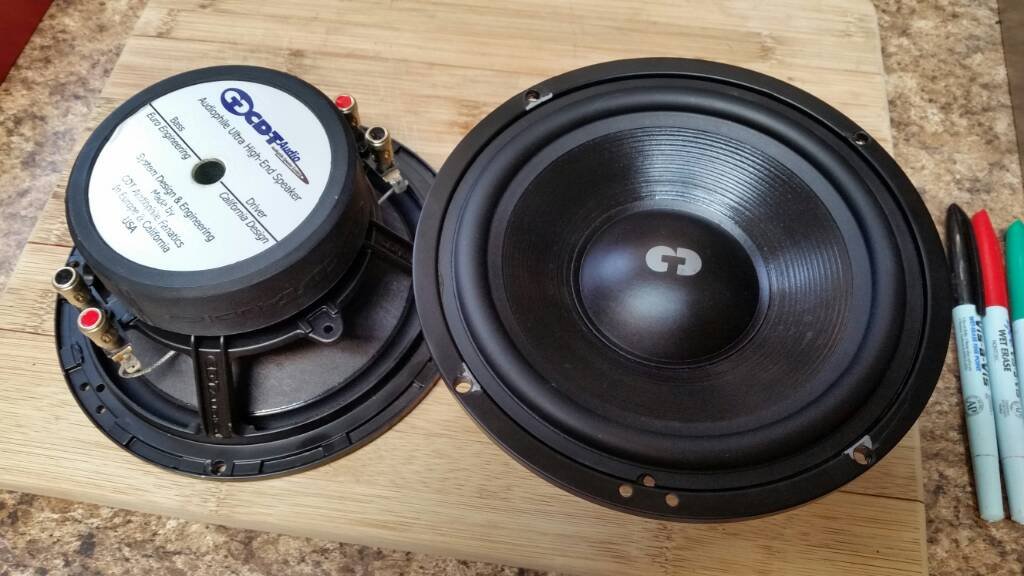
I’m beginning to lean towards a system geared for SQ. Two products that have peaked my interest are the Raven XL subwoofers and Zapco’s Z-AP amp line.
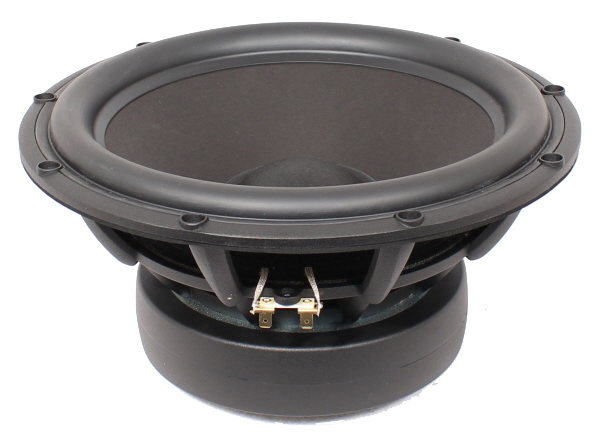
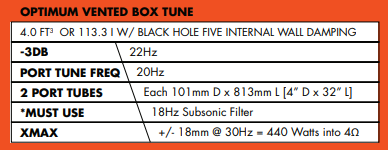
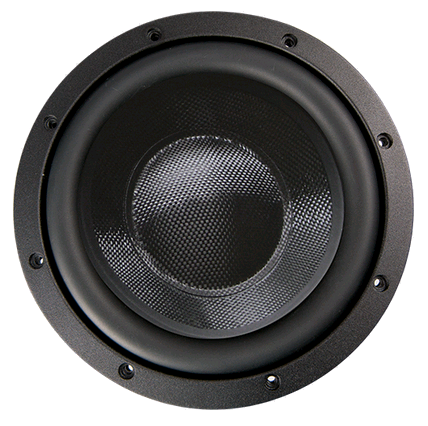
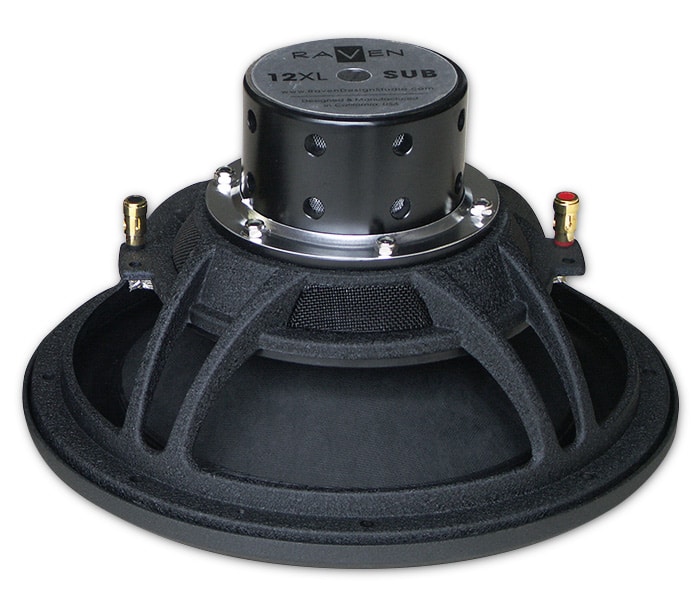
I’d prefer to go with the Raven 12XL subs in a vented box, but it’s huge coming in a 4 cubic feet each! It’s 22Hz -3dB response is tasty though. If the box is too big, the 10XL only requires 2.3 cubes and still has the same -3dB frequency.
12XL
10XL
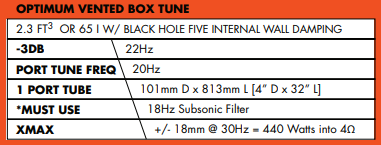
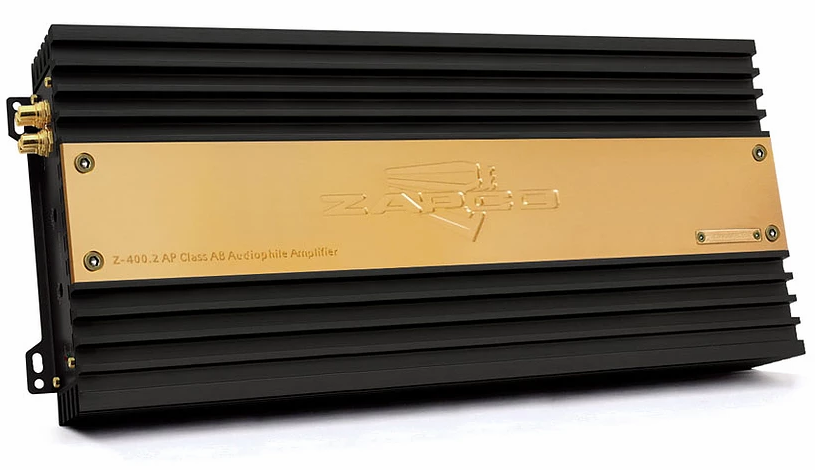
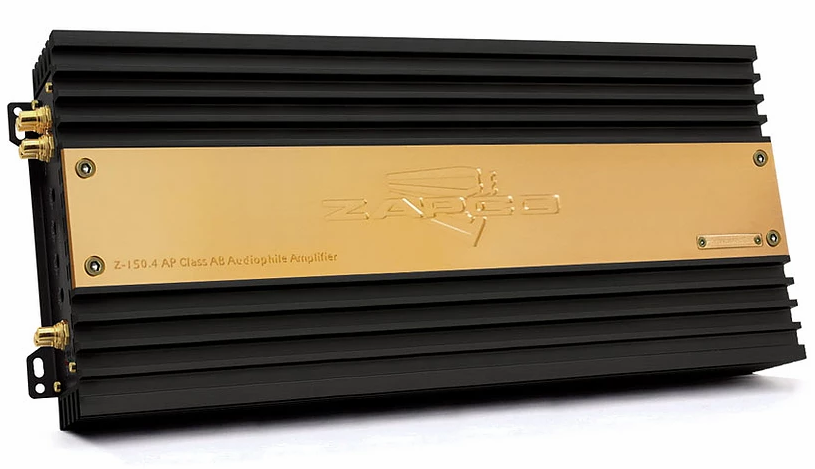
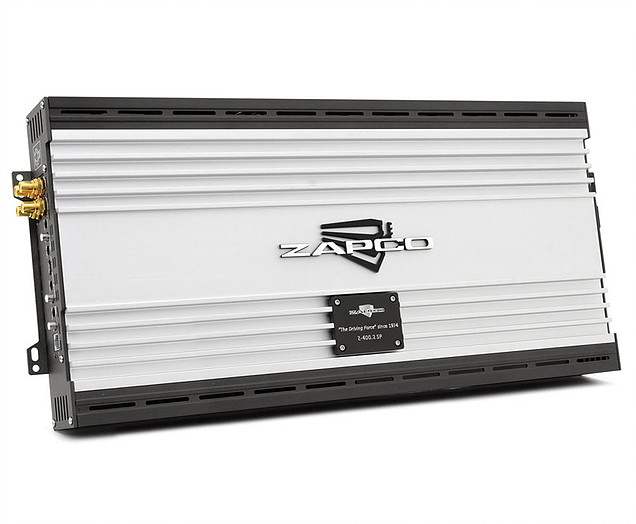
Amp wise, they report hitting Xmax at 440 watts. I have two choices. The Zapco Z-400.2 AP can do 400 x 2 watts. The Z-150.4 AP will do 500 x 2 watts. I’m not really sure which would be best.
Z-400.2 AP
Z-150.4 AP
After chatting with some fellows over at DIY Car Audio, here’s a few other high-end selections worth considering.
HELIX DSP.2 / LINK HERE
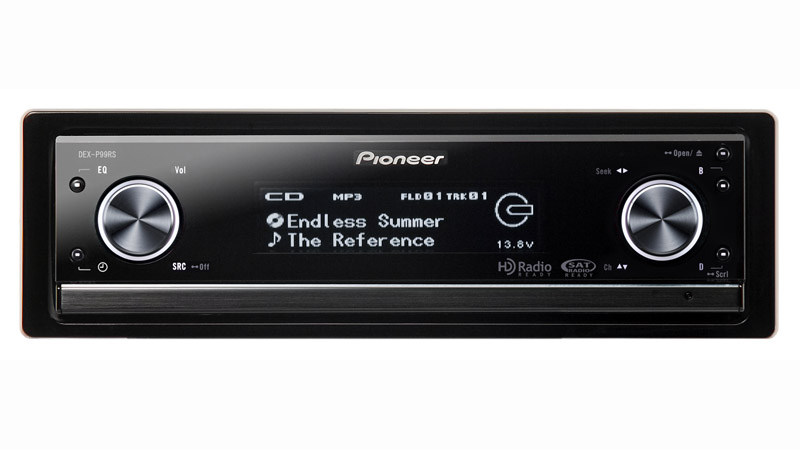
![]() Pioneer DEX-P99RS / LINK HERE
Pioneer DEX-P99RS / LINK HERE
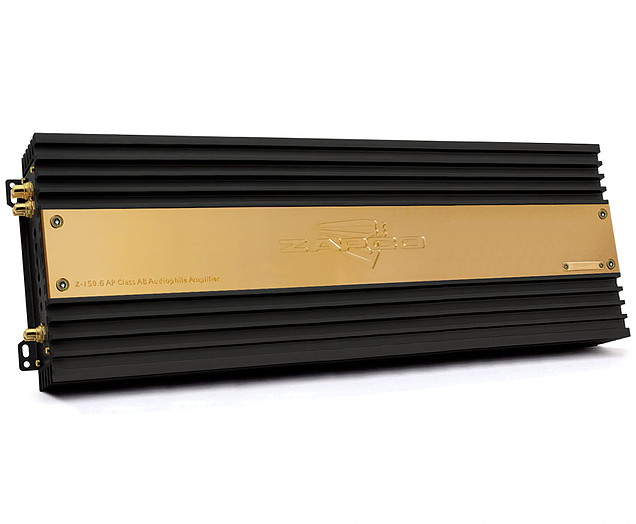
 ZAPCO Amps / LINK HERE
Specifically the ST-D (class D), Z-AP (SQ amps) and Z-SP (take a beating) lines.

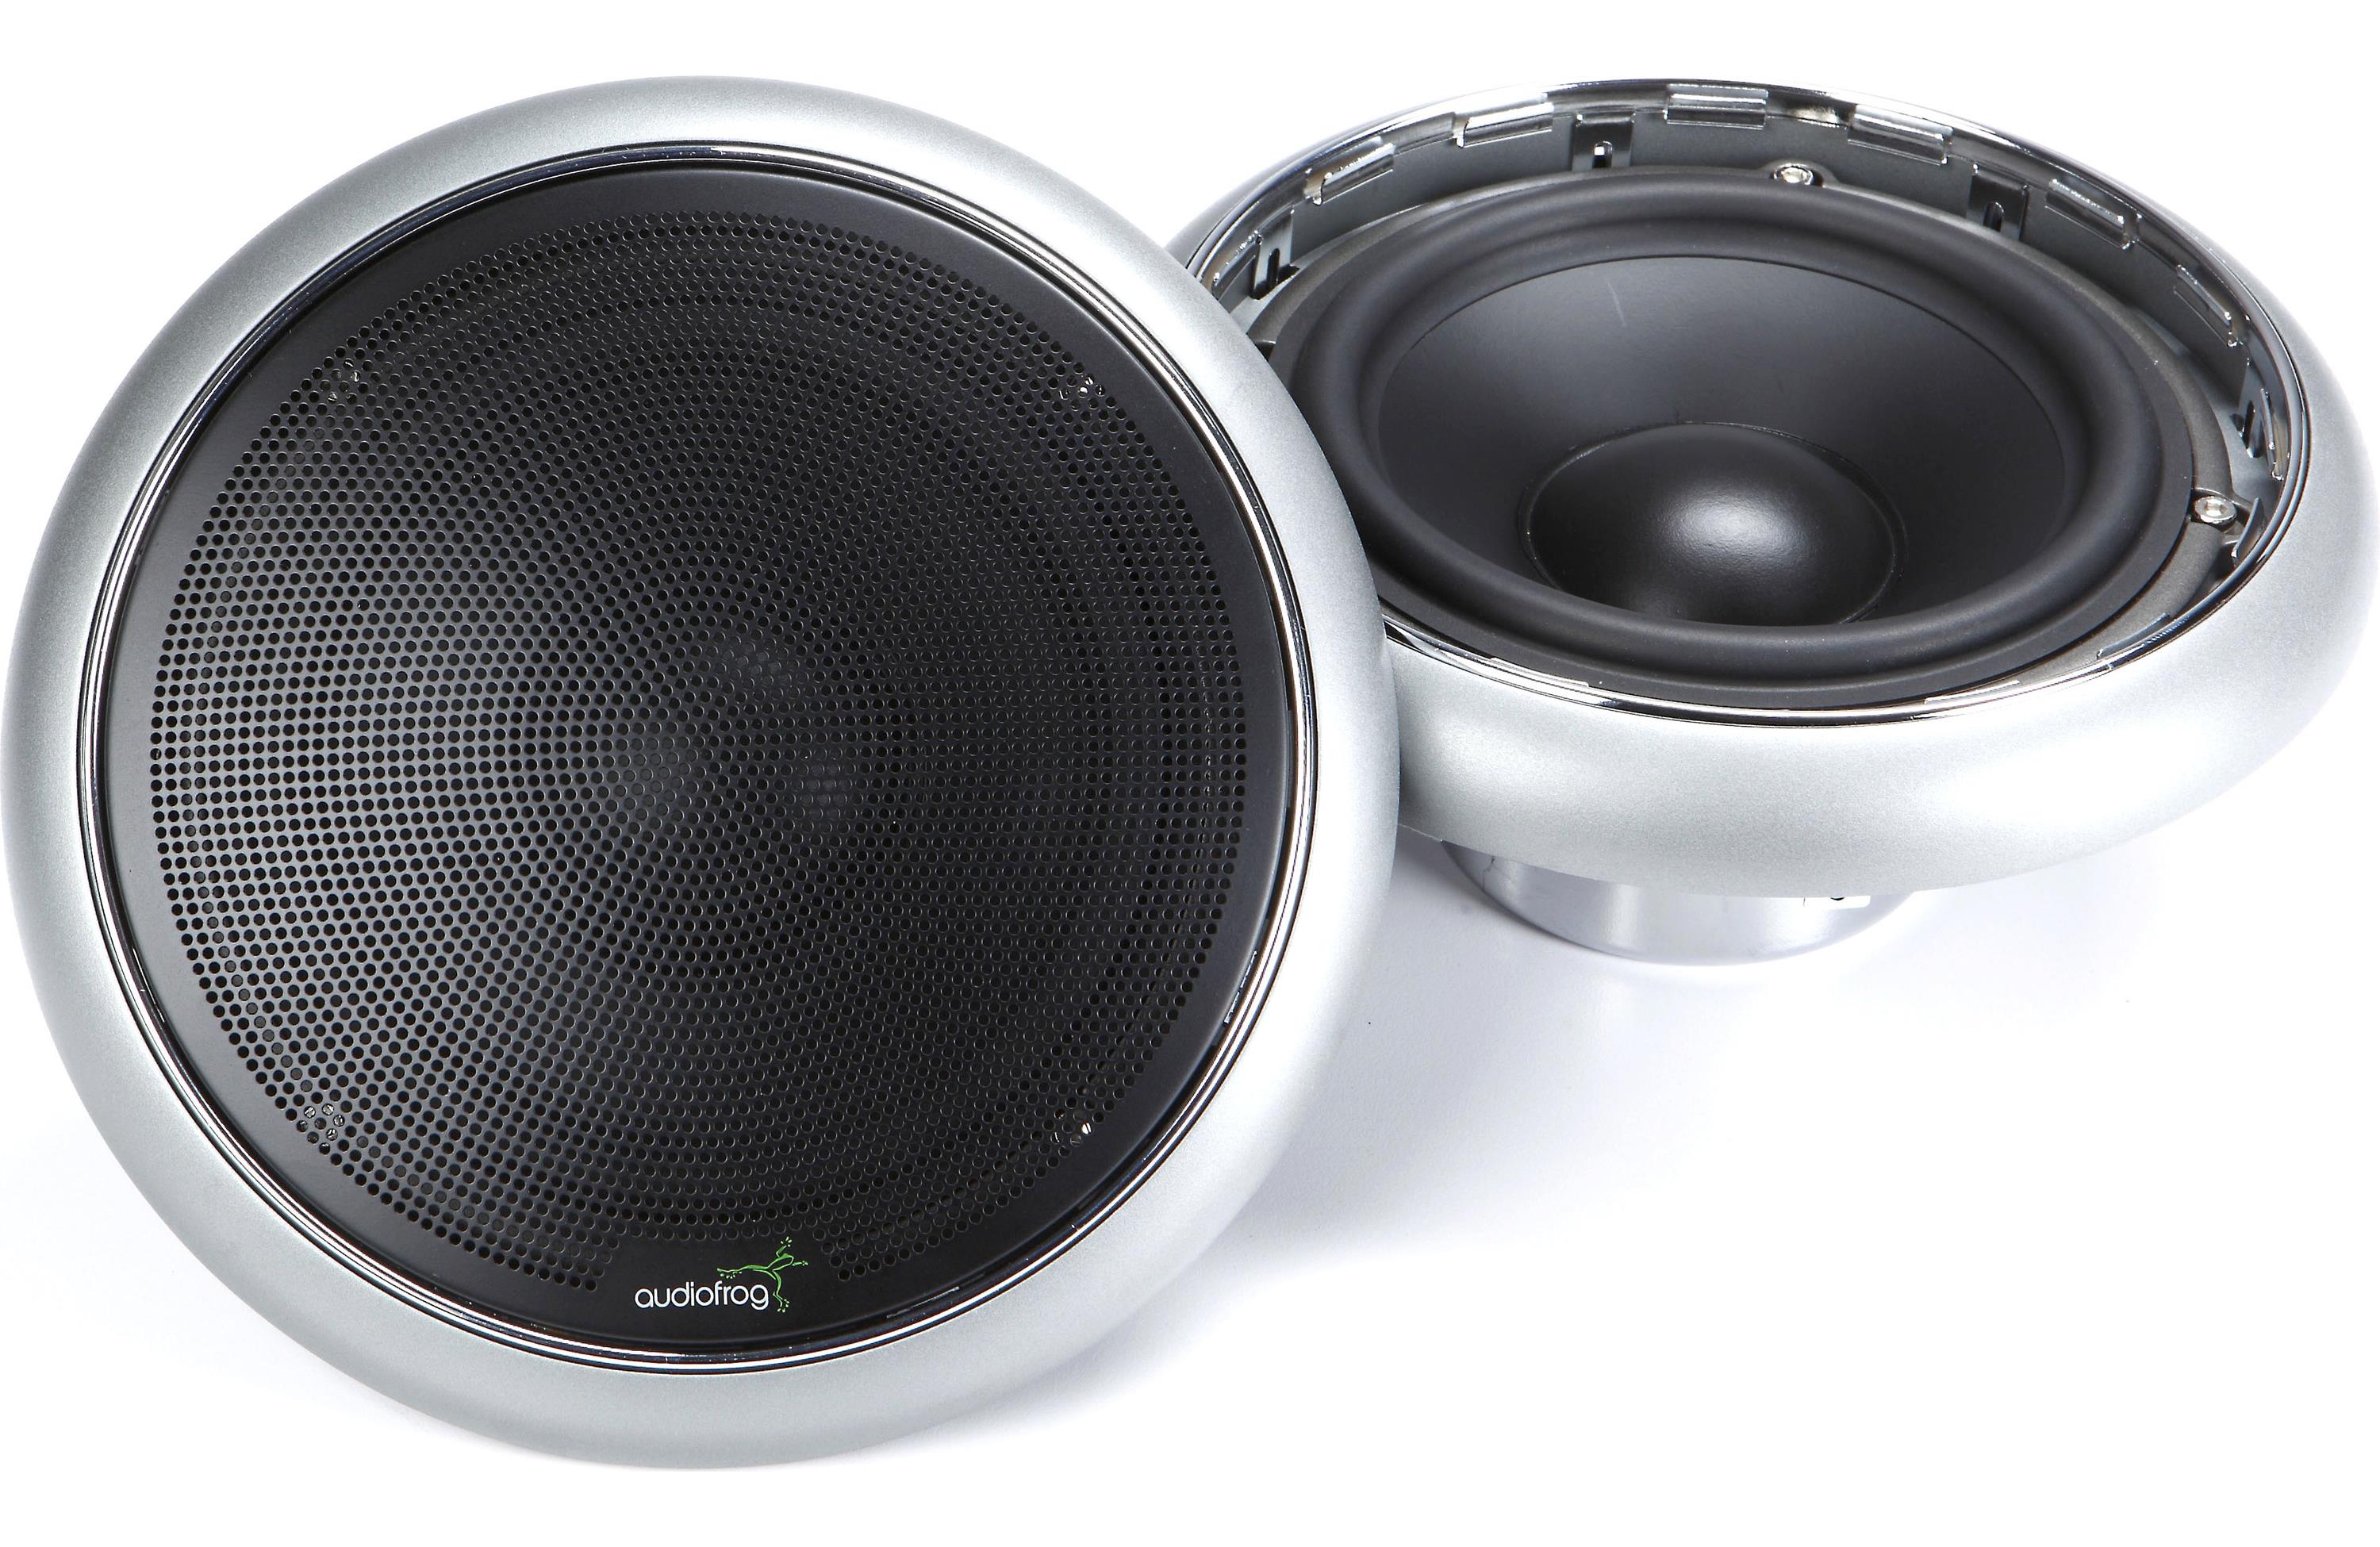
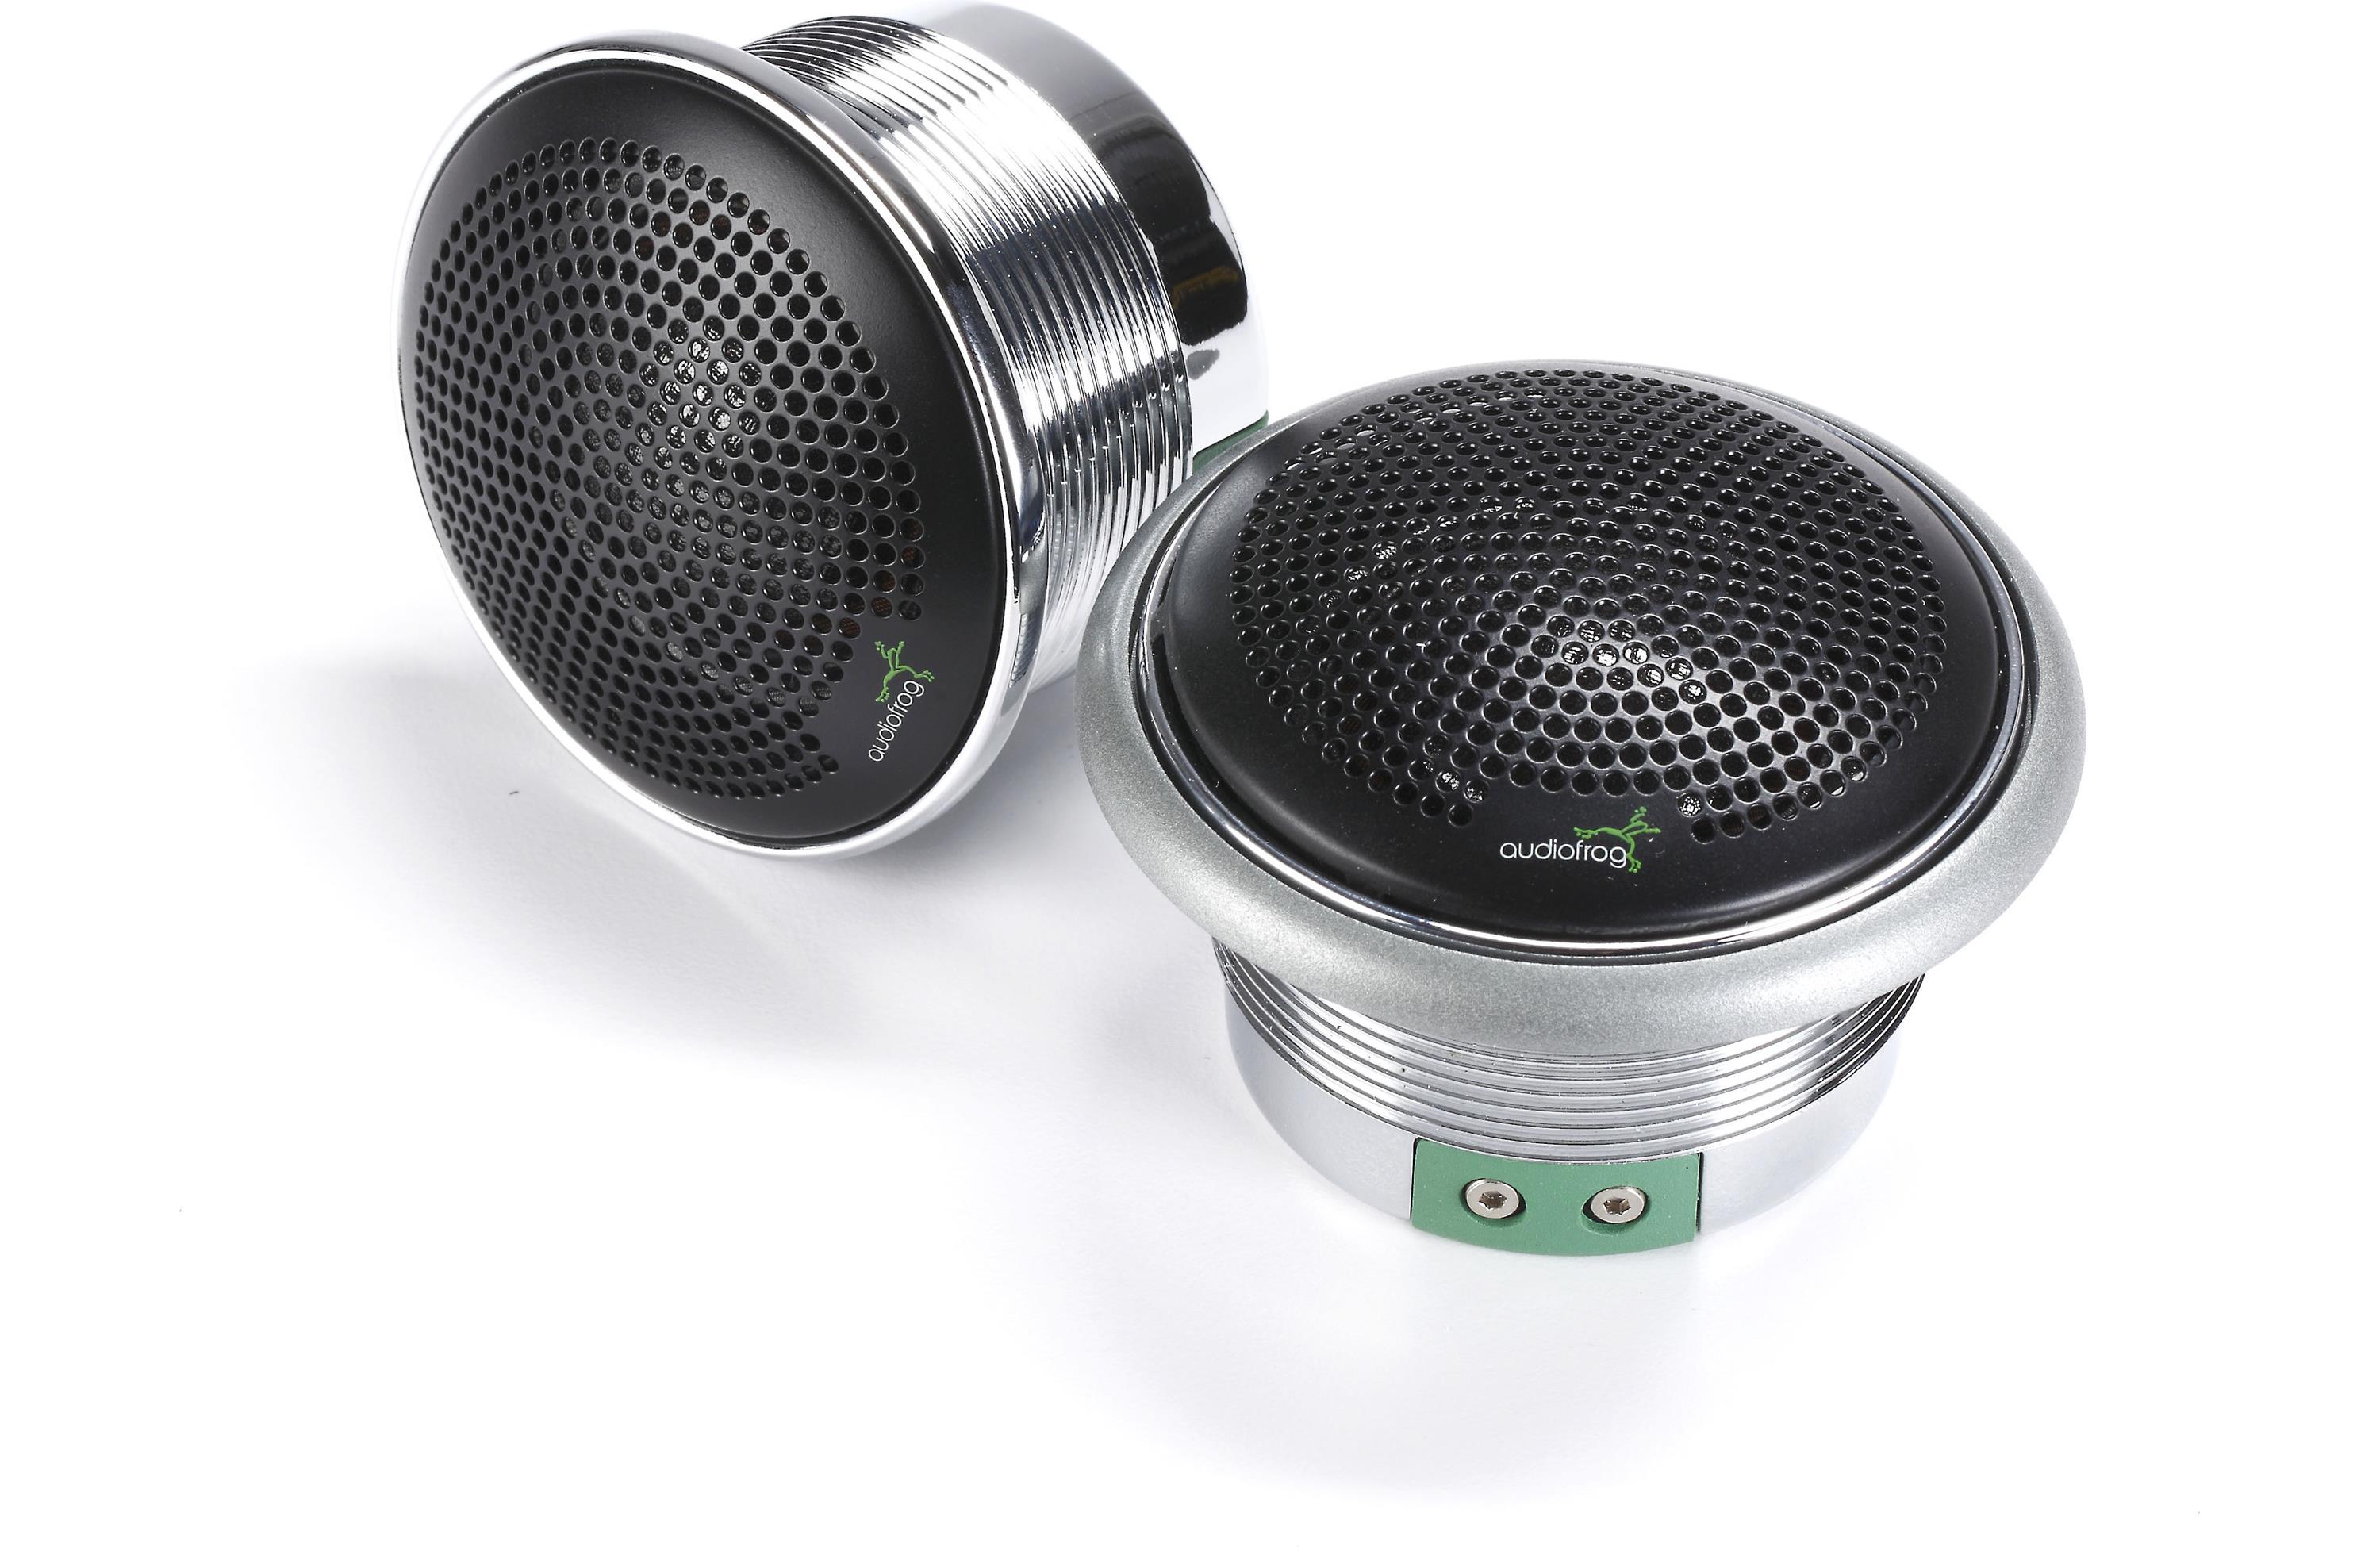
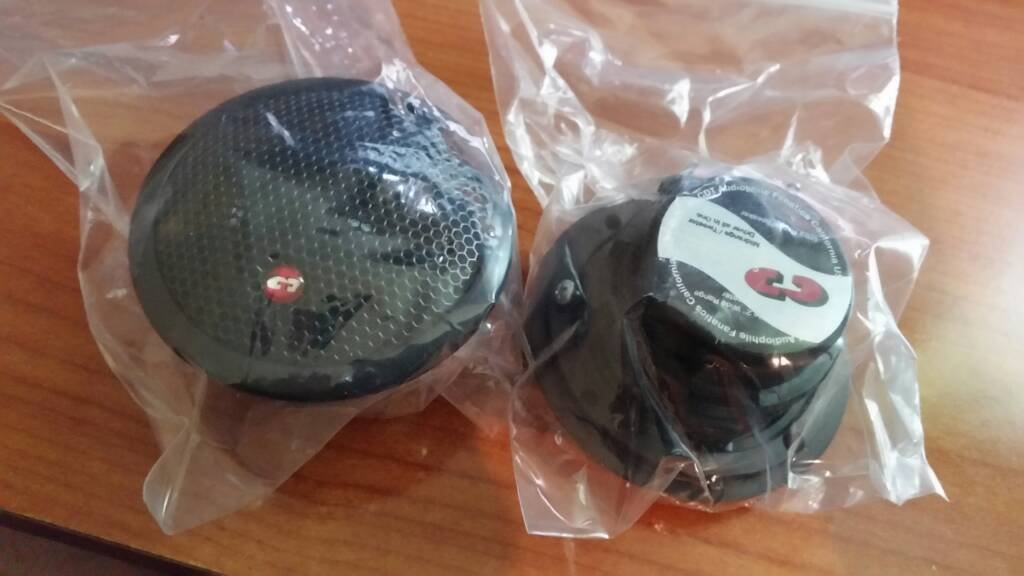
 …and now for speakers.
Check out Stevens Audio on Facebook.
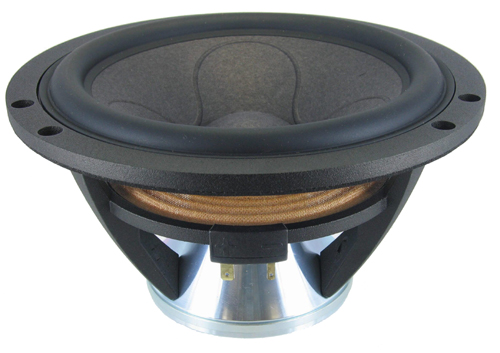
Audio Frog
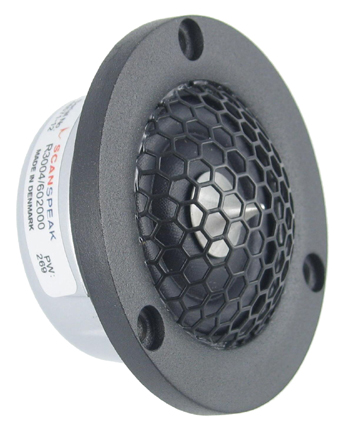
Scan-Speak
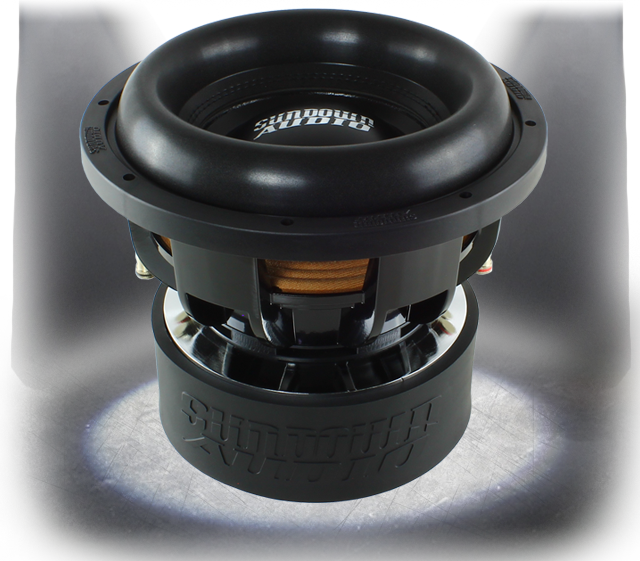
Sundown Audio / LINK HERE
Illusion Audio
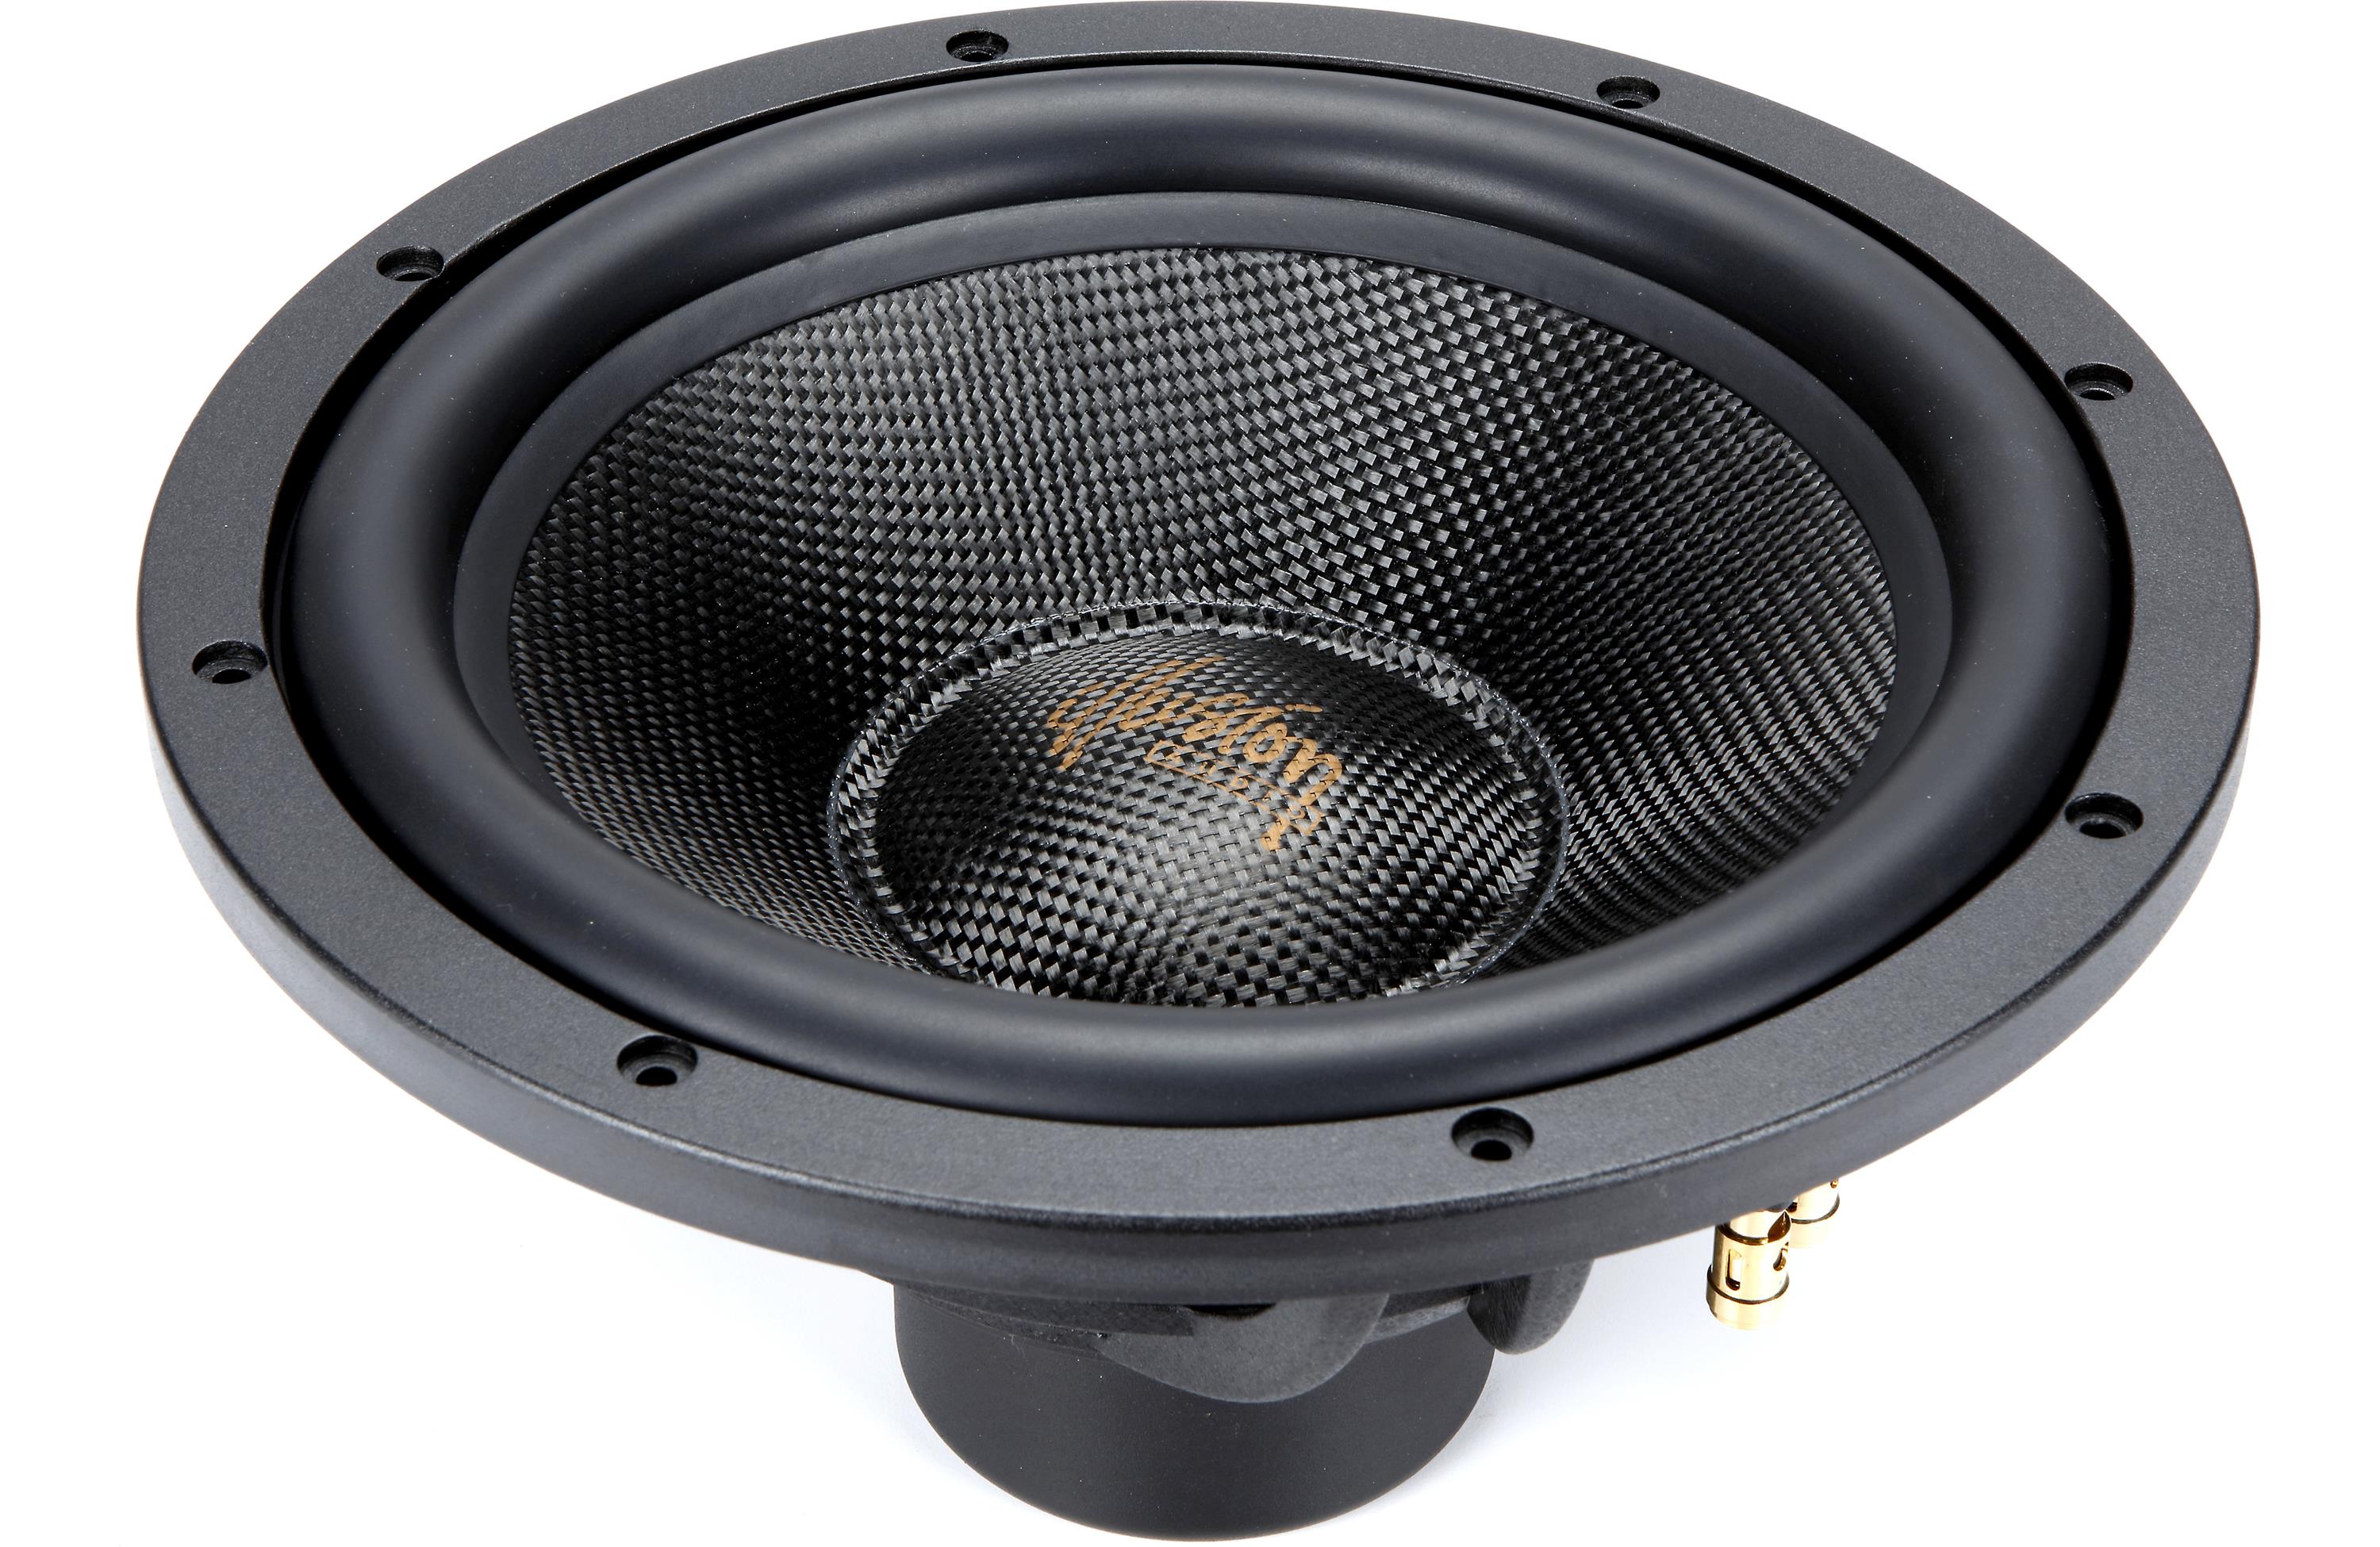
Raven Design Studio / LINK HERE
These come highly recommended.
10XL and 12XL Versions
Again, this is from my 370Z and not the Ghia, but I thought it might be interesting to some. Become is an portion of a thread I created at The370Z.com chronicling my stereo install. Enjoy! Got me some fiberglass, 400 grit and stainless steel rod today. 😉
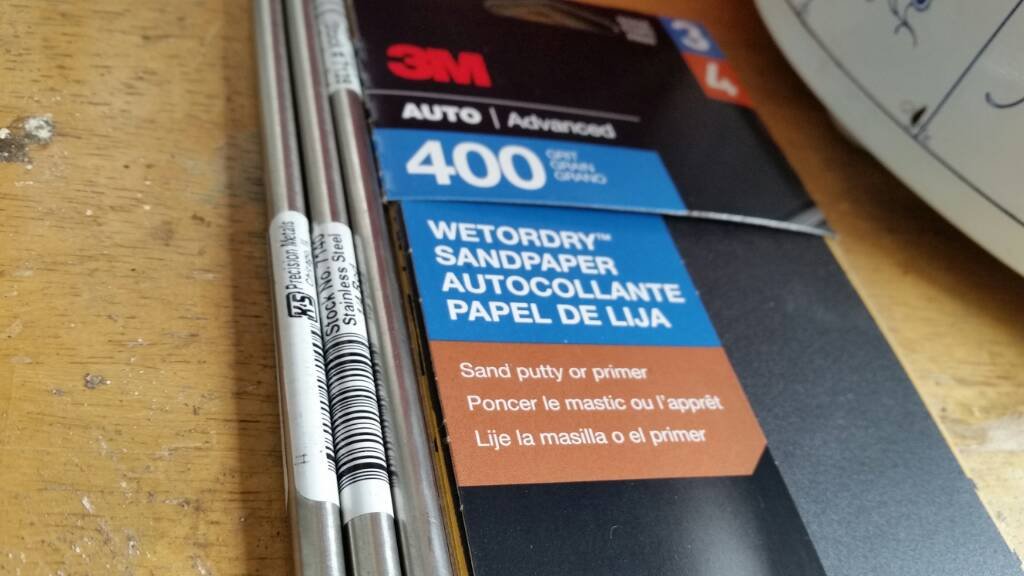
 Woot!
Woot!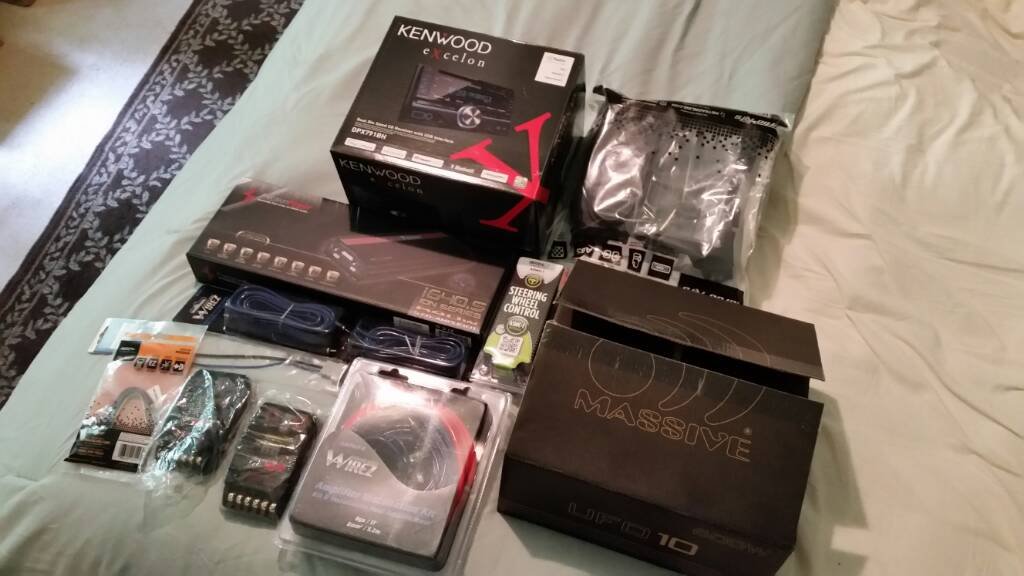
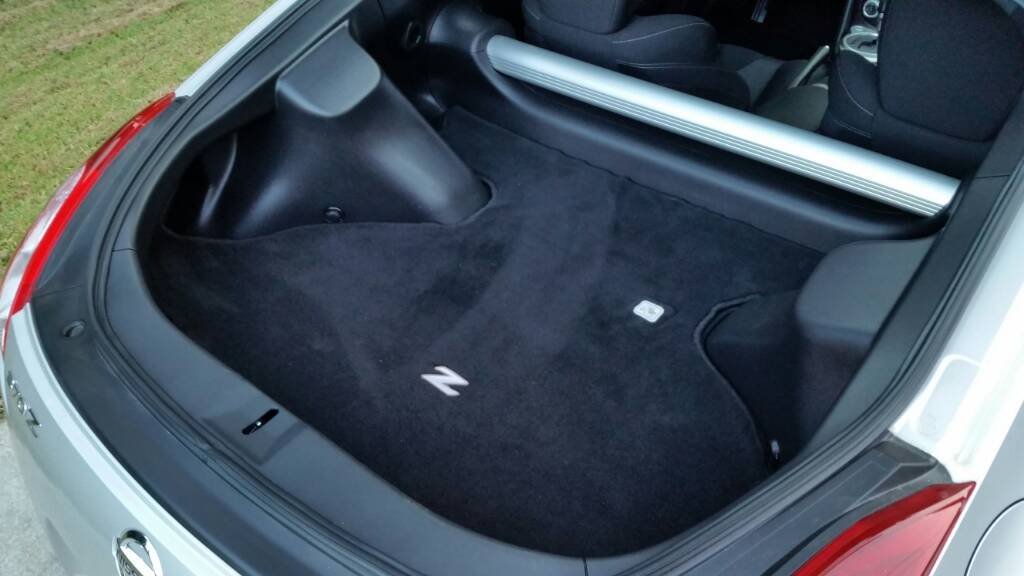
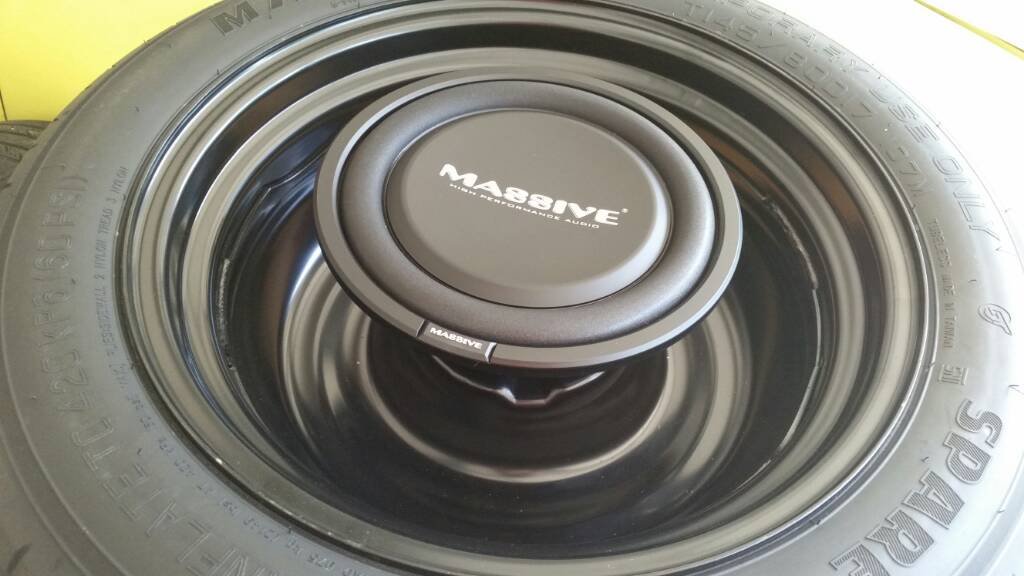 Welding up a new spare tire hold down bracket.
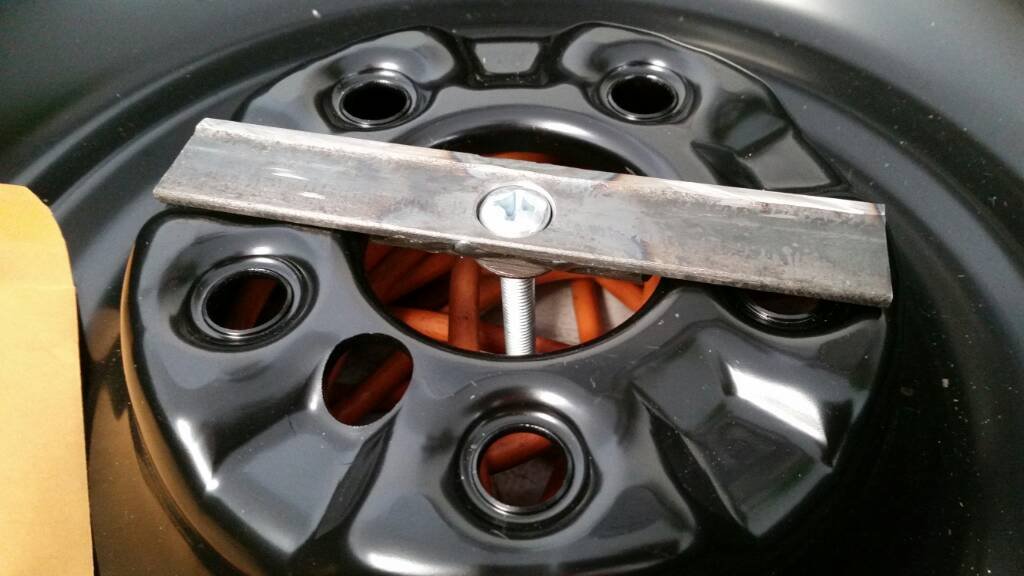
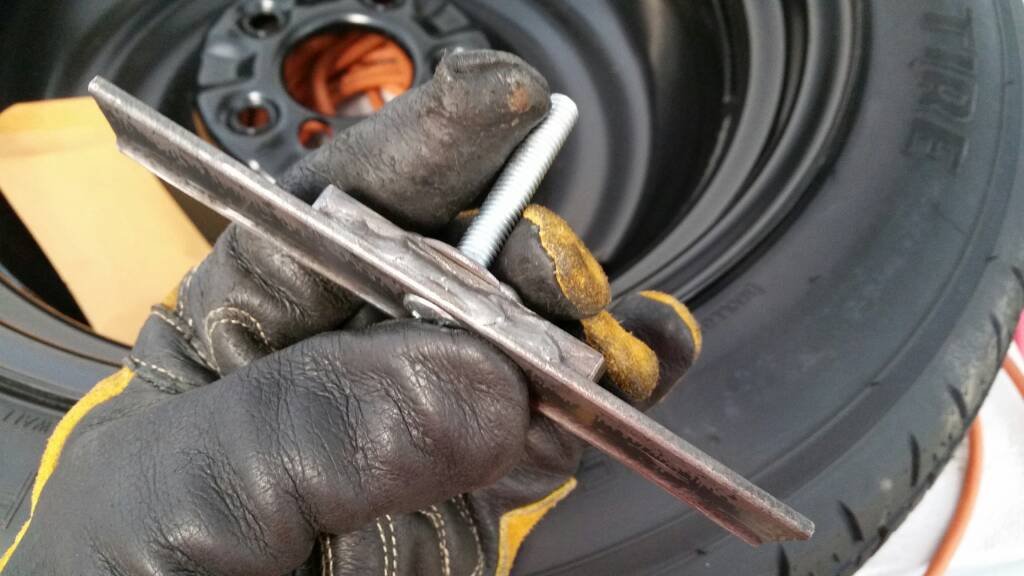 Should buy me a bit more room for the sub.
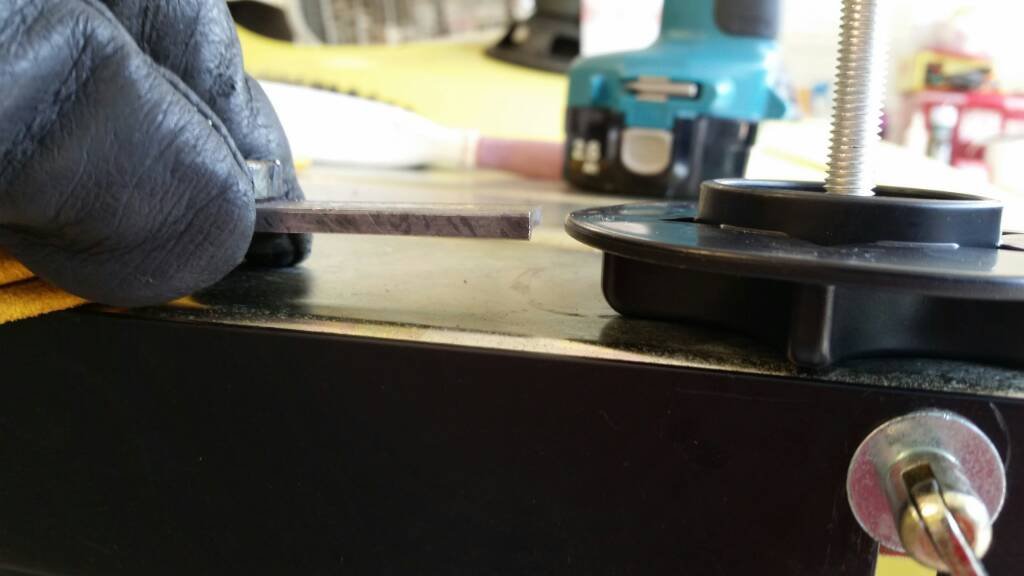
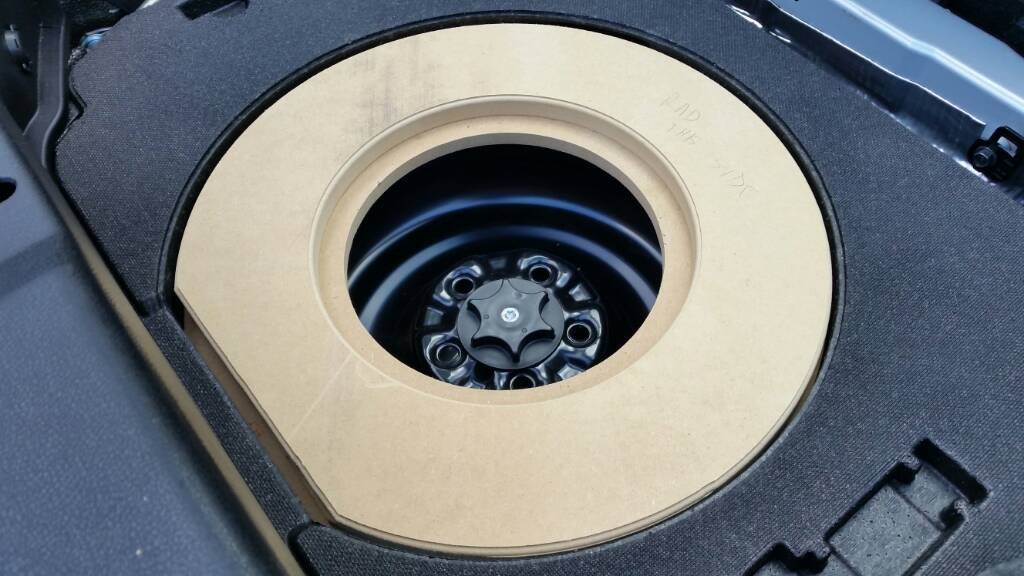
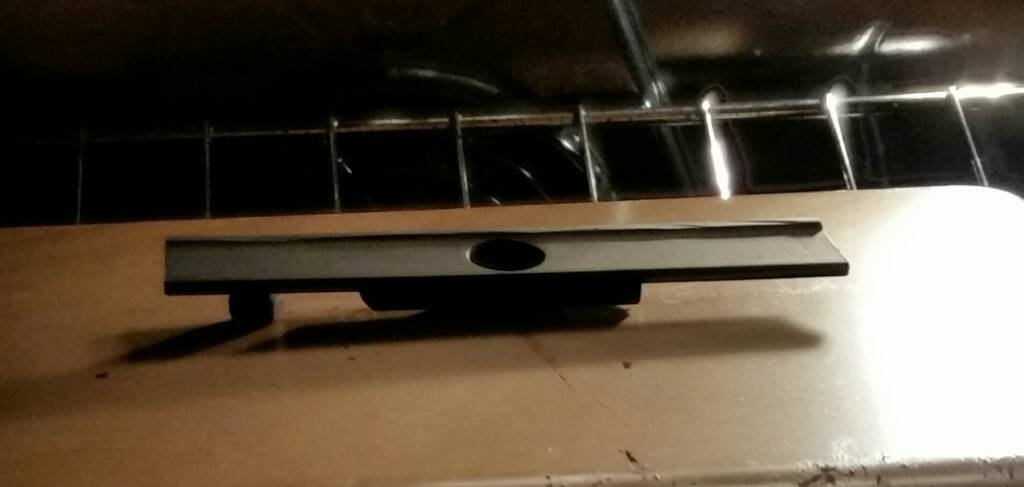 Hub centric with a lug lock pin. Baking on the coating.Time to work on the enclosure a bit.
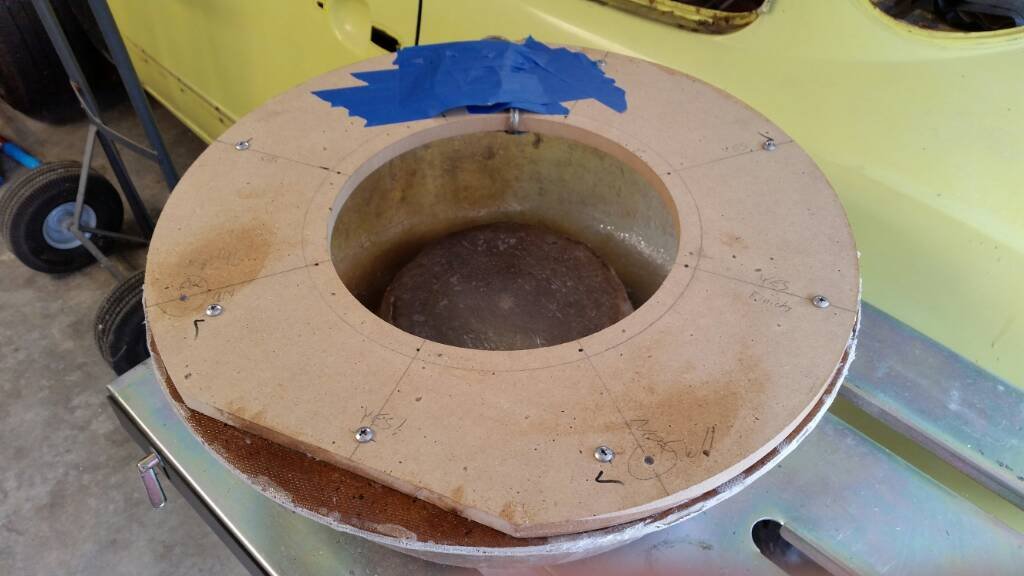
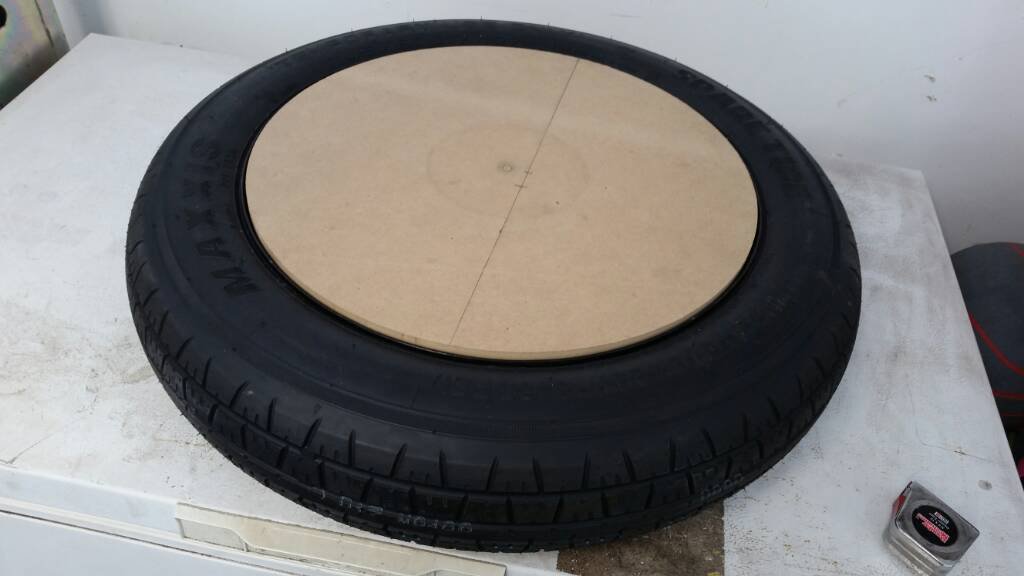 Trim ring.
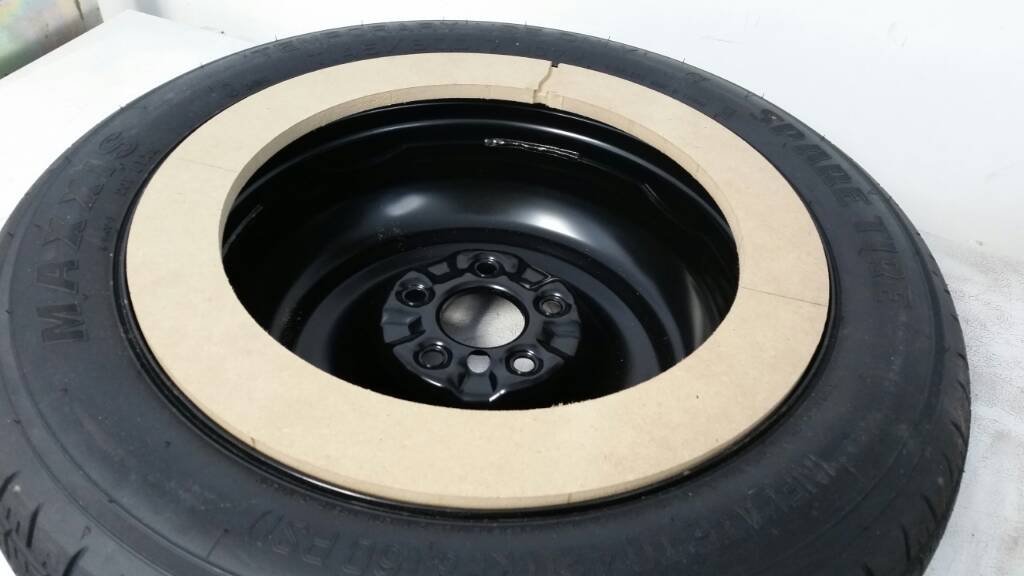
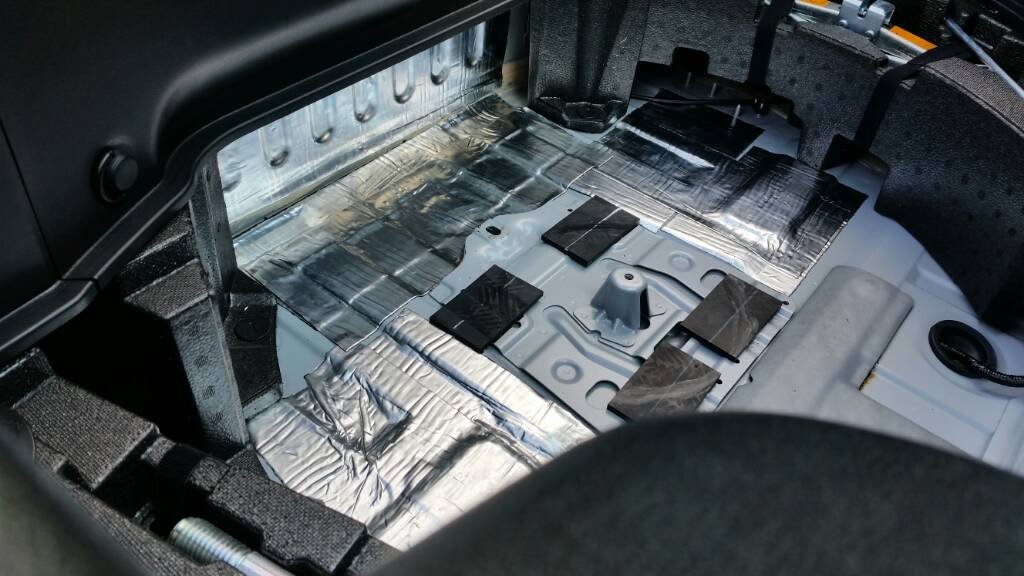
 Hub spacer for tie down.I had a bit of noise dampening material left from the Camaro. I’ll get more if I need it.
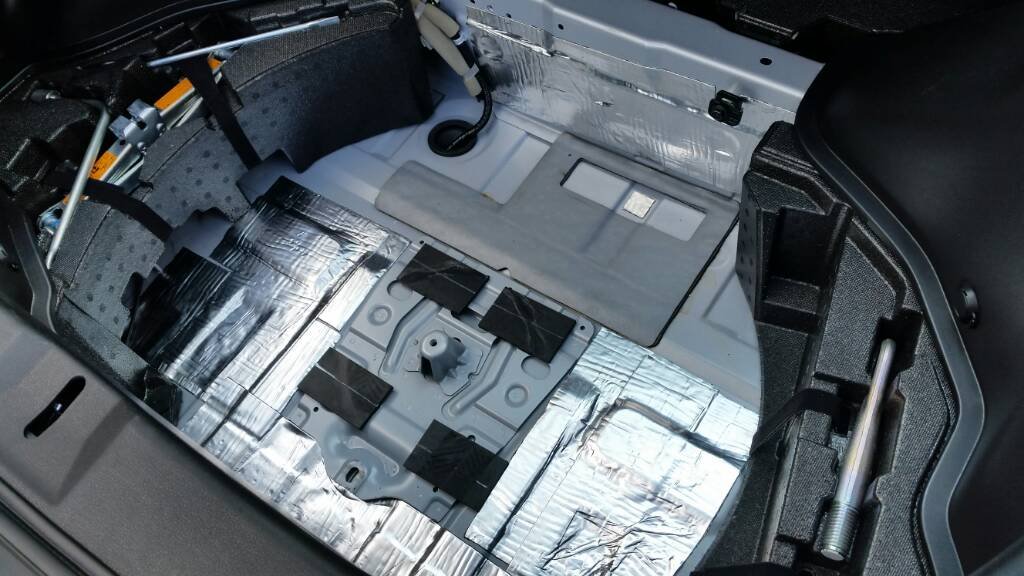
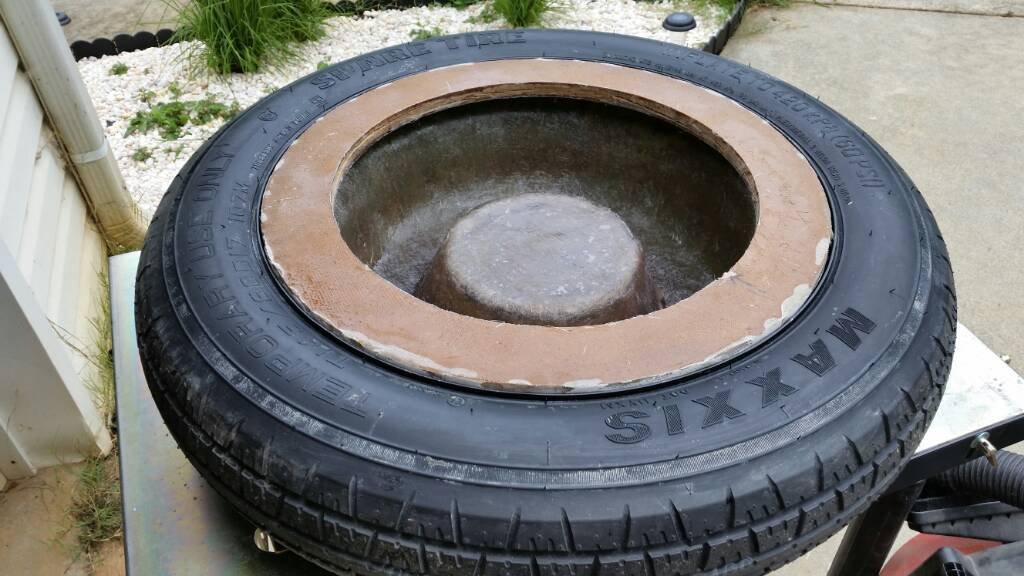
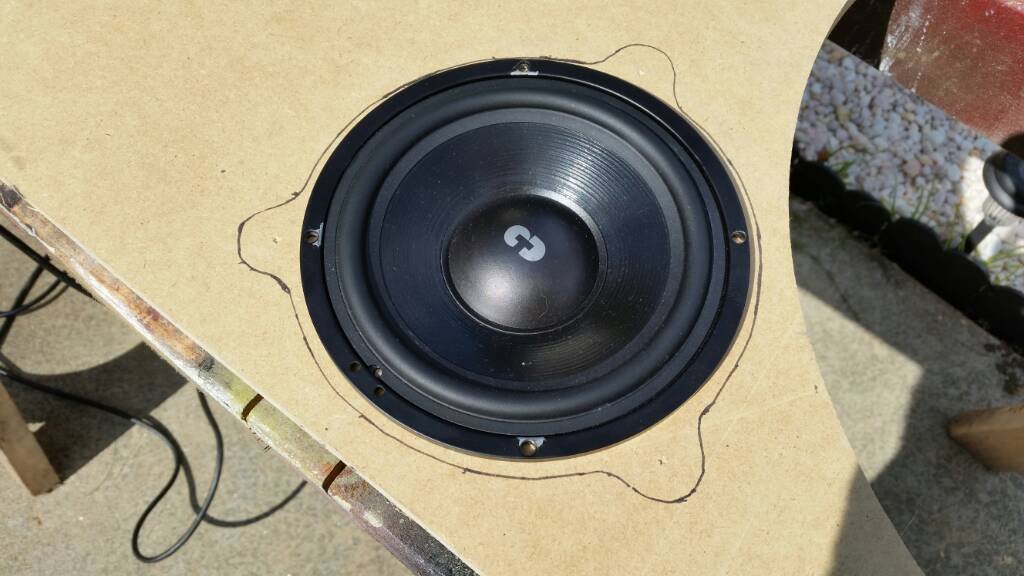
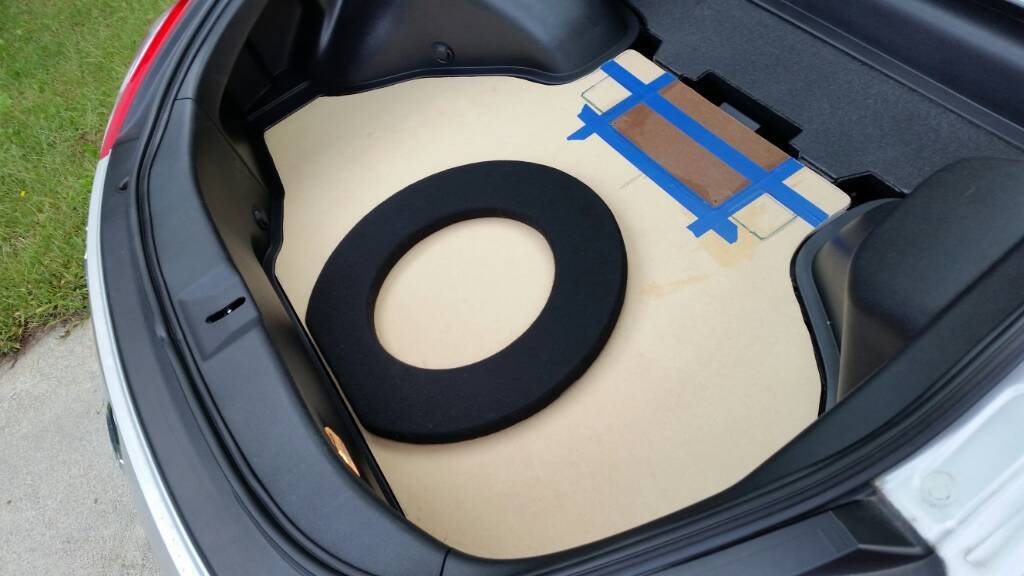
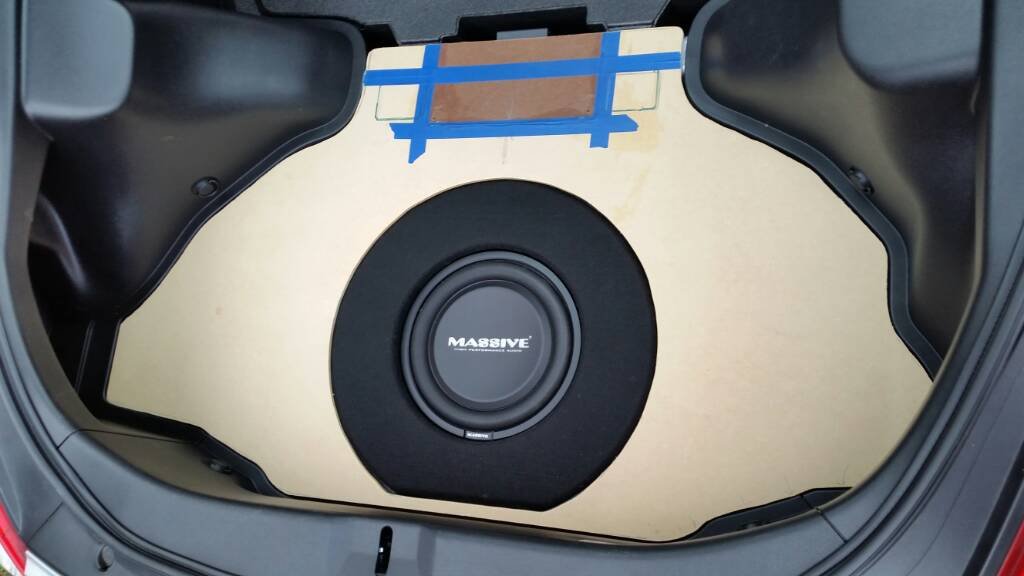
 The inside ring was just a hair less than a quarter inch too tall to give me the inch and a half between it and the top of the foam. After a little router action, we have perfection.
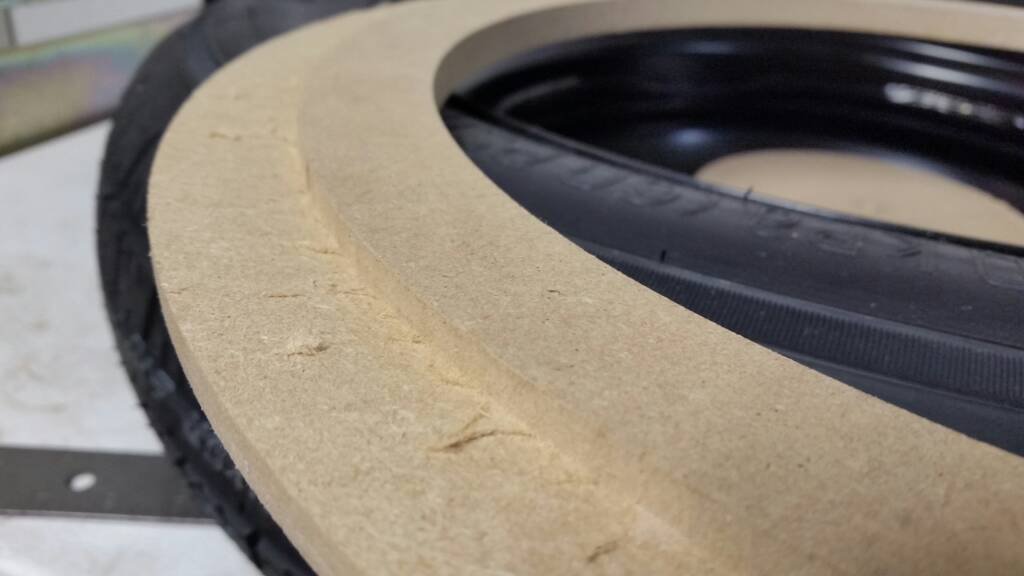
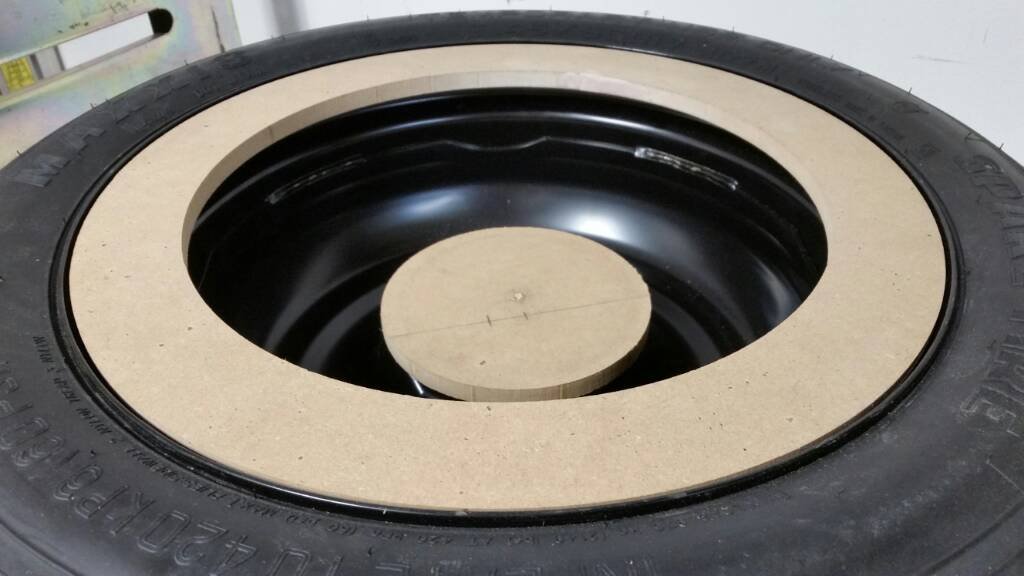
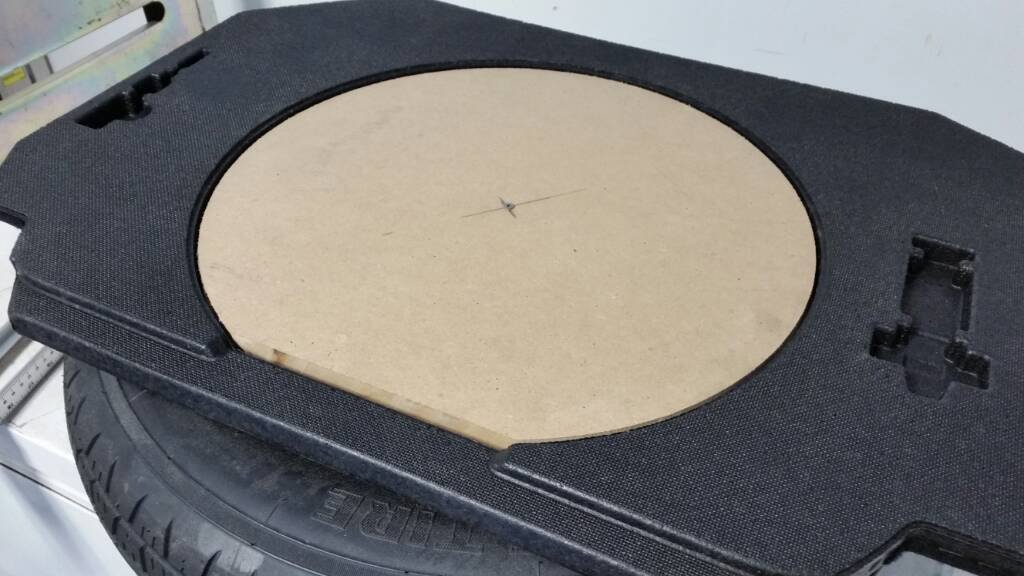
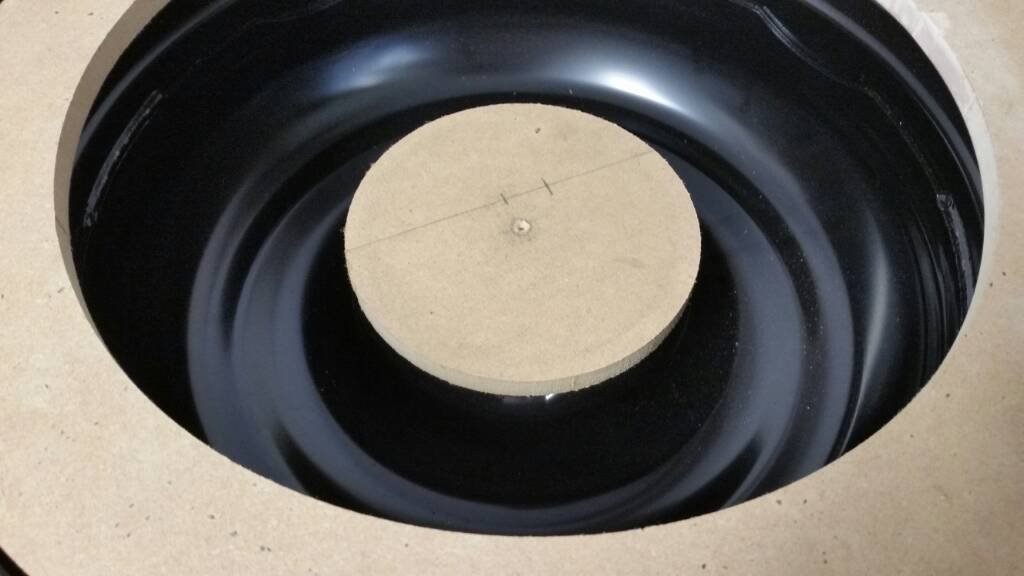
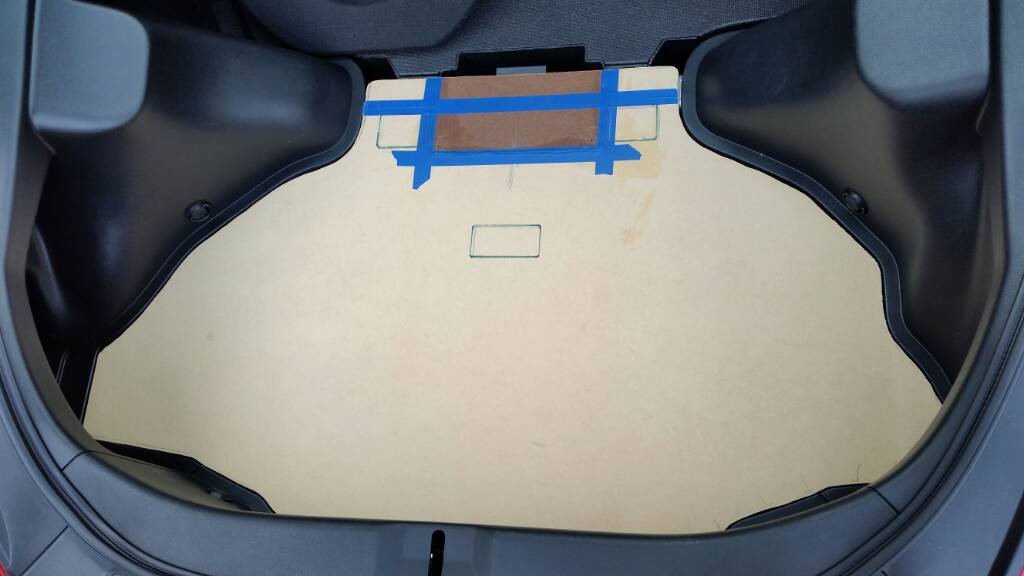
 Looks like it fits.I think I’m ready for fiberglass.
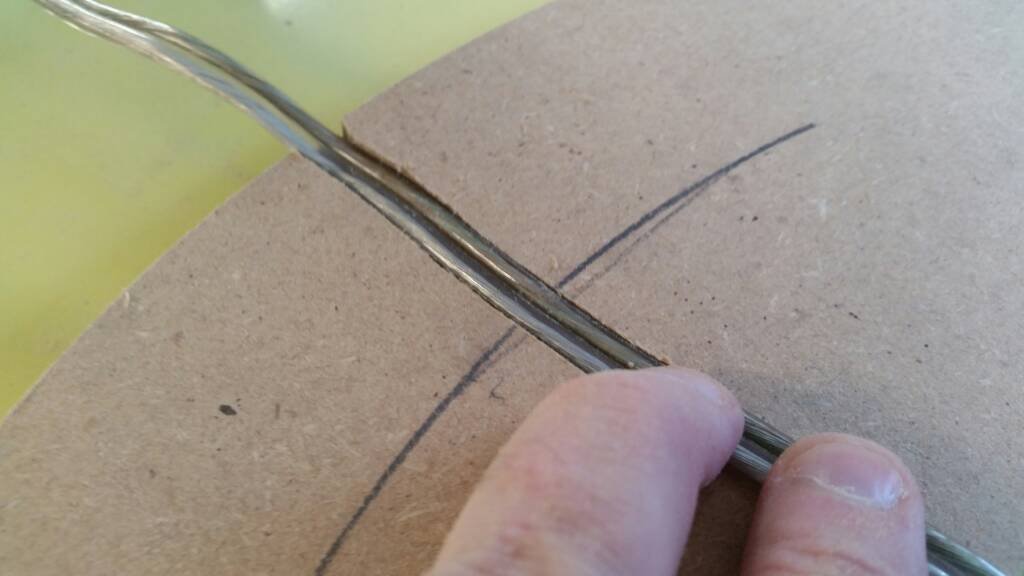
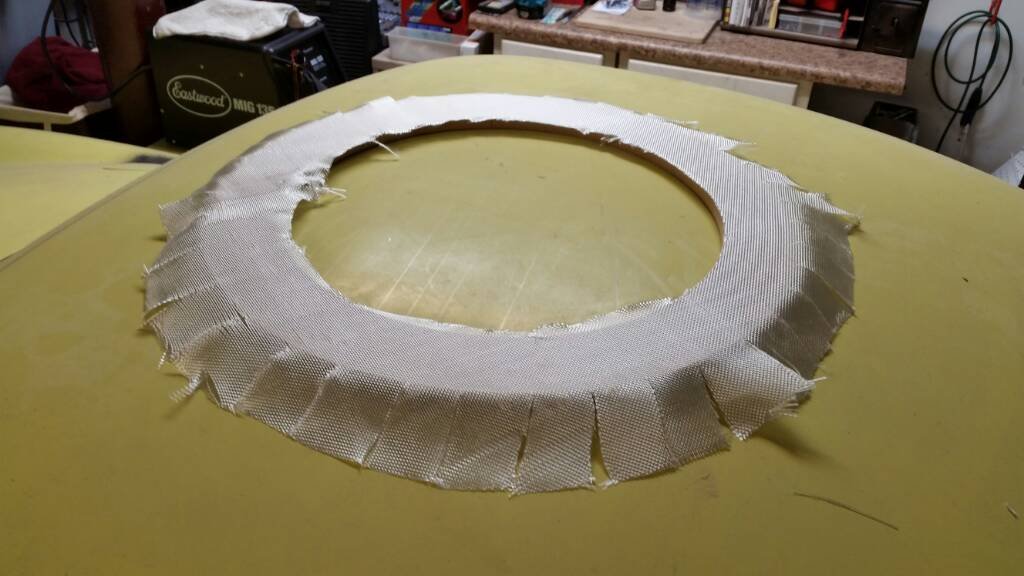
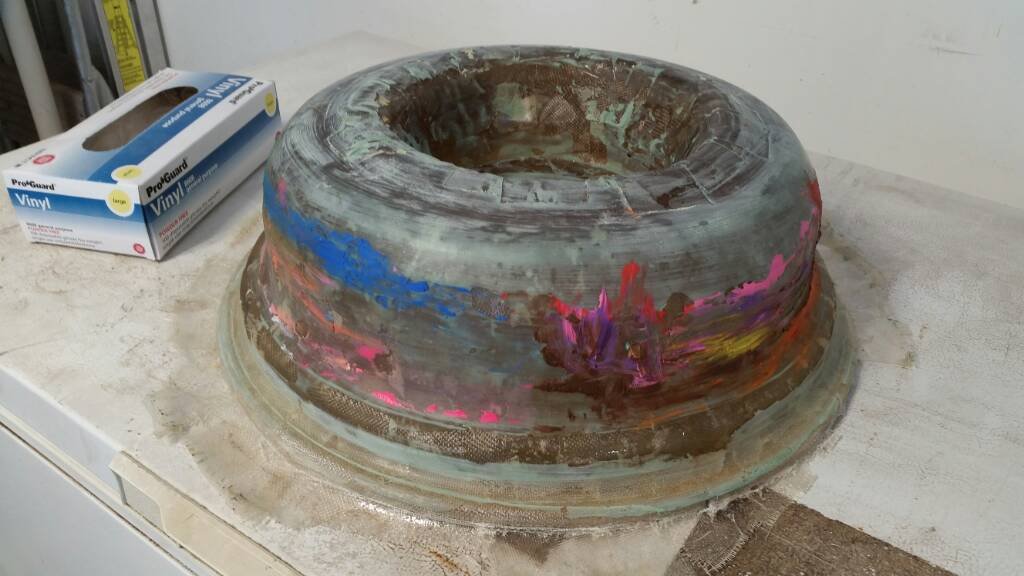
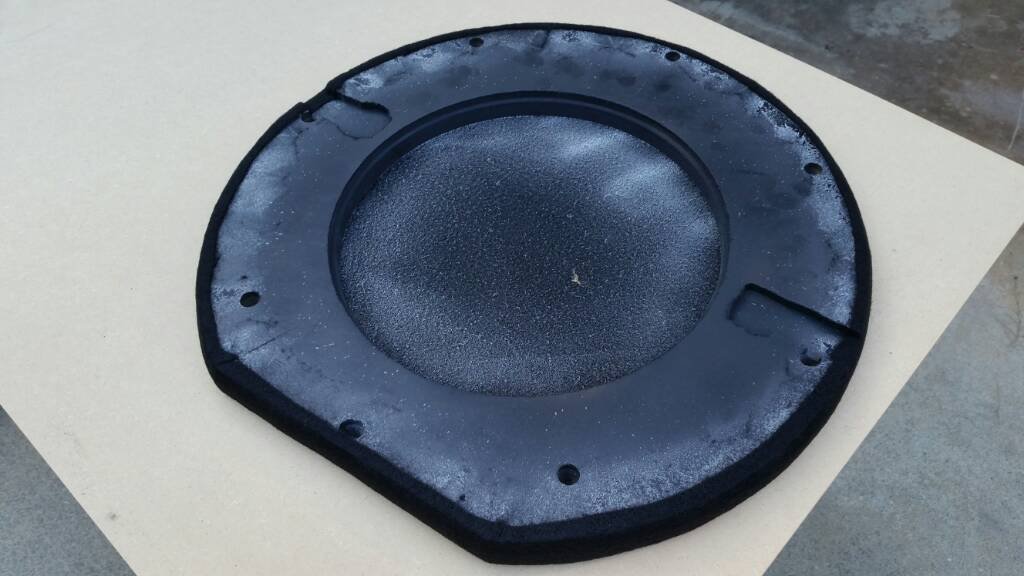
 A little reshaping prior to glassing.
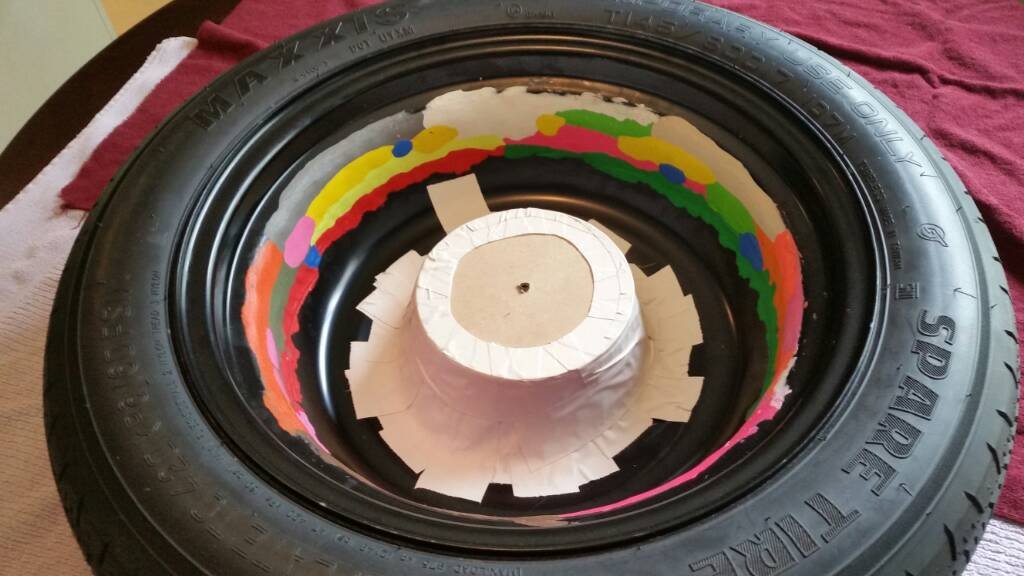 It looks like a rainbow puked in my spare. Being wax based clay, it should be a nice mold release.More importantly, my wife didn’t freak out when she walked into the kitchen and saw a tire on her table. :tup:Some lovely mold release wax.
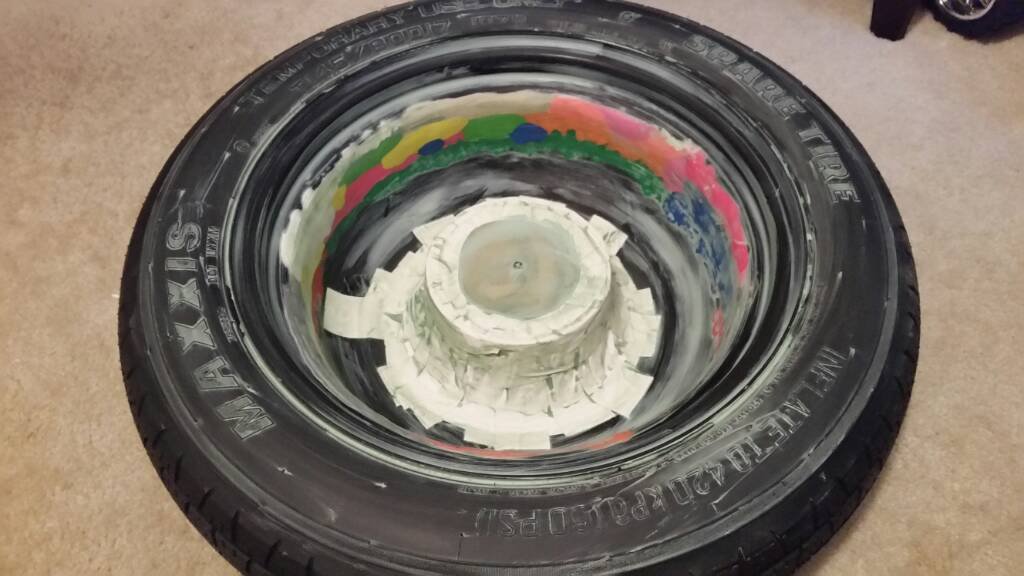 Cloth and mat all cut, ready to get the resin.
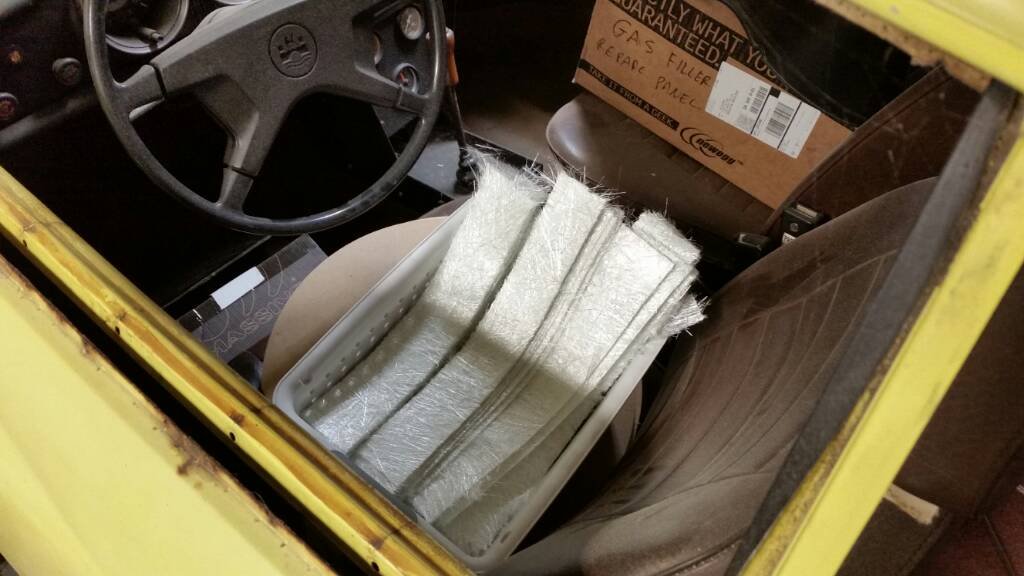
 It is time. Here goes nothing!
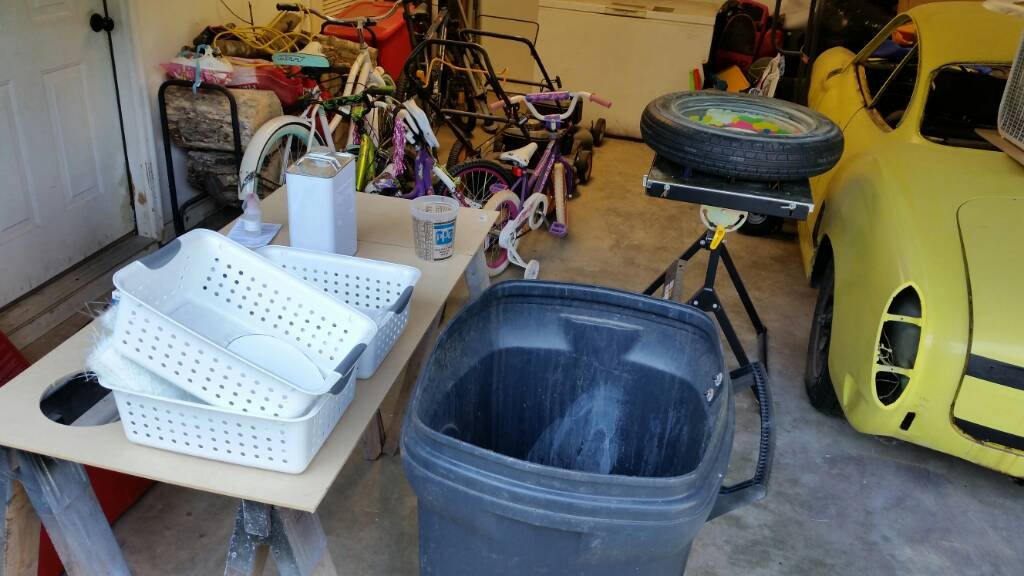 Got the cloth layers done. Time to build up the mat.
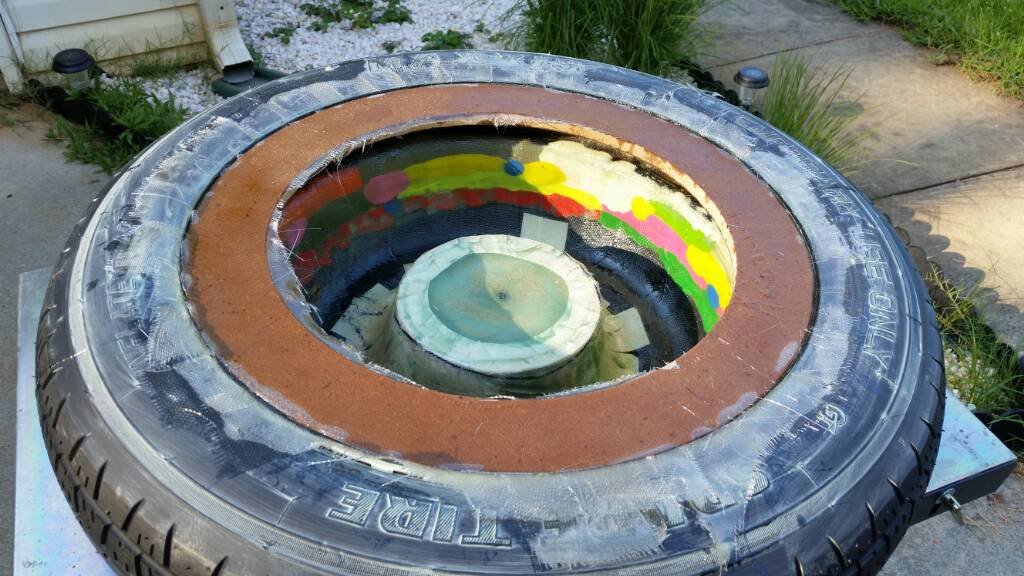 I’ll have a bunch of clean up work to do once it hardens.Wired up my quick disconnect.
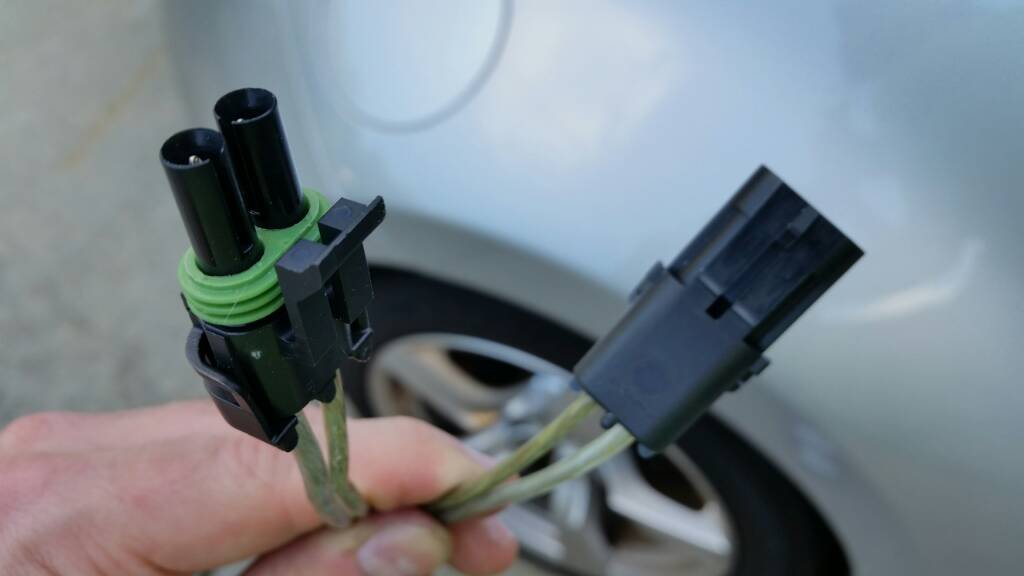 …and now I wait.
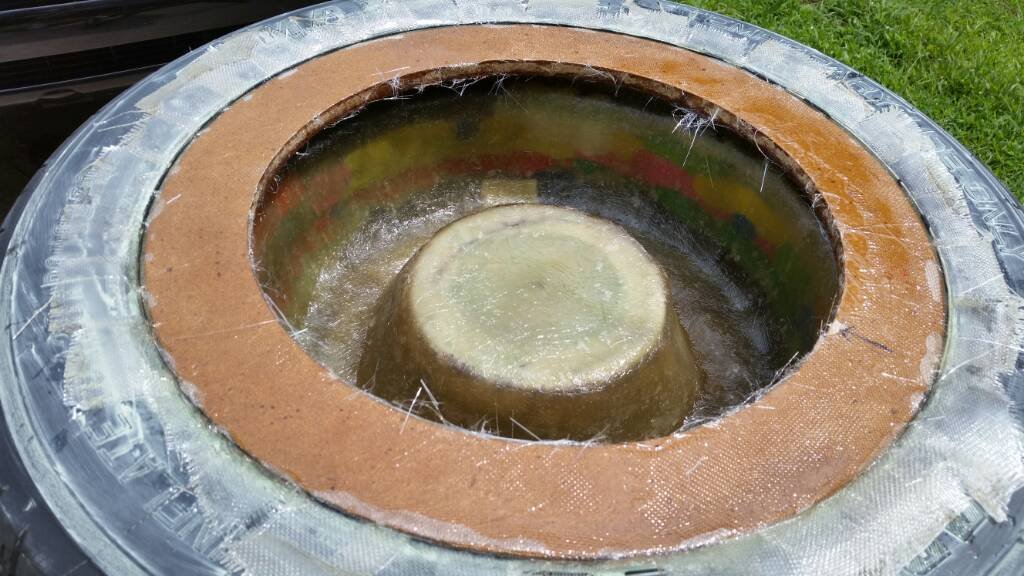 Clean up time.
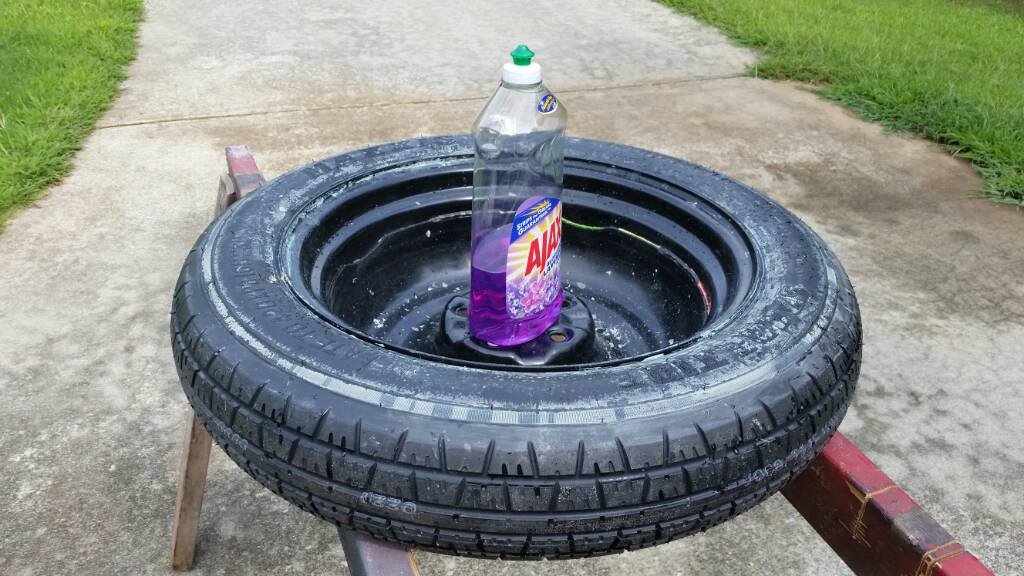
 That’s all for today.
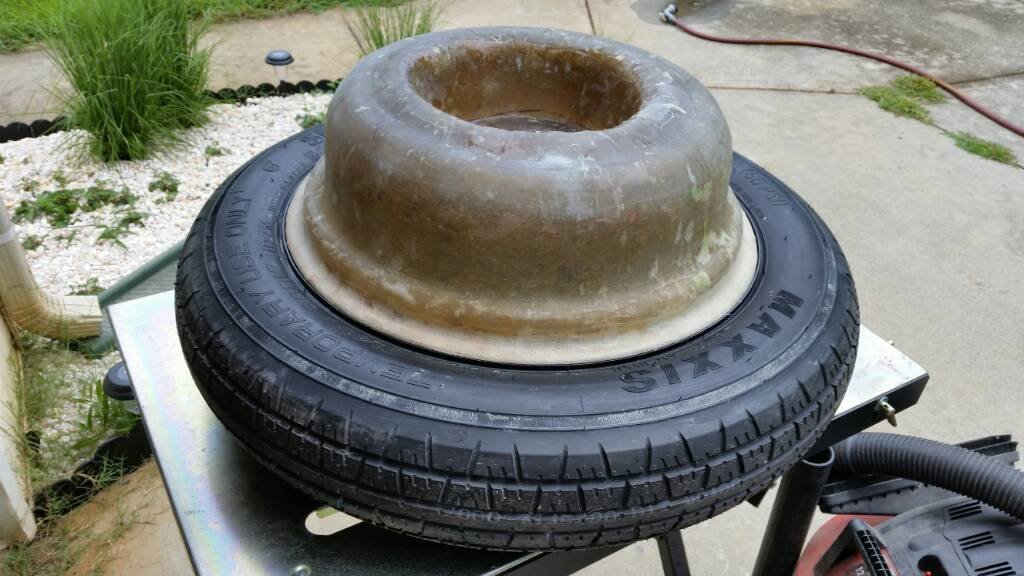
 Work continues.
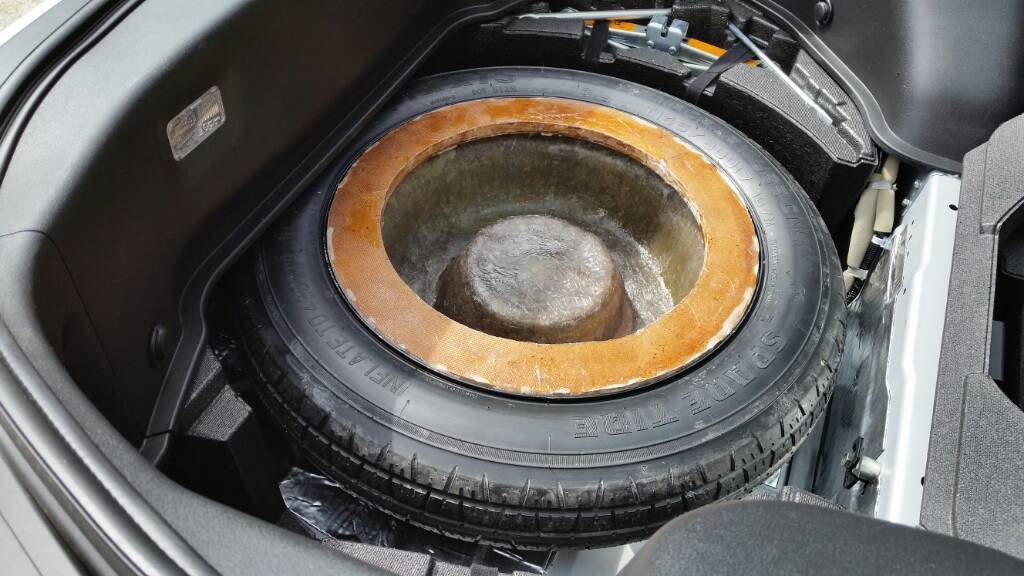
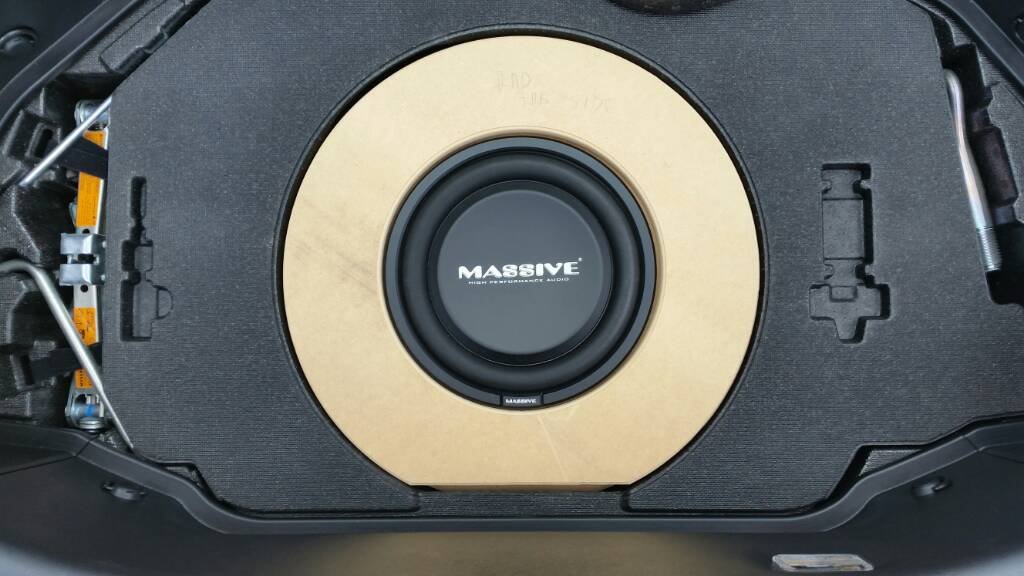
 This thing fits in here so tightly, I need to think of some removal device. Done for now.
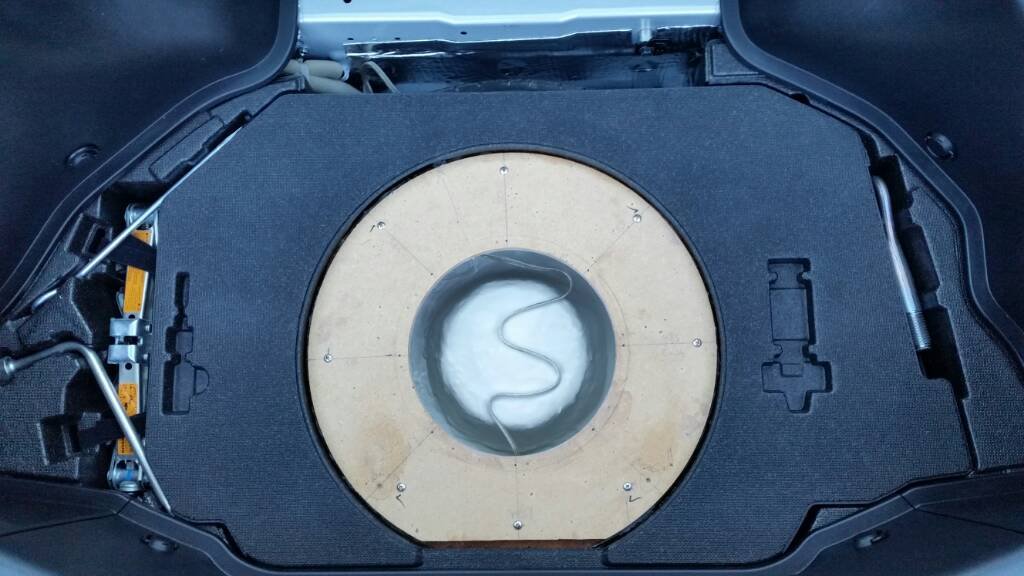 Back in business.
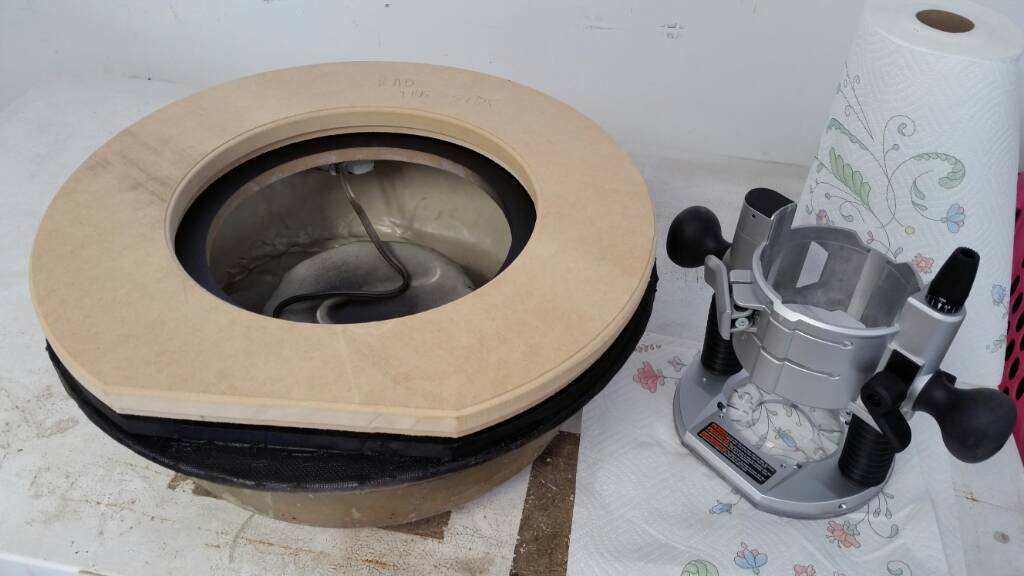 Pull tabs installed.
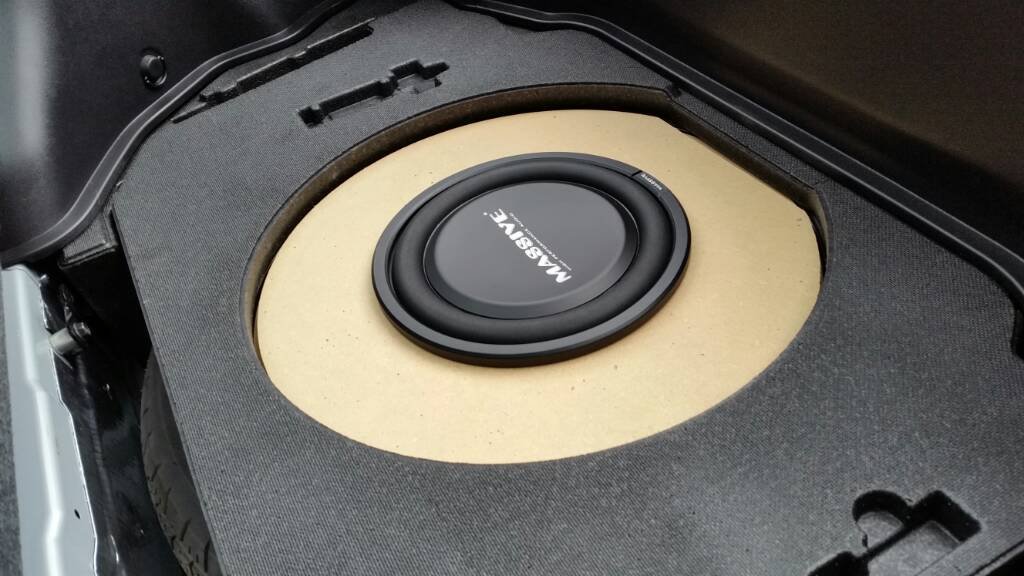
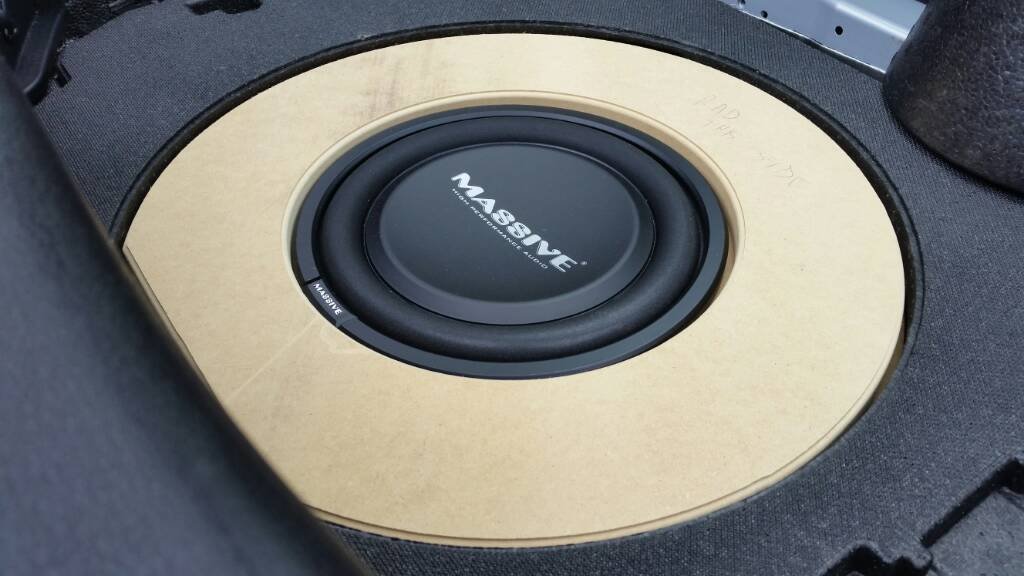
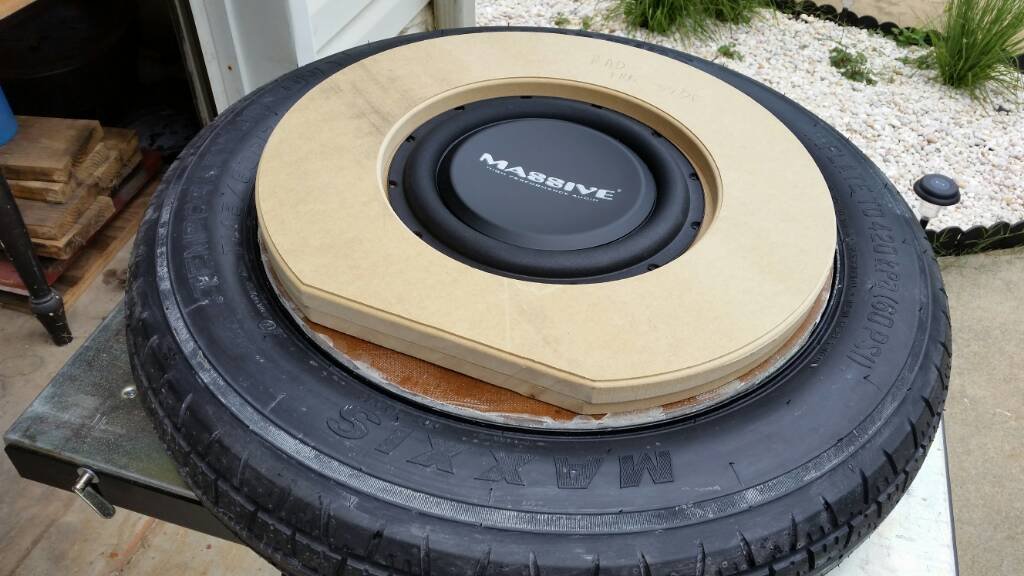
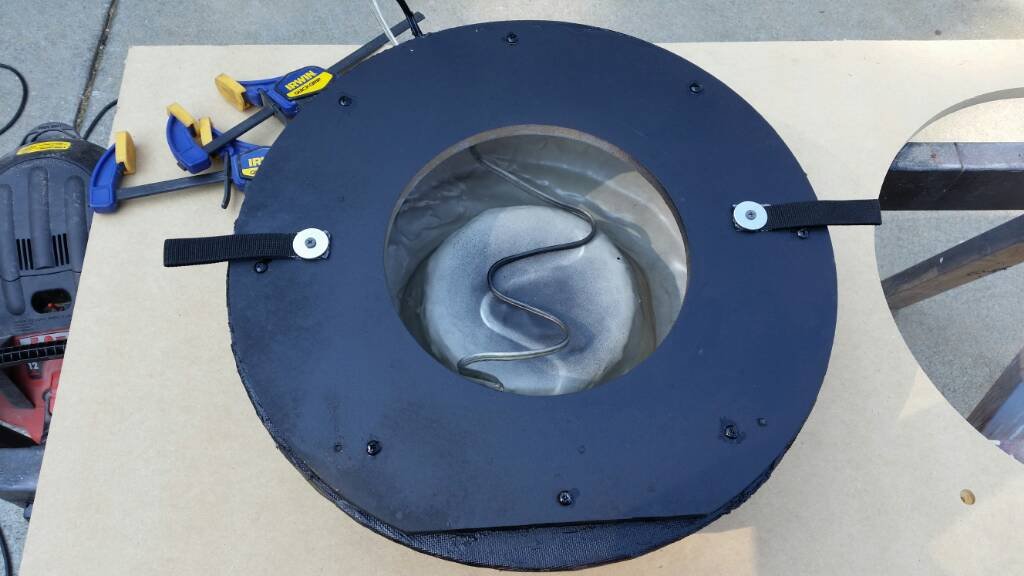 Speaker in. Upholstery time
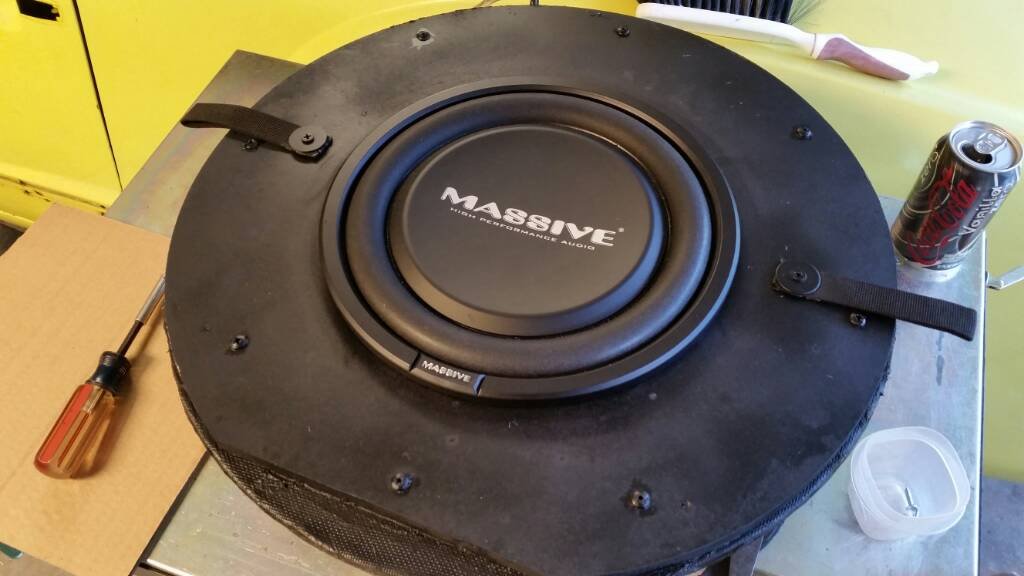
 Enclosure is done! Woo hoo! Perhaps tomorrow I can get the headunit in.
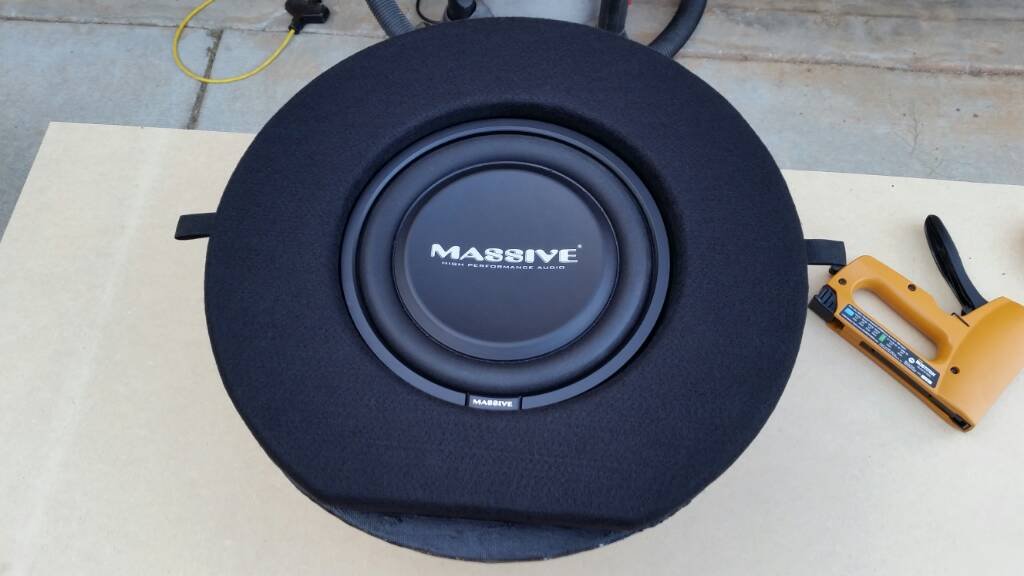

 Where oh where to mount this noisy cricket…
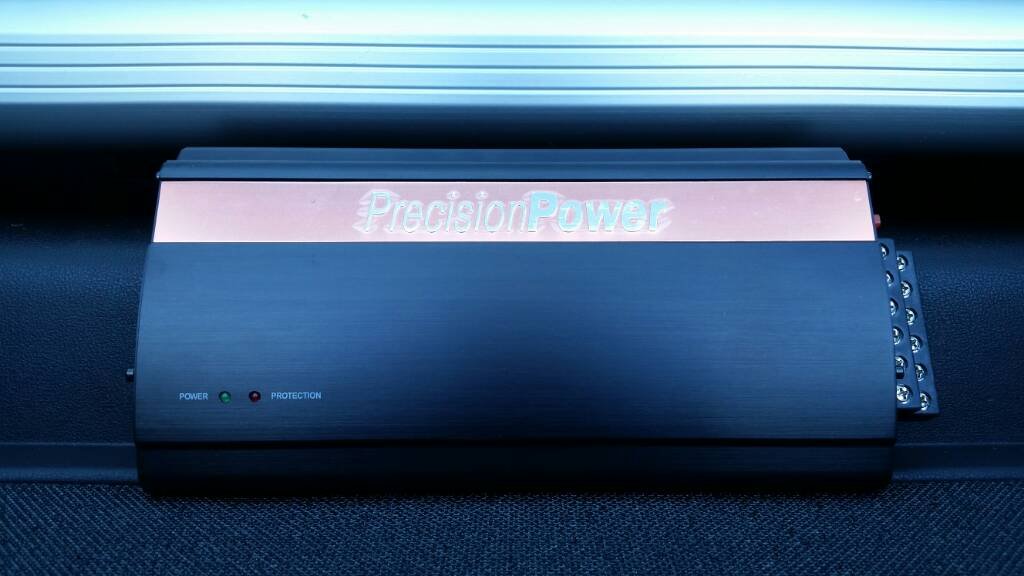 This would almost be too crazy.
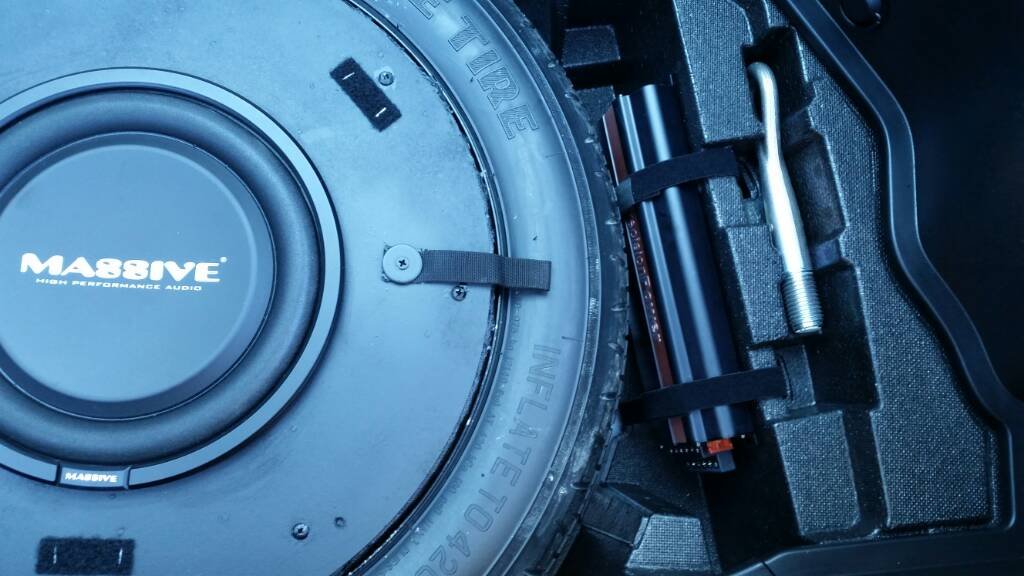
 Yeah, what the hell. I’ll try this.
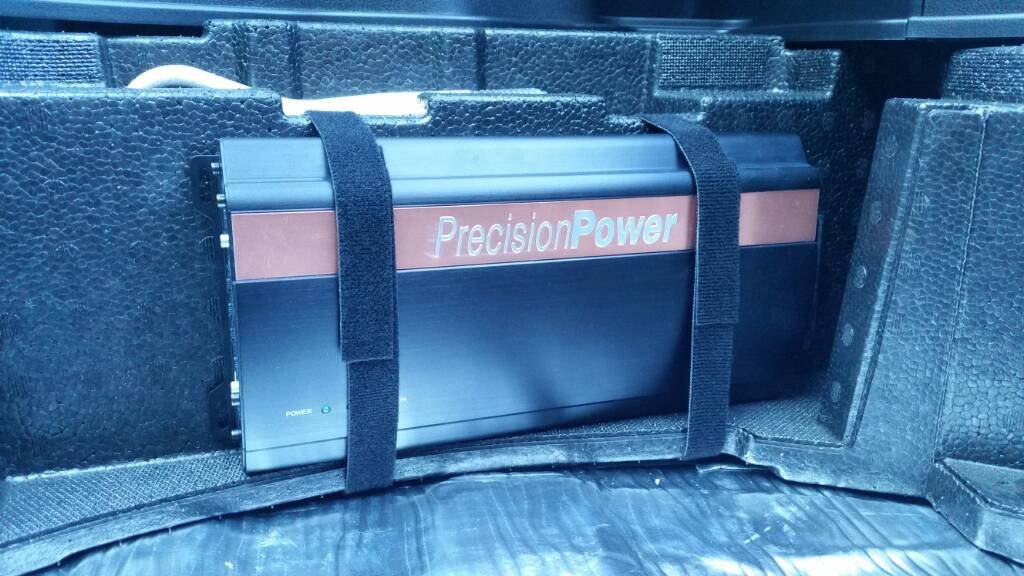 That has to be the easiest door panel I’ve ever pulled off in my life.
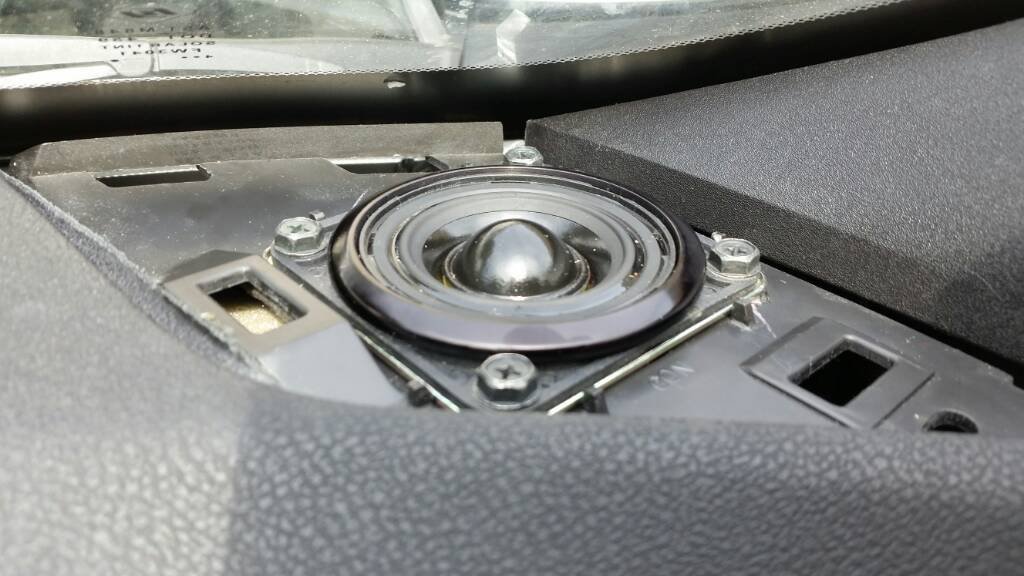
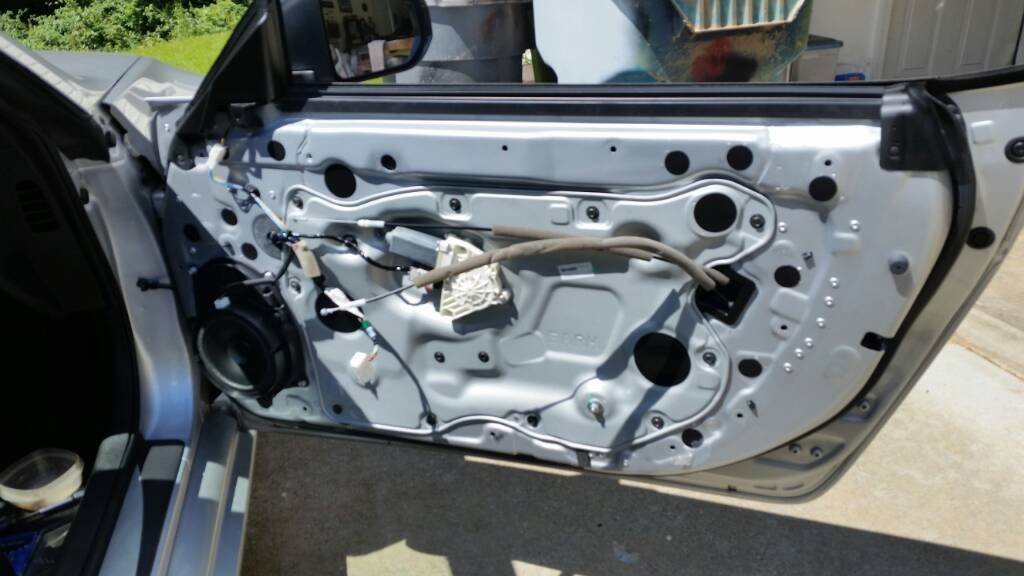 Might make a difference.
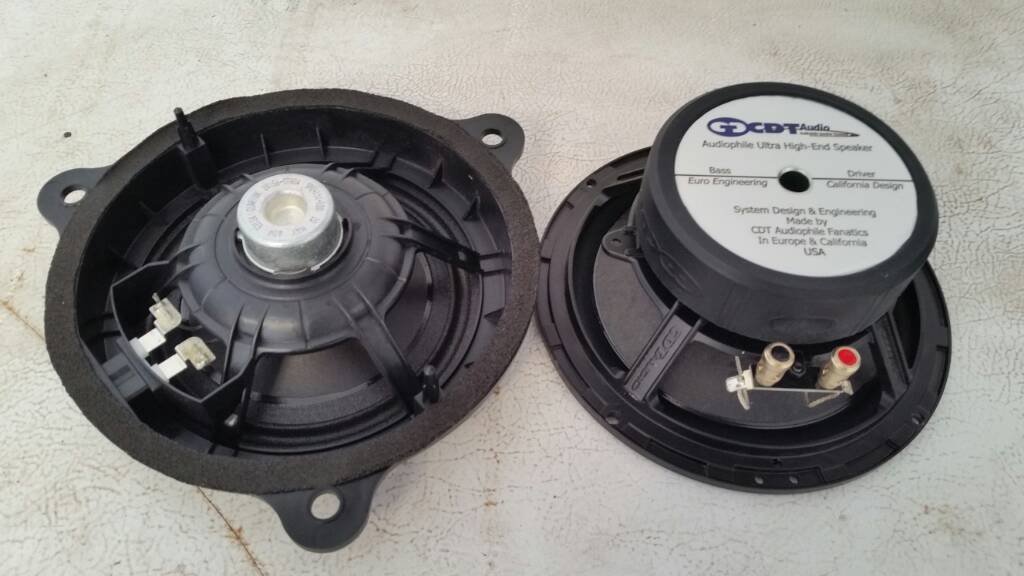 Time to make the donuts… I mean door speaker adapters.
 I’m going to try a notched approach.
 I have some Kilz. Perhaps that can prolong water absorption.
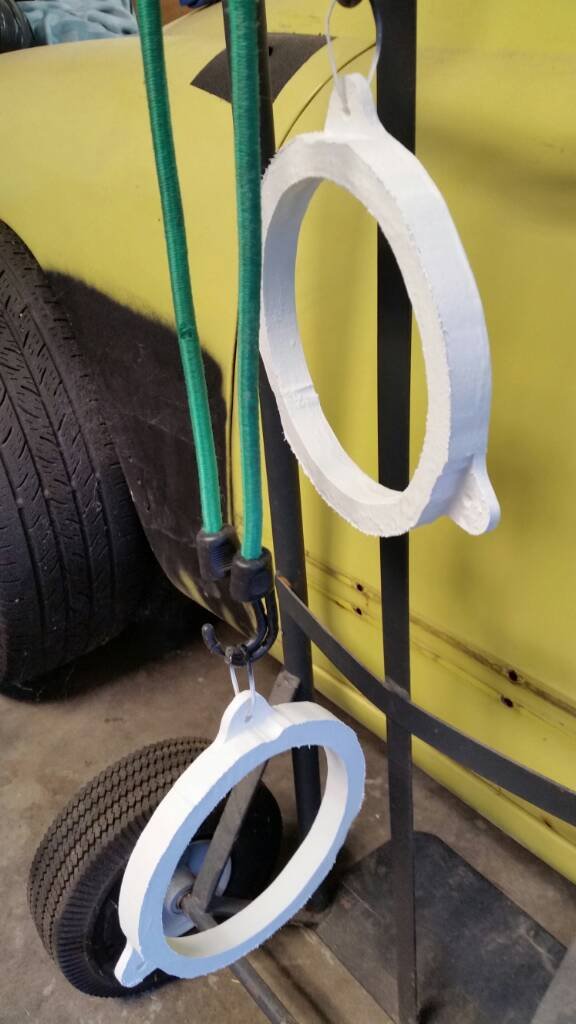
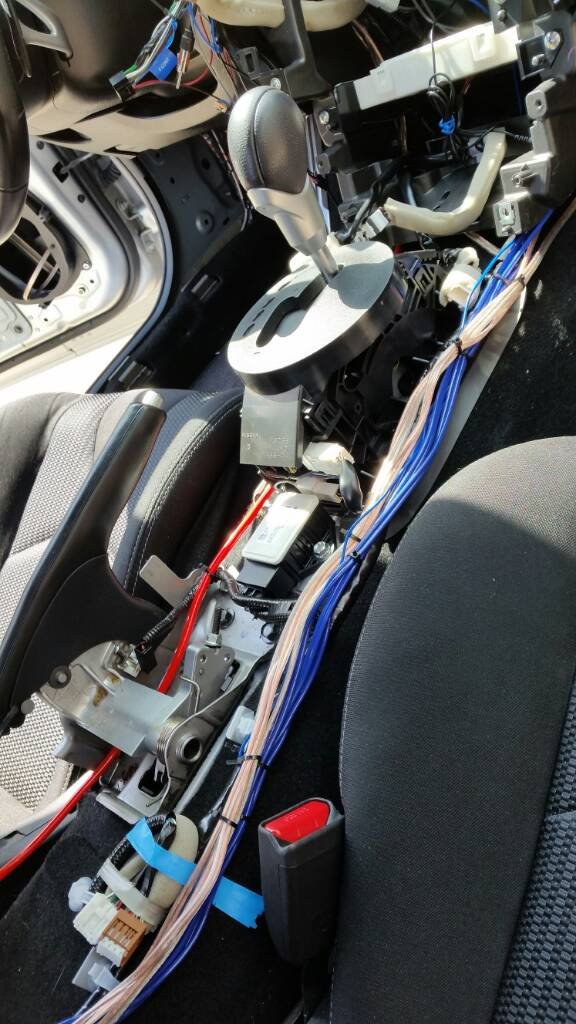 Wire management.
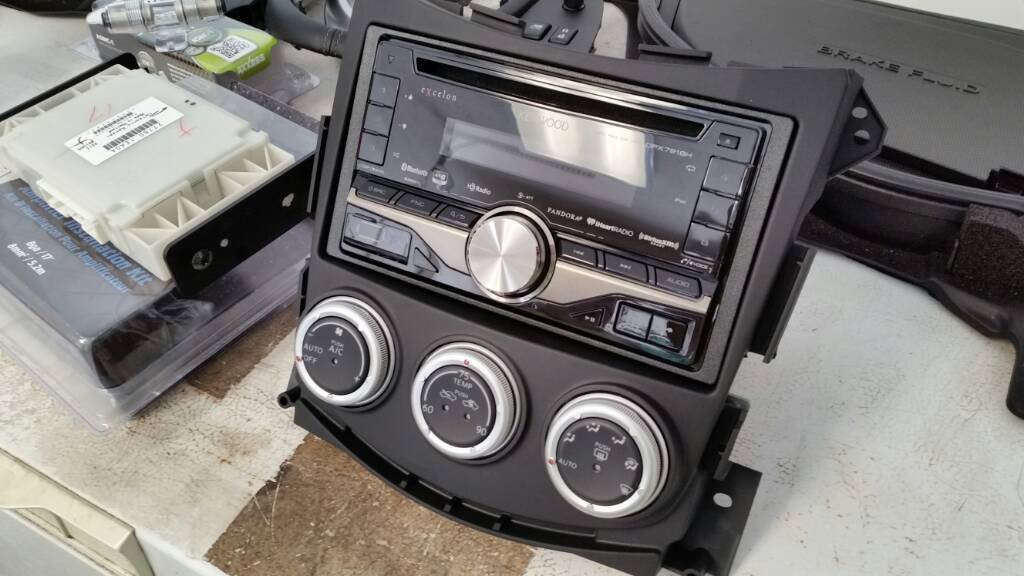
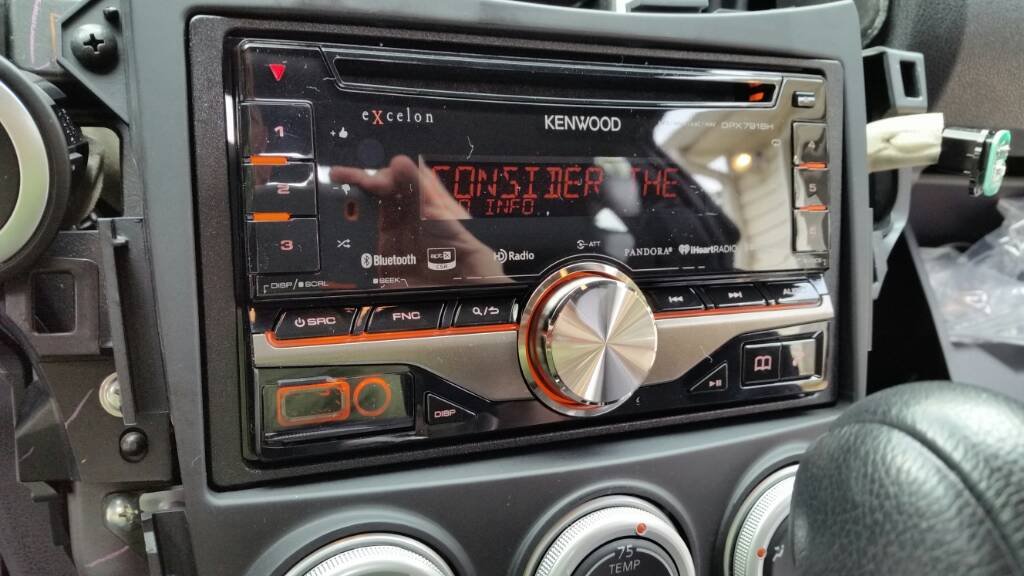 Looks like everything is powering up. I’m digging the Kenwood.
 Looks like a car again.
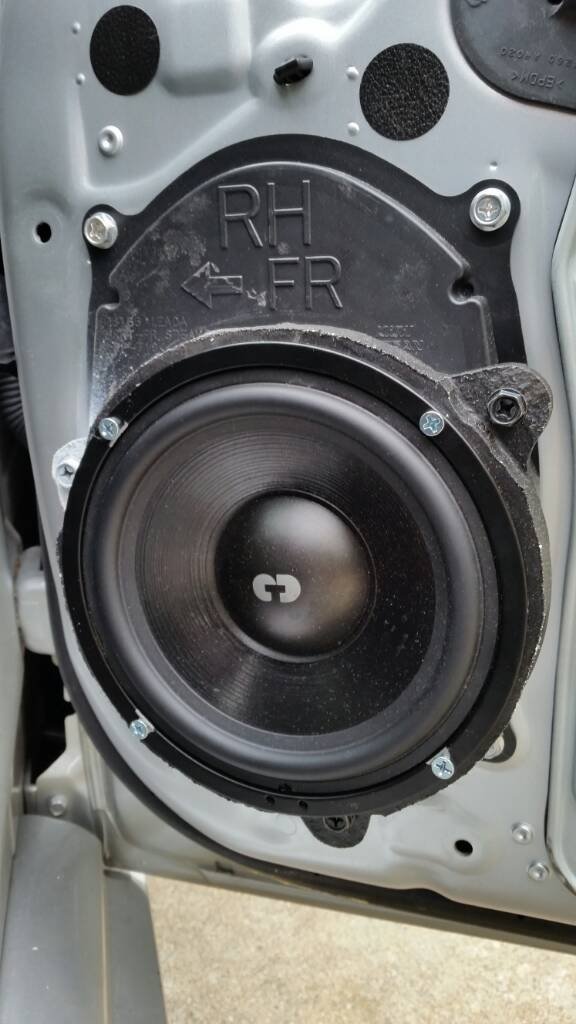 Doors are done.
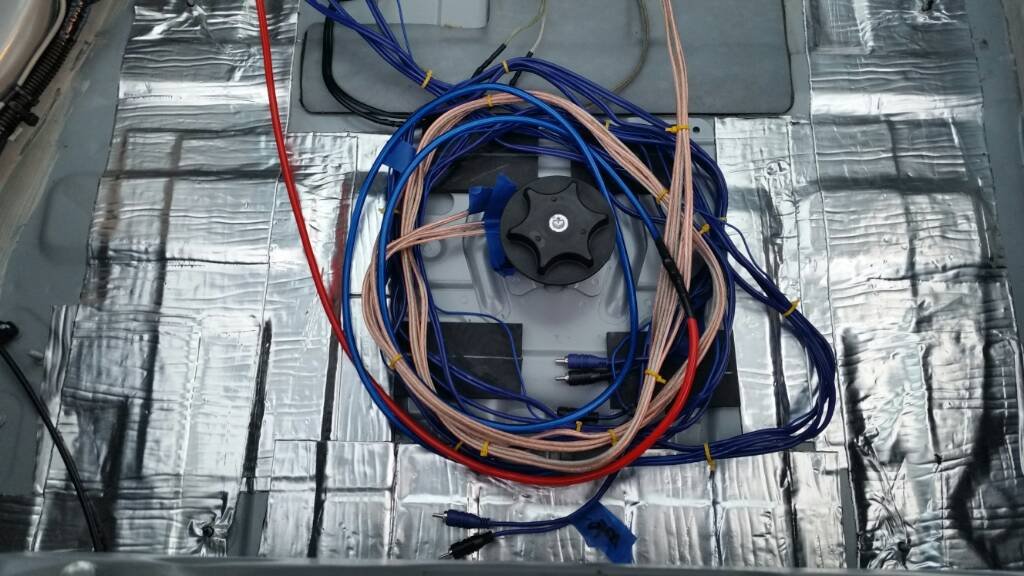 Done for today. All that’s left is to hook up everything in the hatch and start tweaking.Seems to be a decent color match.
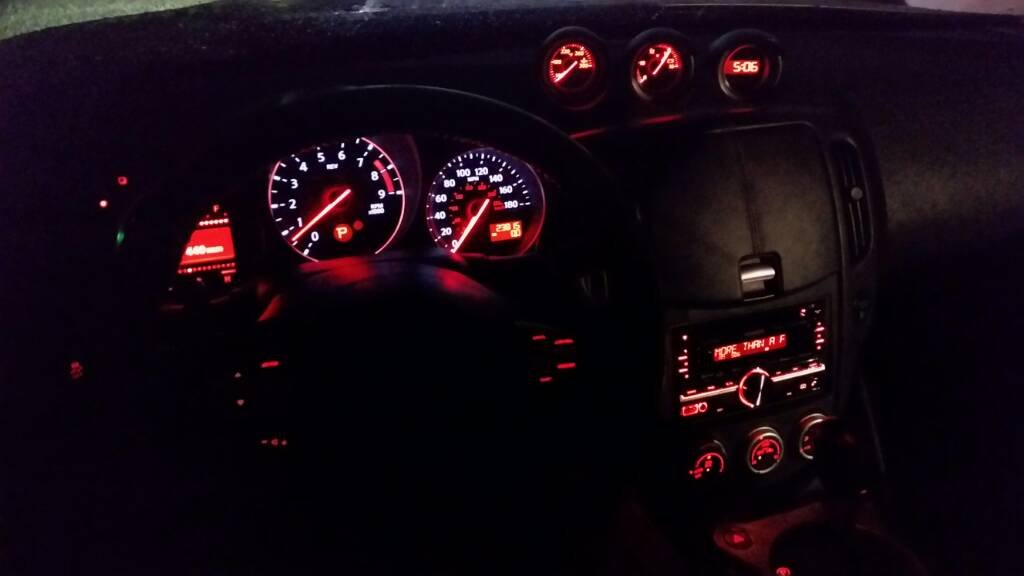 We have sound!Now the months of tweaking can commence, but that’s the relaxing part.
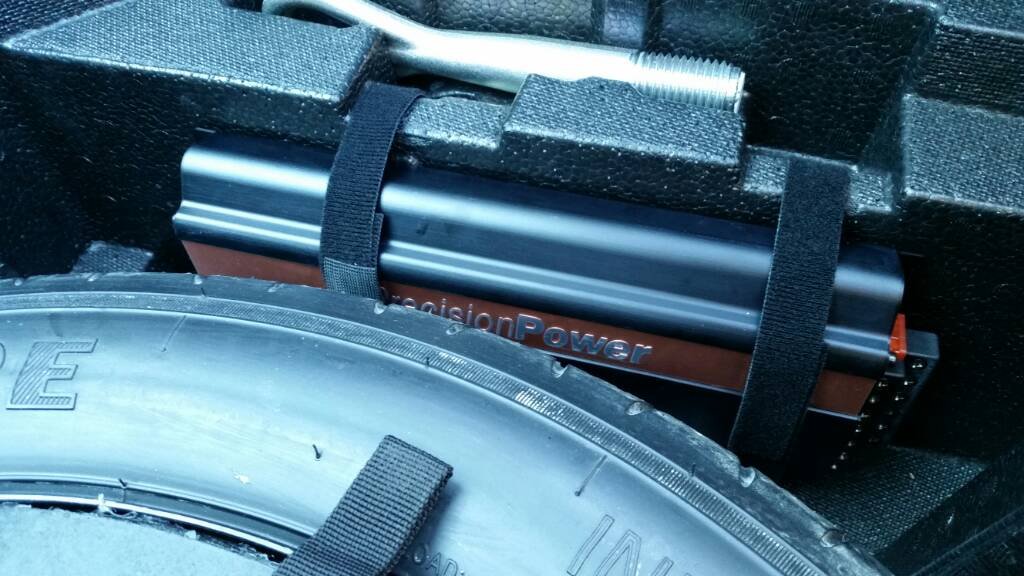
 The amp has its home. I even found a convenient spot for the bass level knob, which I don’t really want anyway.
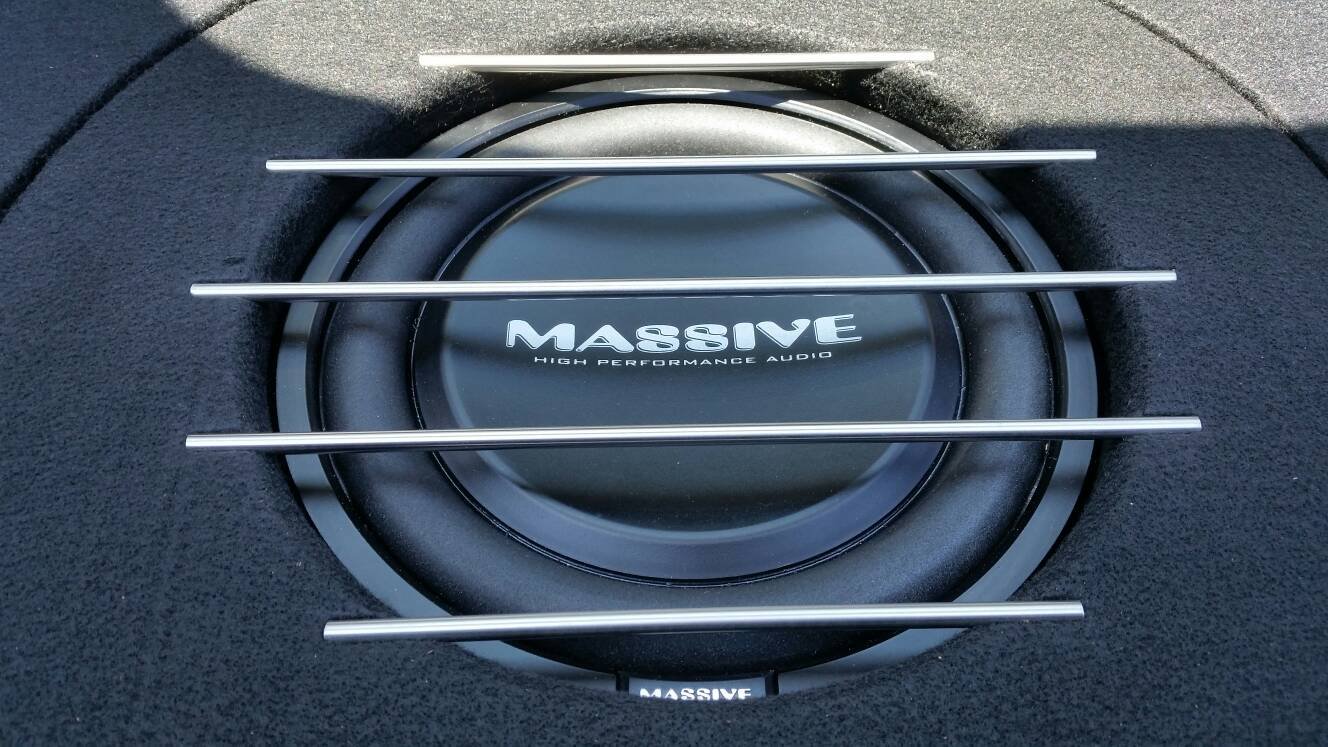
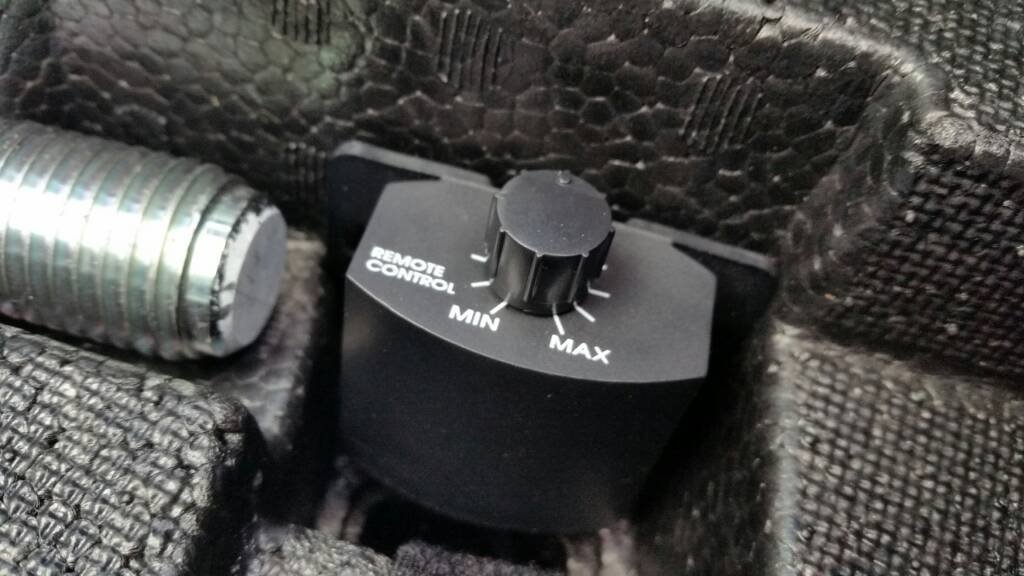 I used a hole saw to cut a couple holes in the foam to pass the wires though. I glued in some copper pipes to trim it out, make it look better than just holes.I started making my grill and cover board.
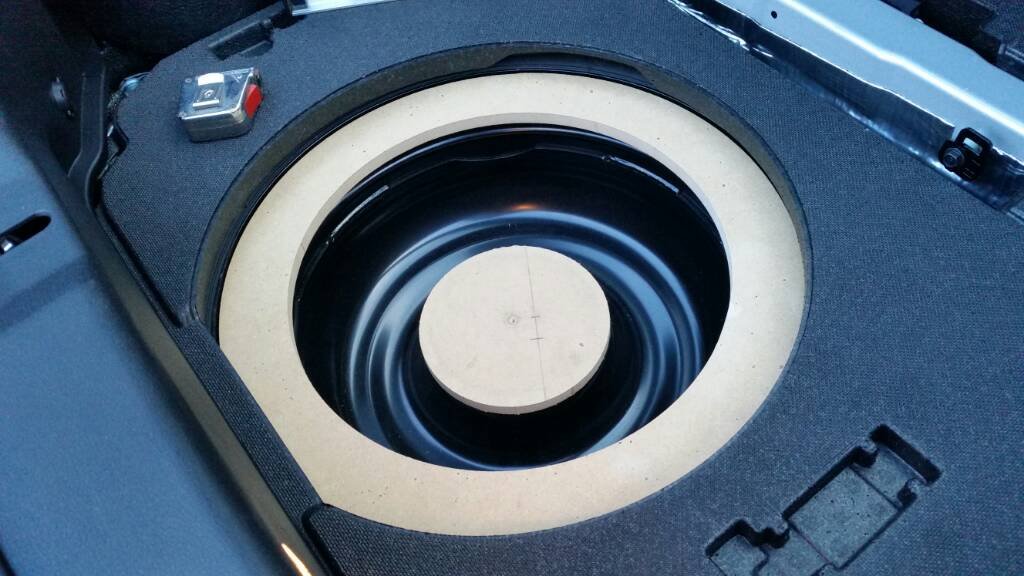
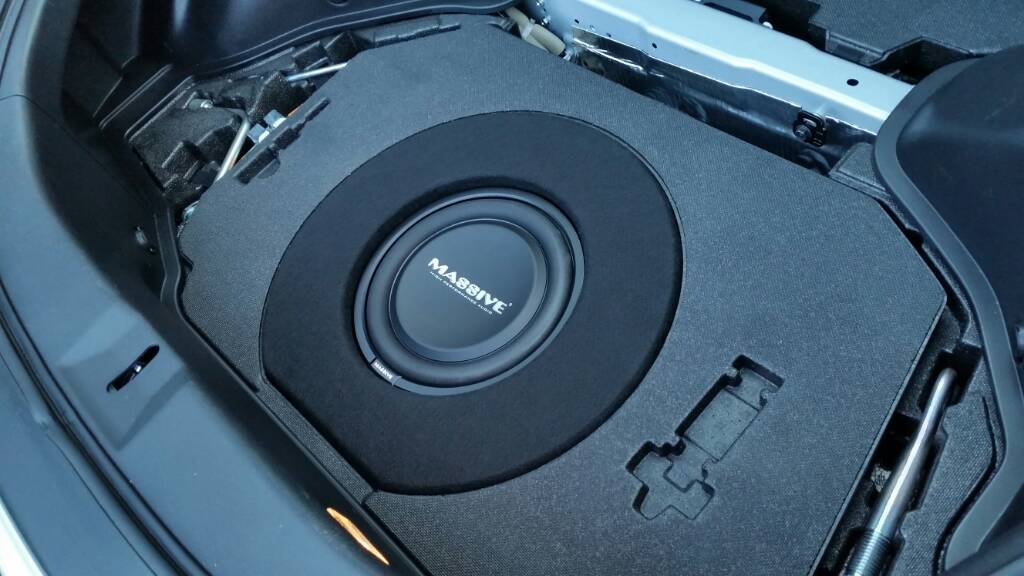
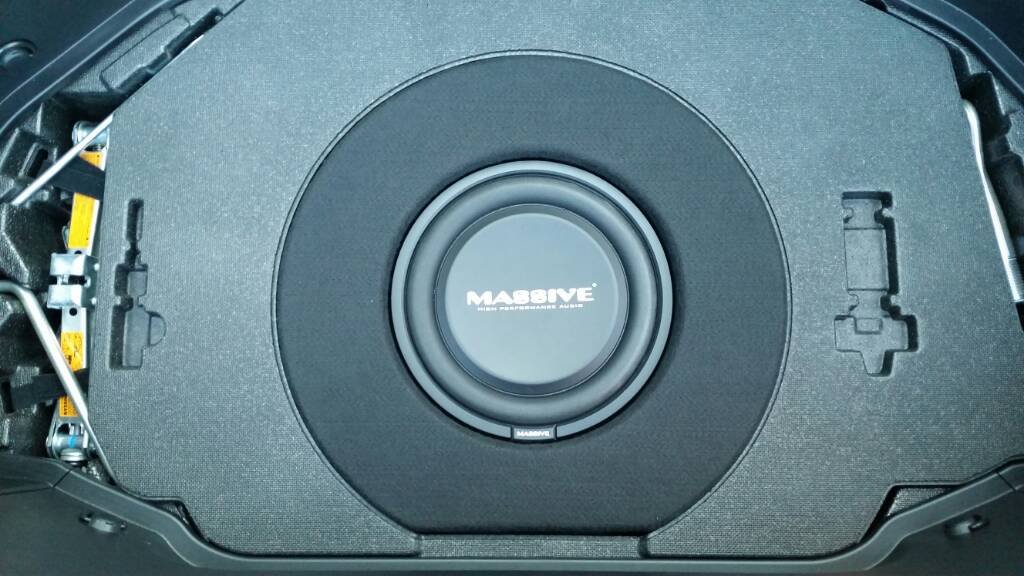
 After all these months, I finally got around to the upholstery on the cover panel.
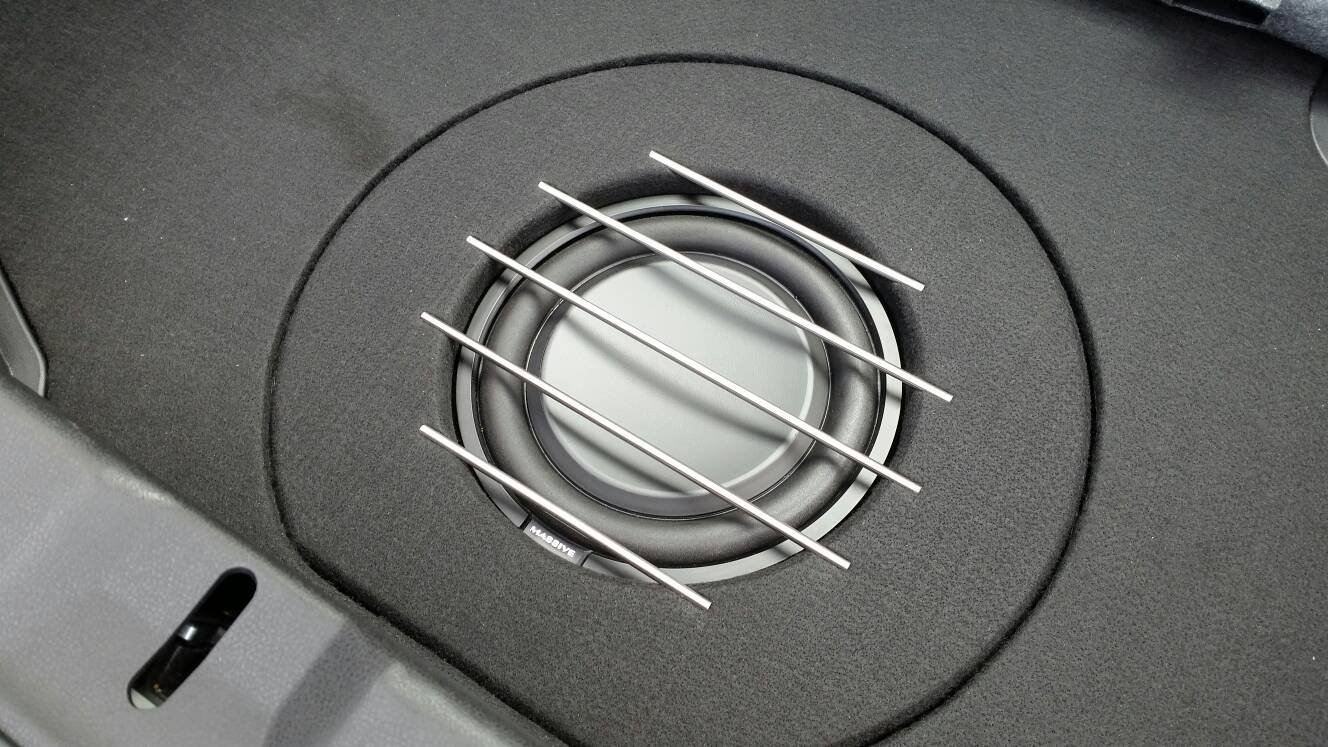
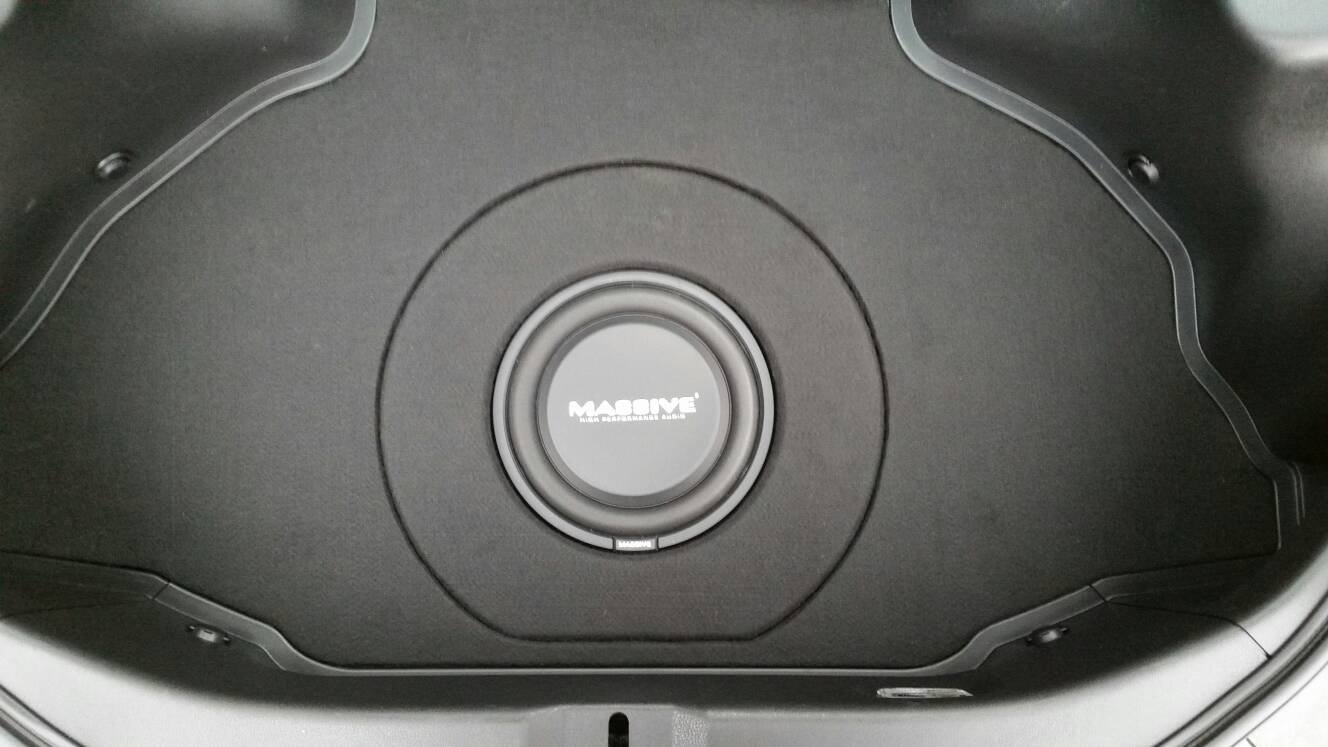 Now I just have to fab the stainless steel grill.Working on the grill a bit.
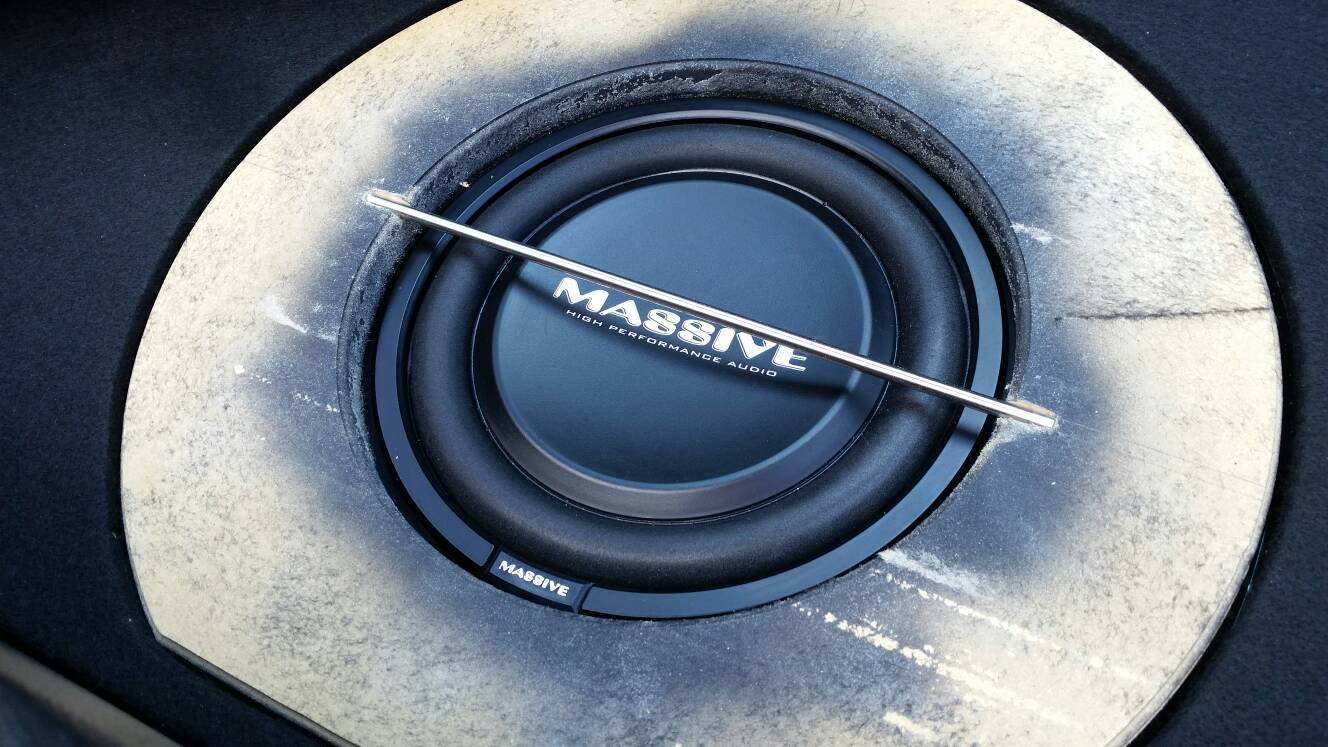 Got all the stainless cut.
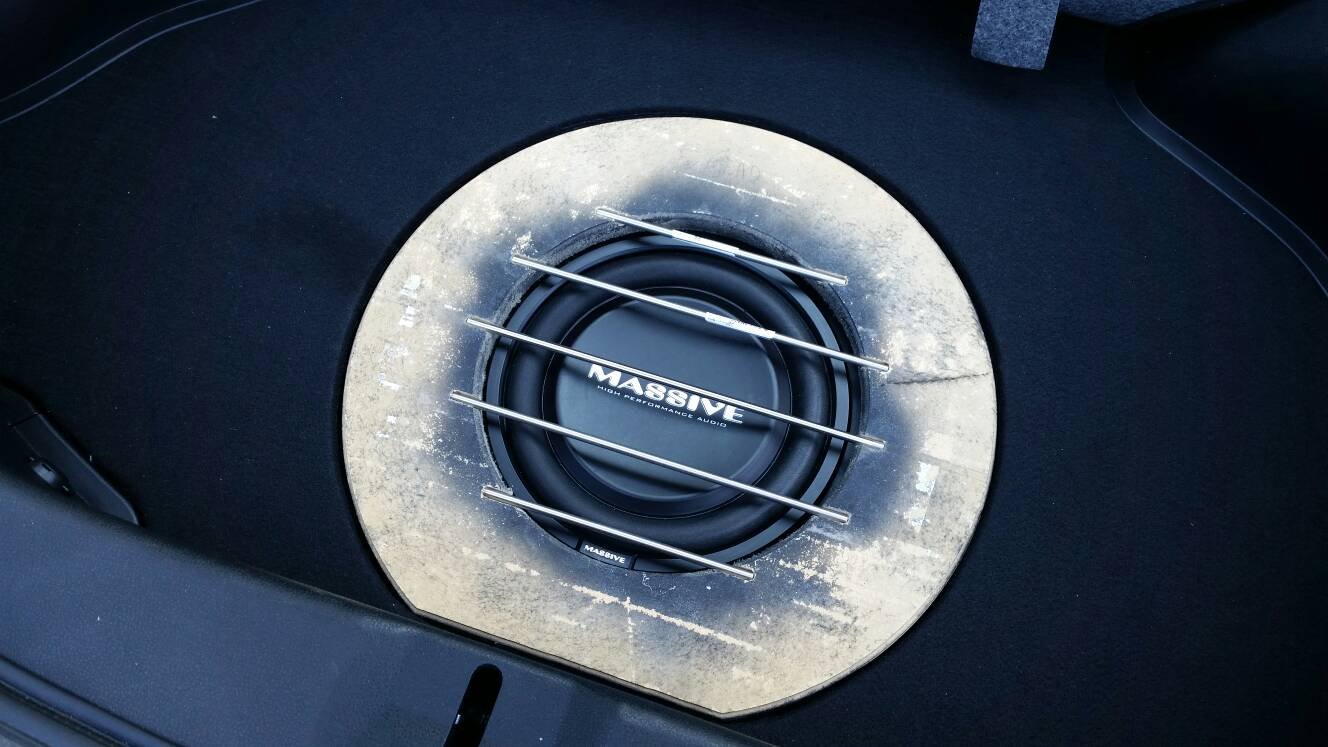 …and the grill.

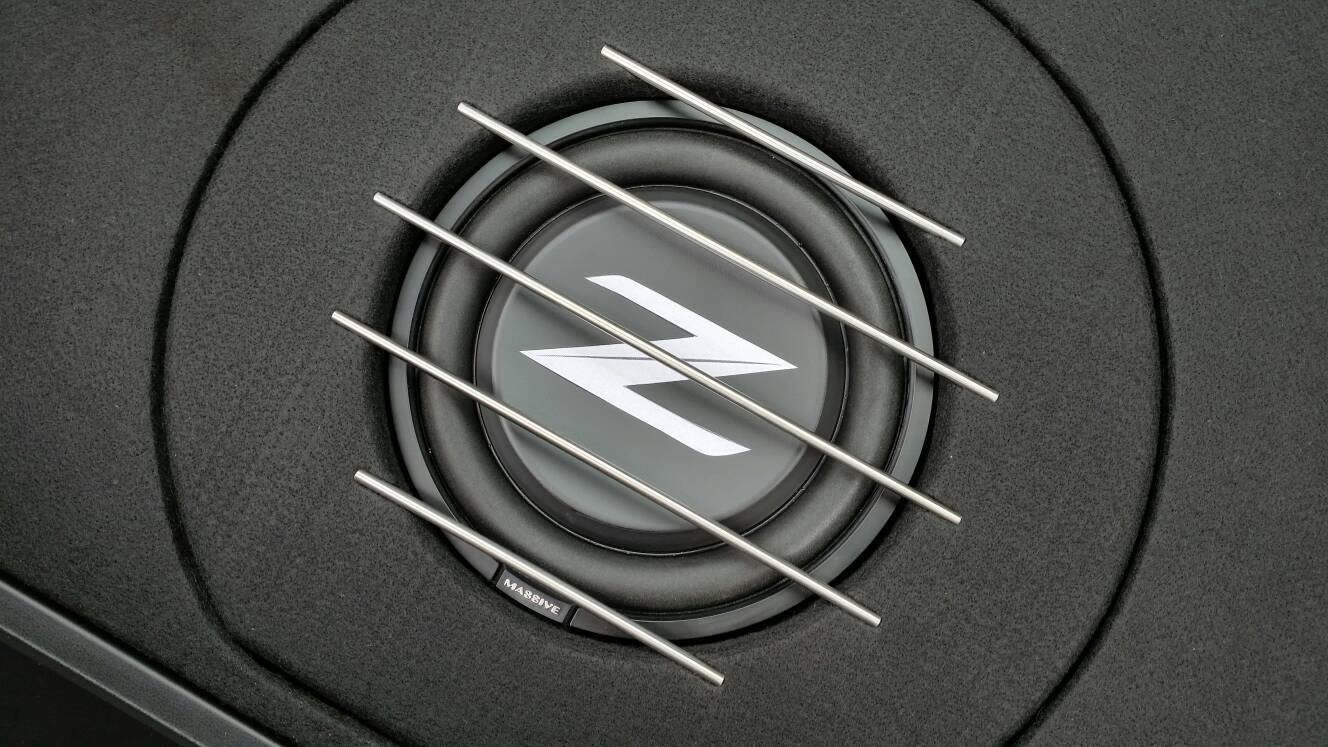
 I wonder if I could cook steaks on it. :yum:Less branding makes me happy. I think I’m going to put the Z logo in the center.

I complete JL Audio system would be very sweet and doable.
![]()
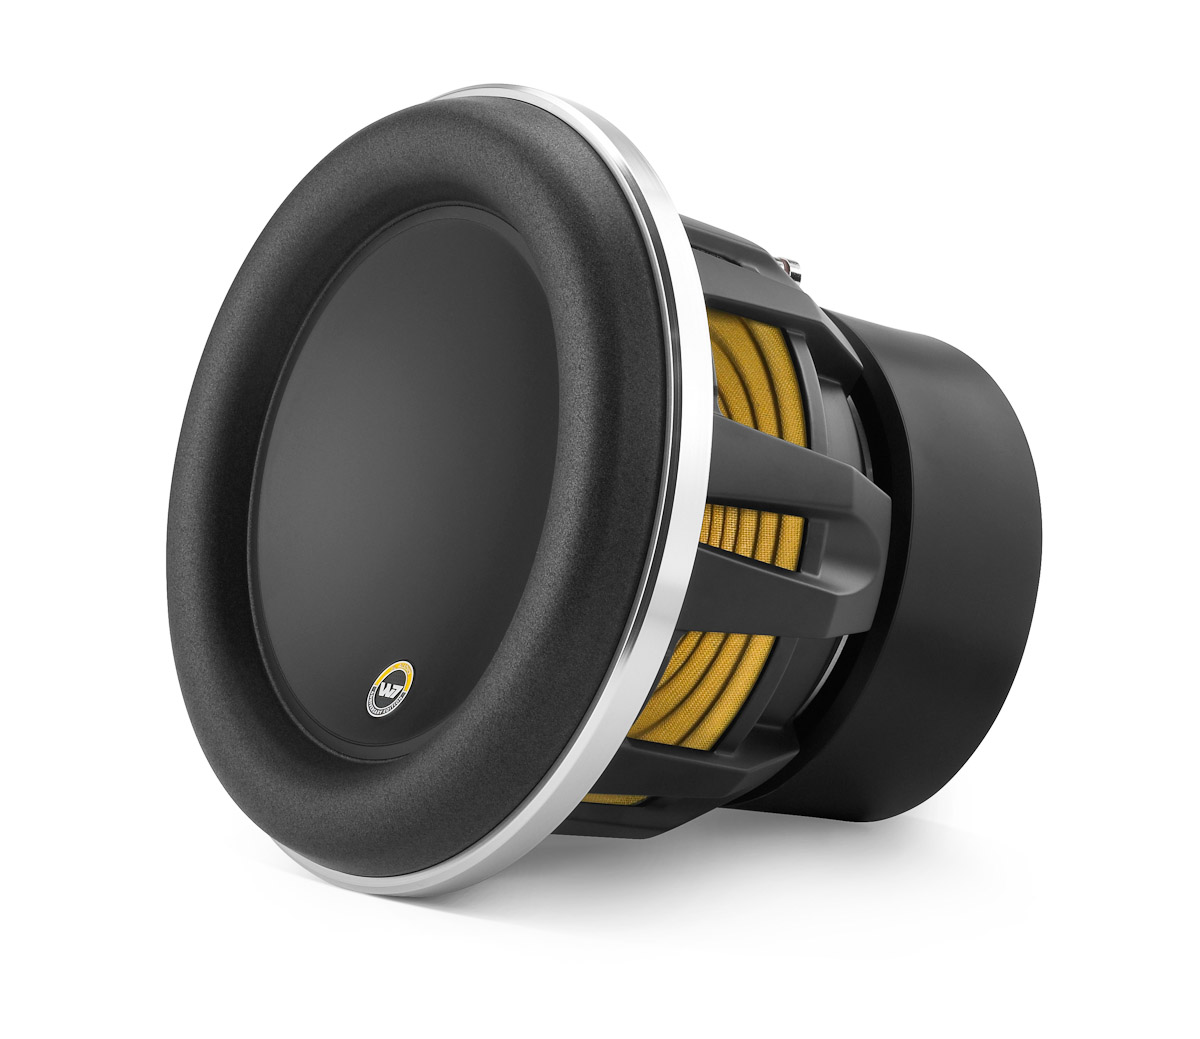
Let’s start with two 12W7AE 3-ohm 12″ subs.
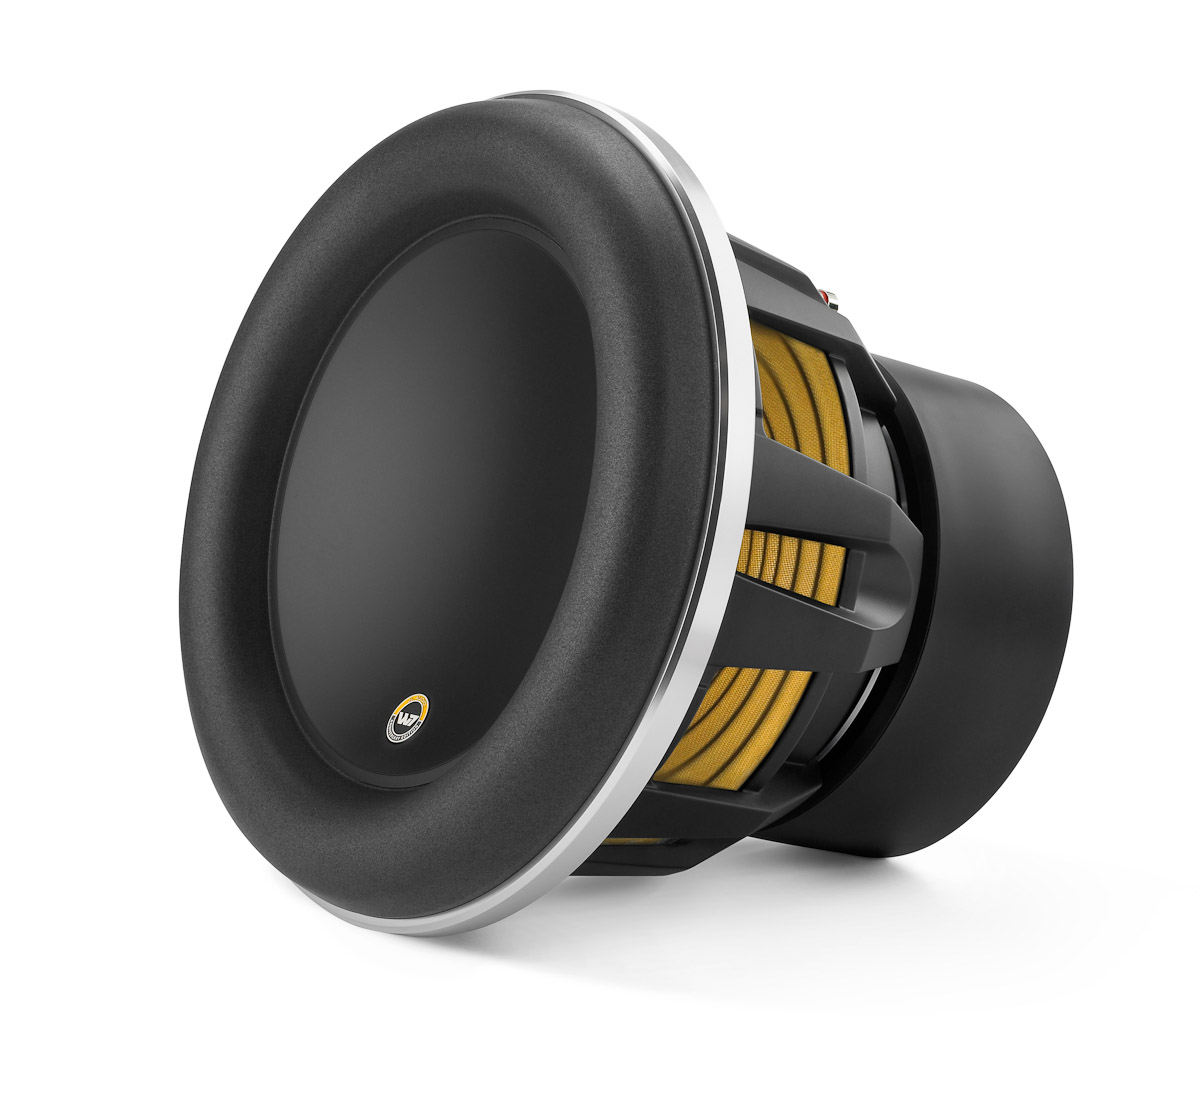
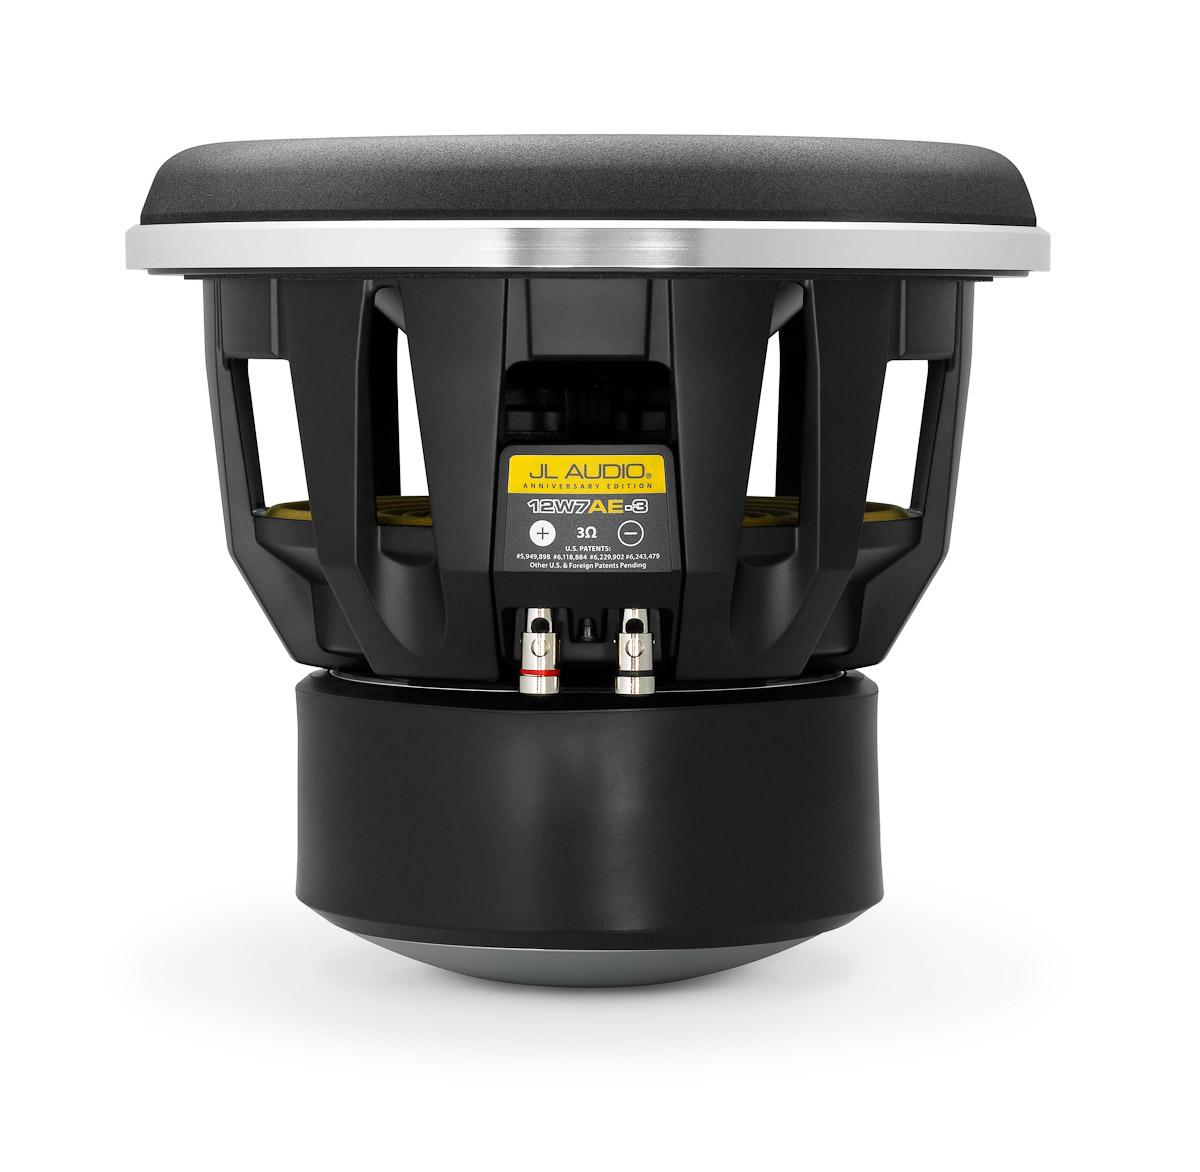
I’d hit those with a pair of VX1000/1i amps. They’ll RMS about 800 watts each at 3-ohms.


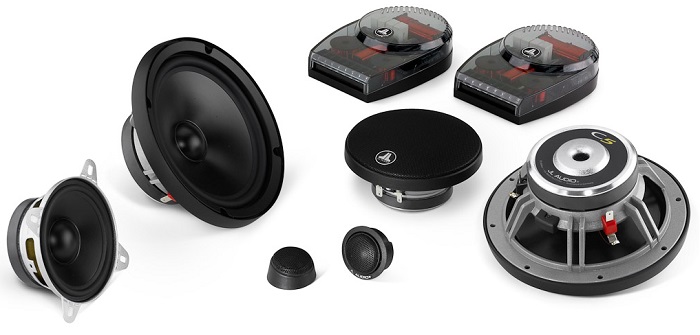
Next, I’d go with 3 pair C5-650 6.5″ components… 2 pair up front, 1 pair in the rear.
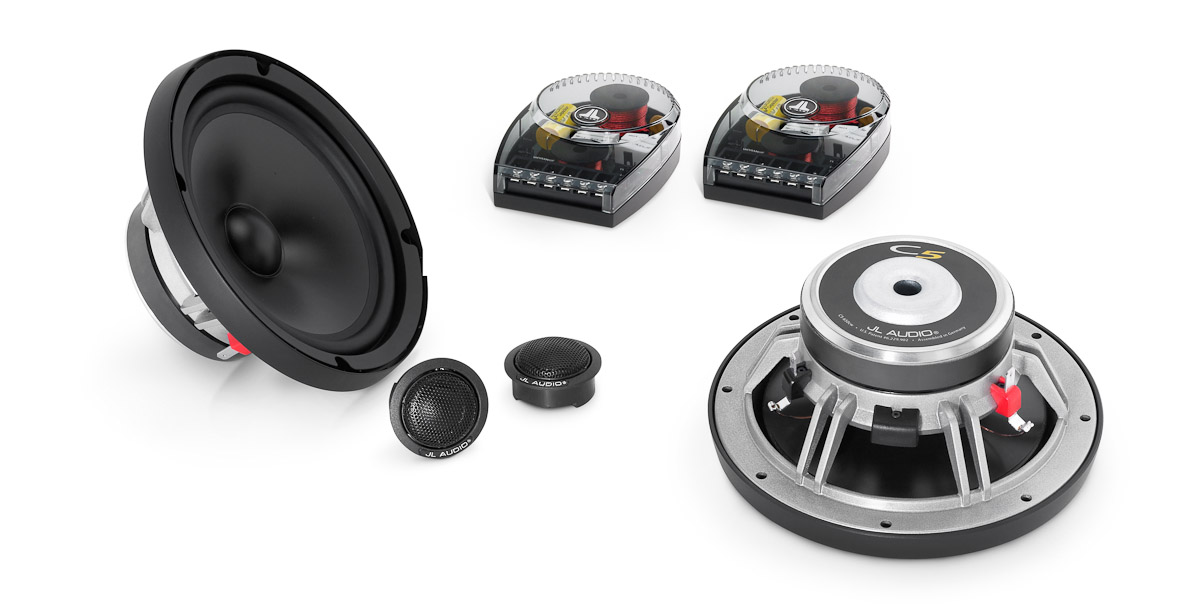
These six would be powered by a VX600/6i 100 watt x 6 channel amp.


These amps are tuned by some cool looking interface (I assume). I know nothing of this.

Realistically, this would be a more doable system in a Ghia.
3 JL Audio 10W7’s
Just the 1500 watt VIV amp.

Three pair of some nice components.
… and some cheesy 6 channel amp.

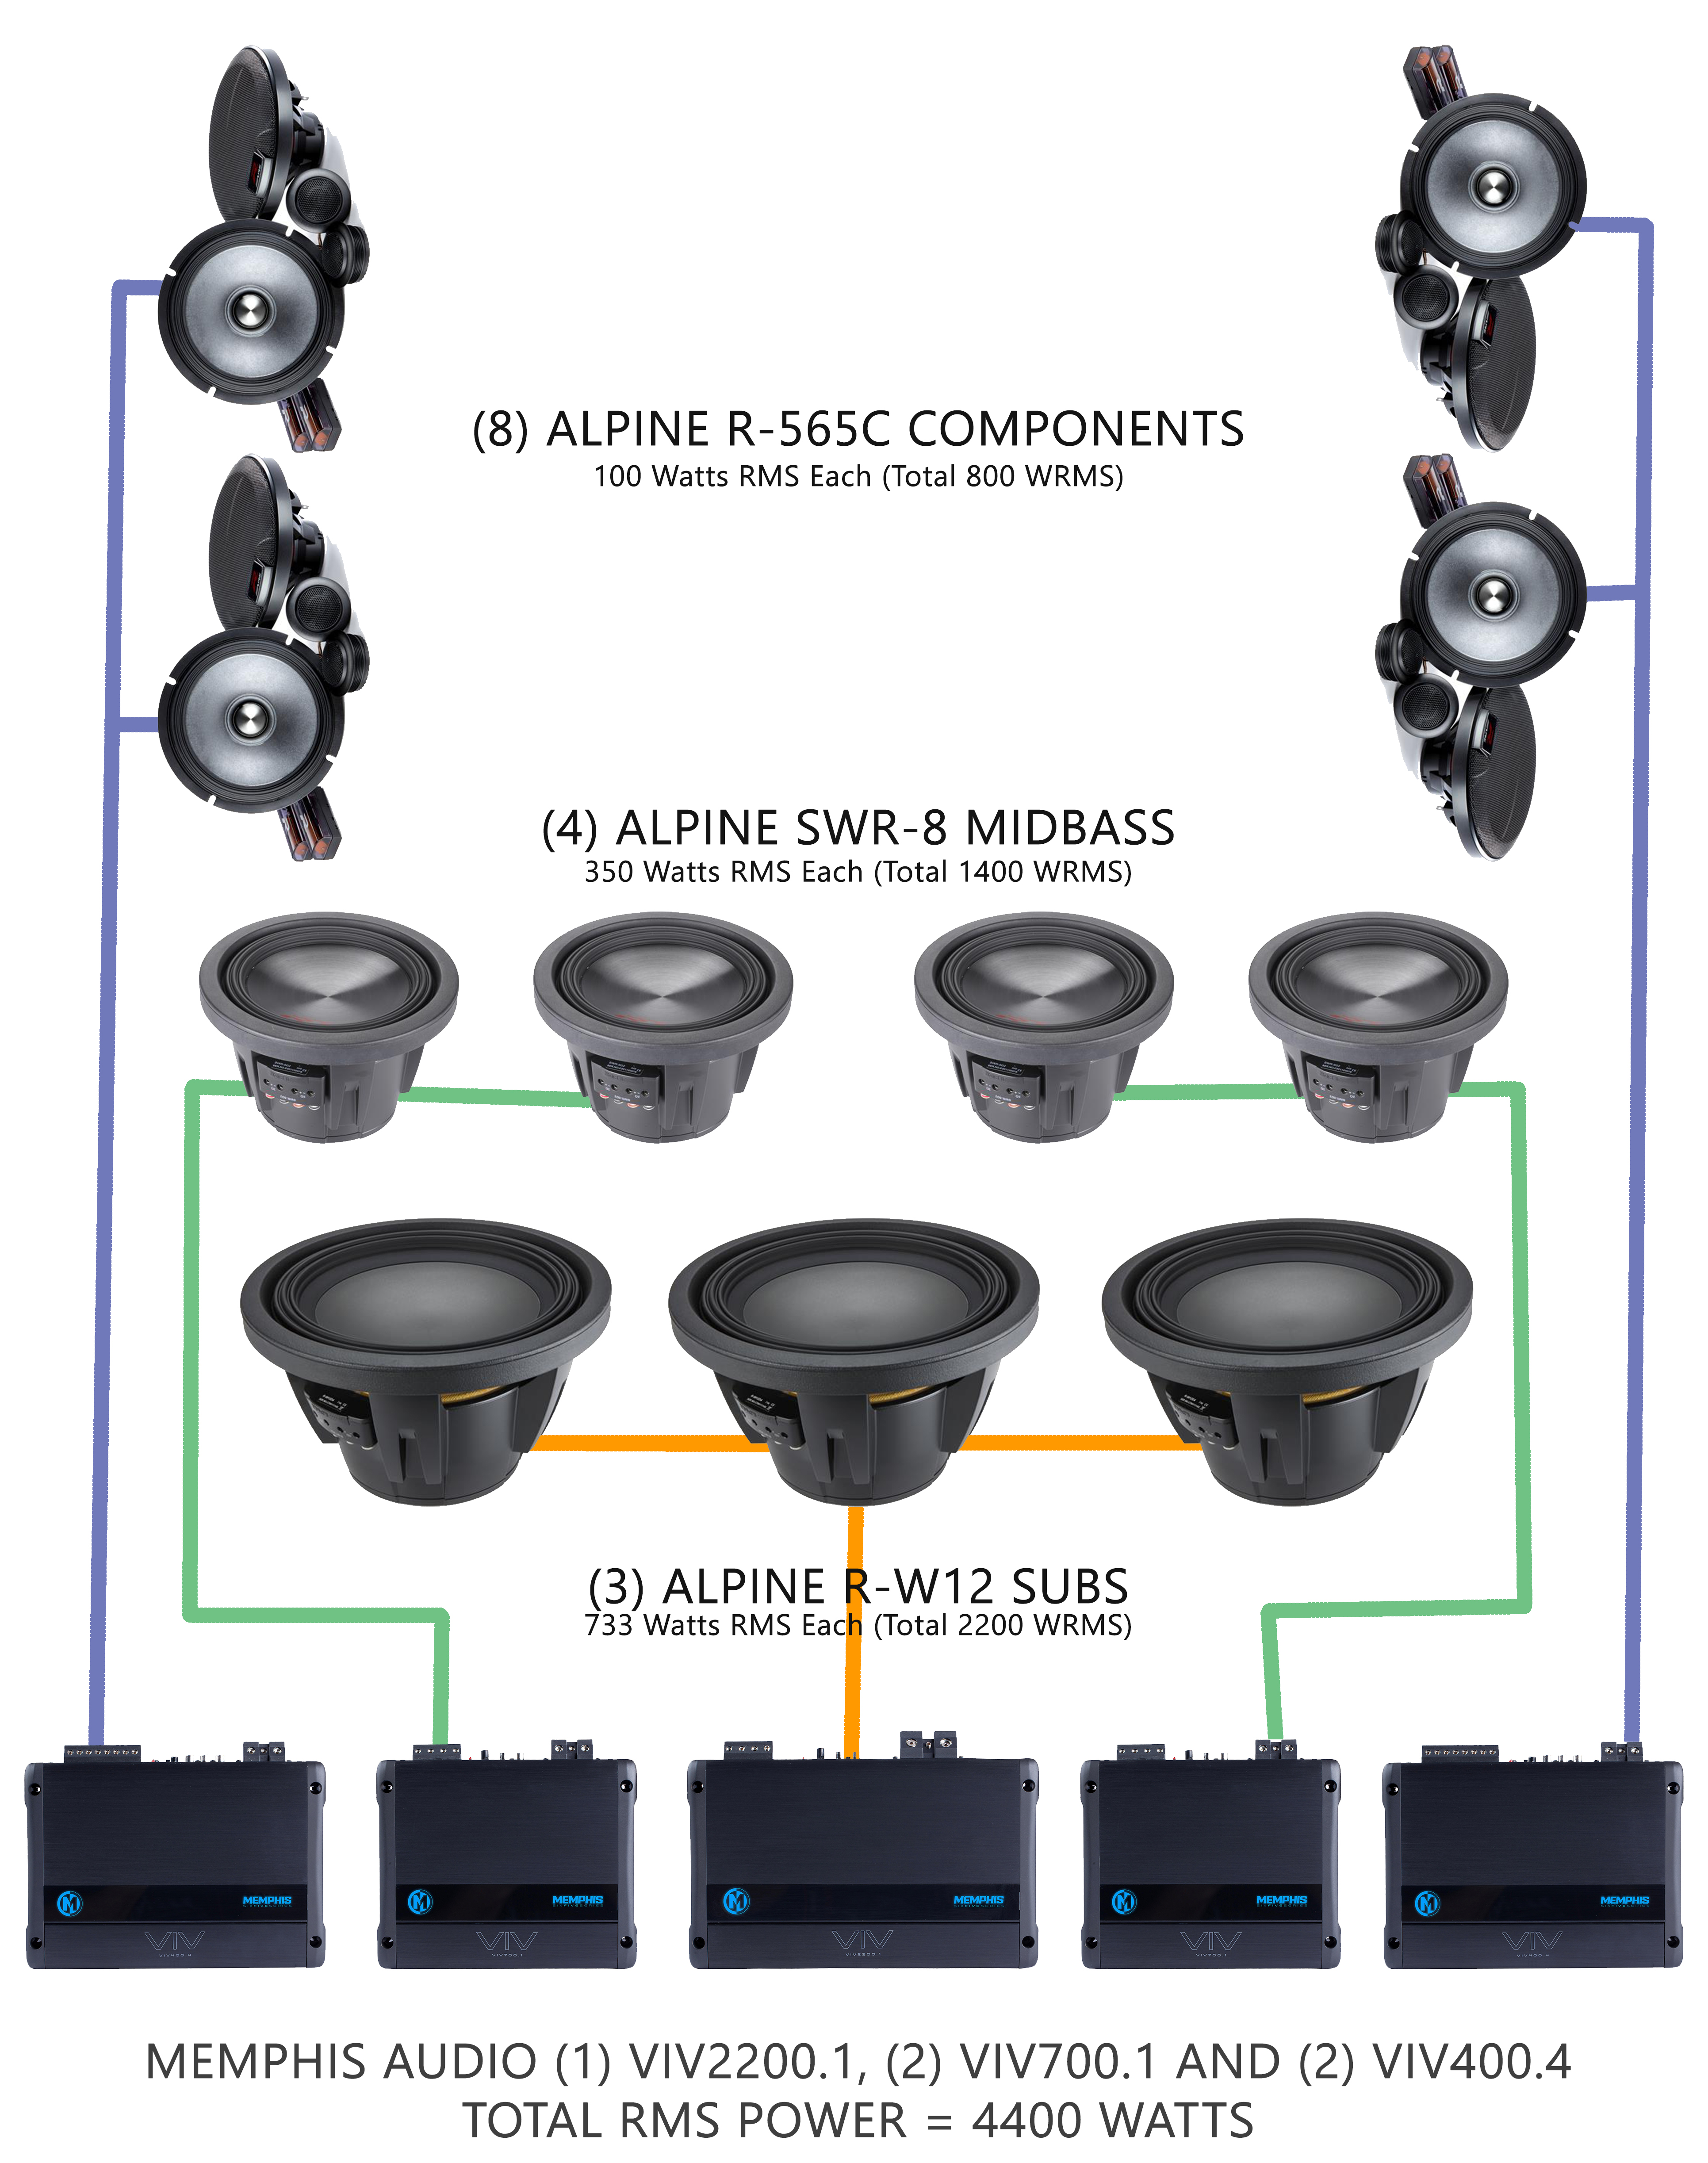
Today whilst I was driving home, I happened beside a late model M3. The bass coming from this car rattled my windows. This got me thinking of the old days when I too once had a seriously loud system. I got to thinking if I had my druthers, what kind of an insane system could I fit in my Ghia? I came up with this.
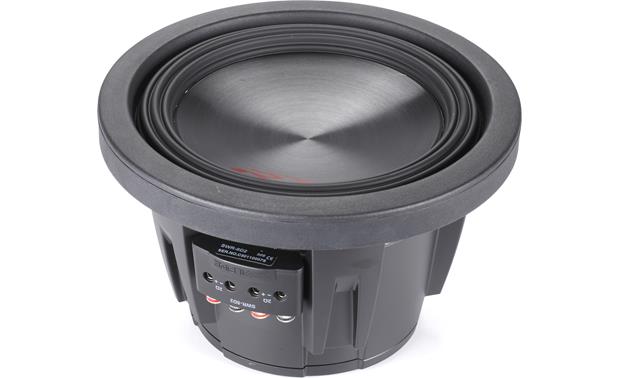
How about 3 Alpine R-W12’s?
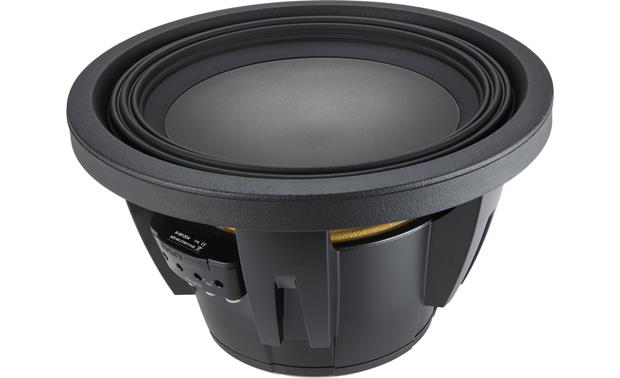
Maybe 4 Alpine SWR-8’s?
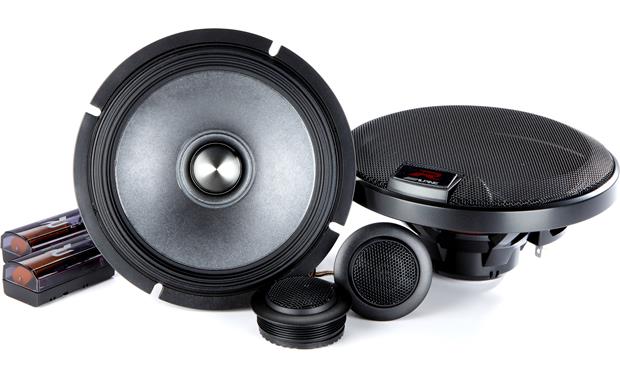
I would probably need about 4 pair of Alpine R-S65C components to have a shot at balancing it out.
How about power? Maybe 4400 watts (RMS of course) from Memphis Audio’s VIV line.
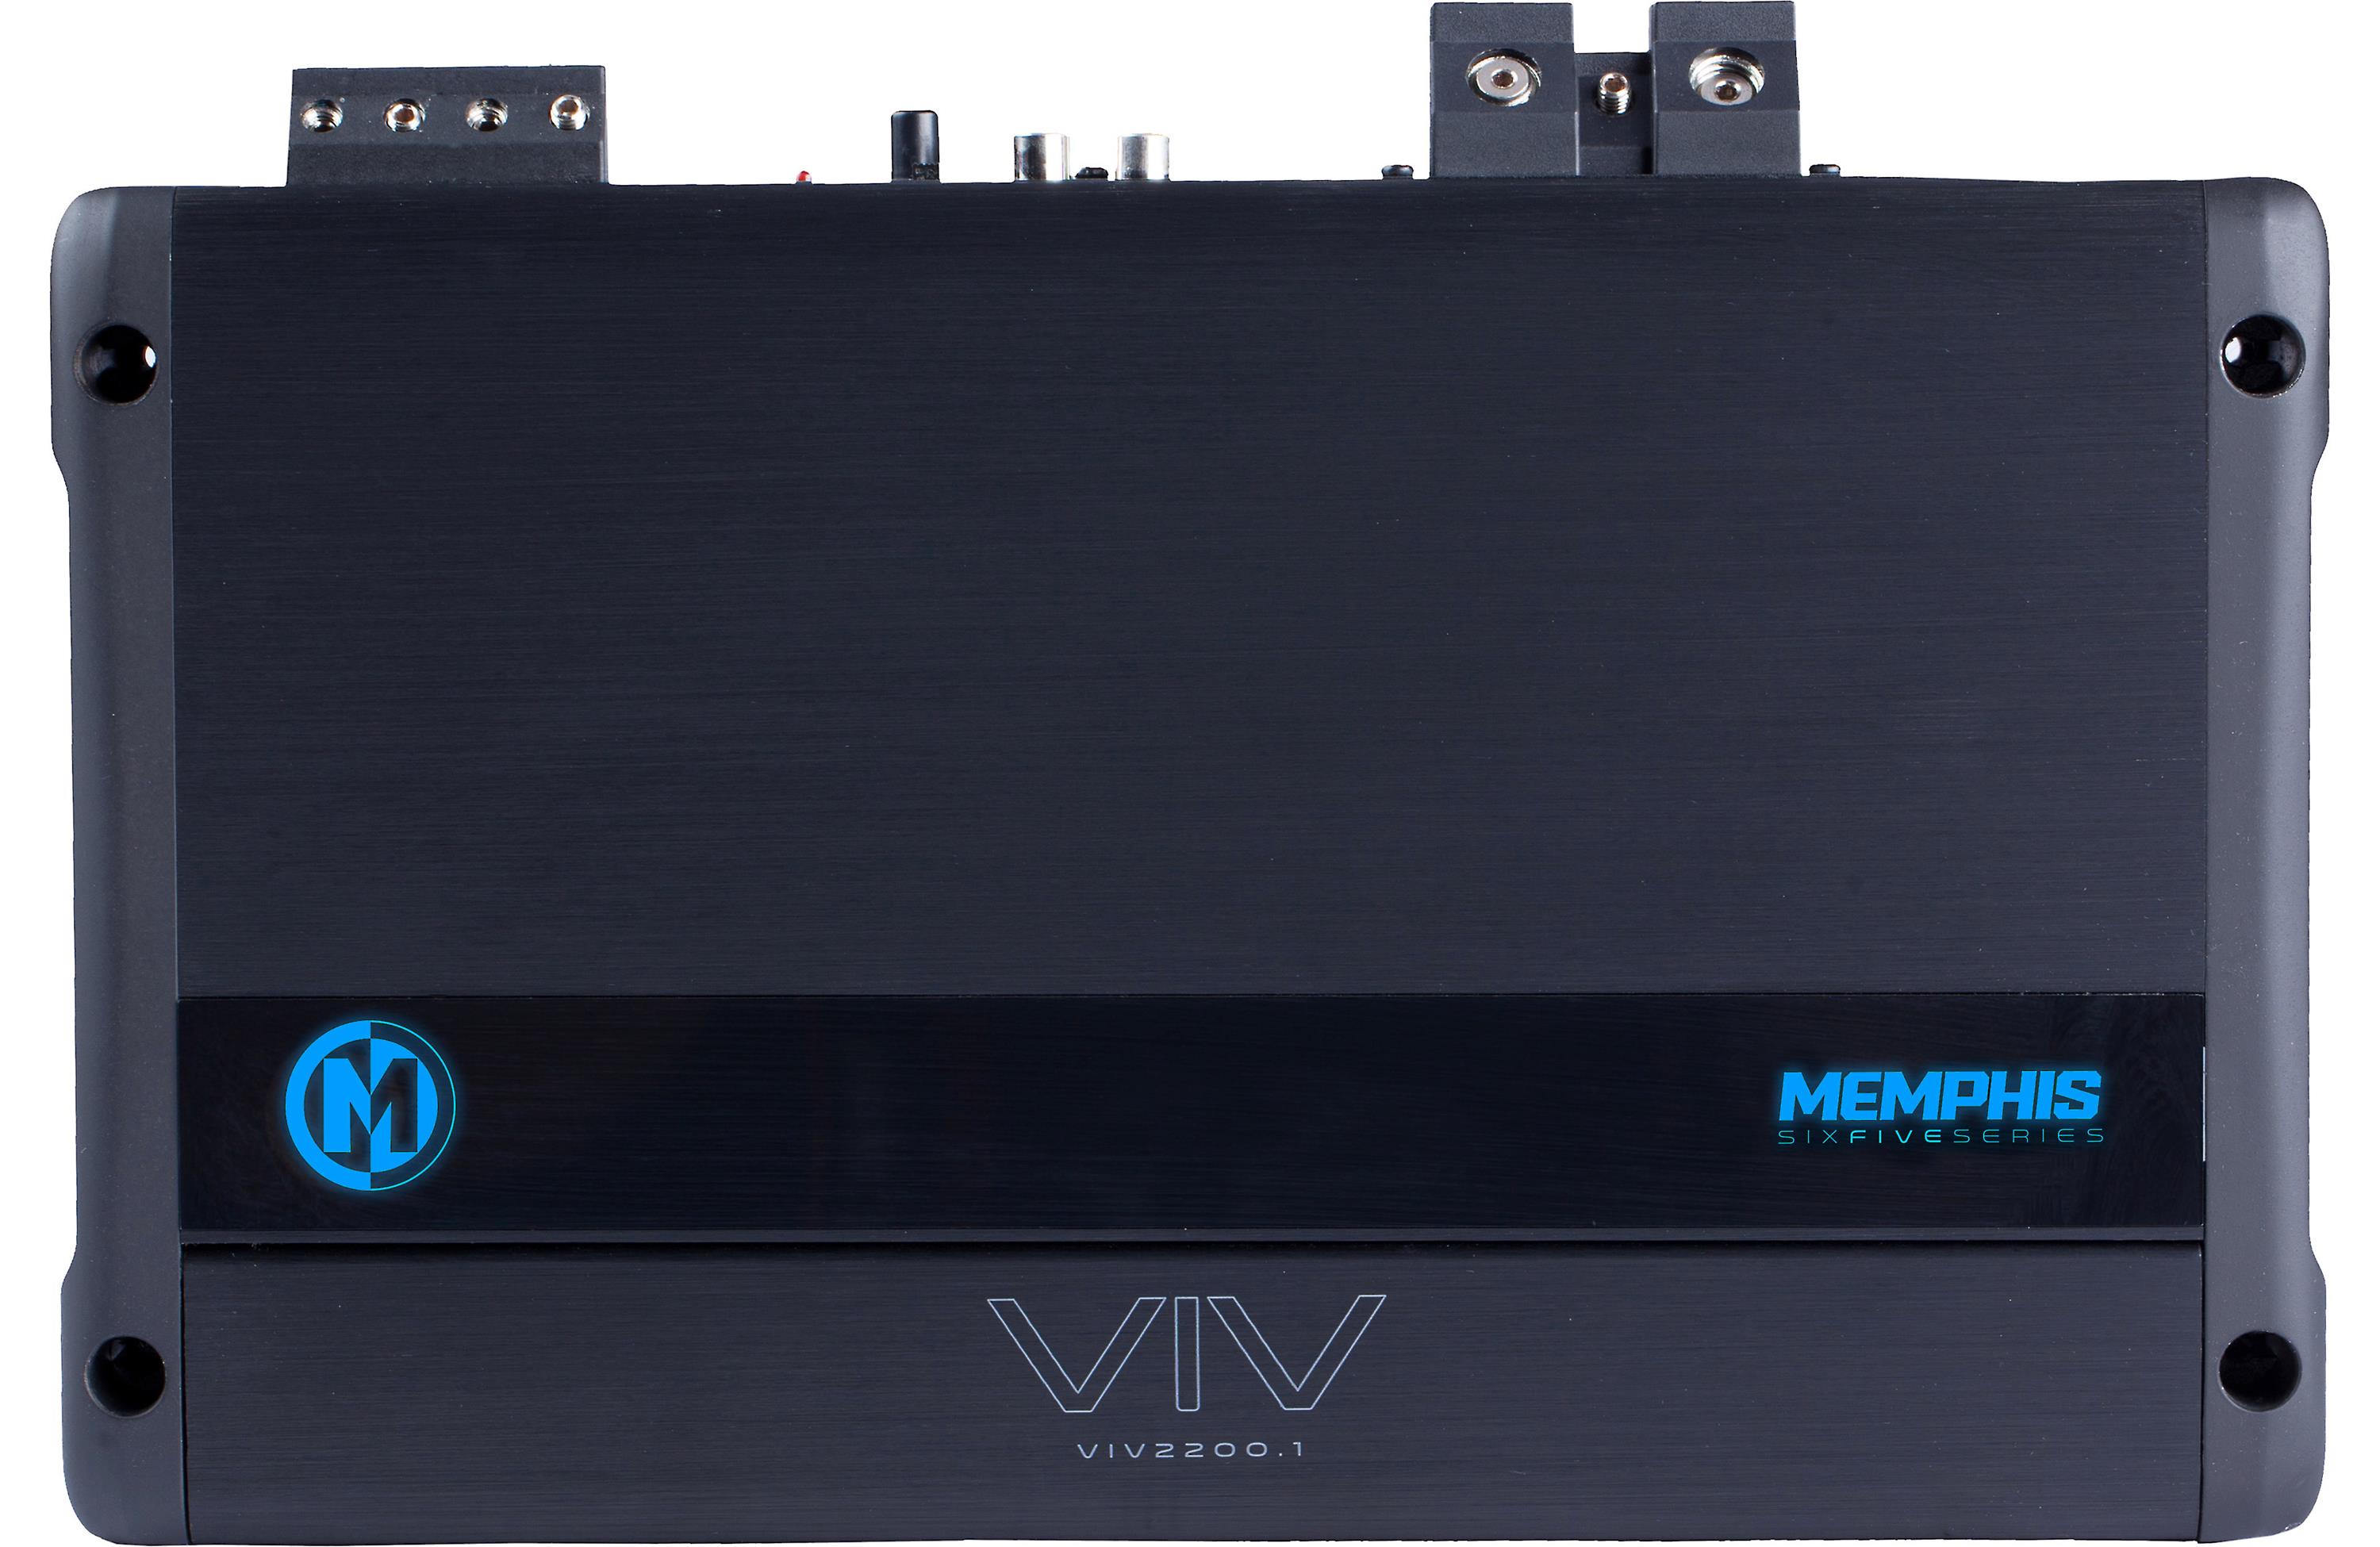
This could work… or catch this ol’ VeeDub on fire. Either way, it’ll be one hell of a show. I’ll definitely need to beef up the electrical system. Peace out for now.
I dug up a lot of old stereo components and put them all in a crate. I’m sure some of this stuff will make it into the Ghia.